Wednesday, May 5, 2010

Get some culture

Do you remember this commercial for Rice Crispy Treats where the mom is in the kitchen reading a juicy romance novel?


There's another, older version here.

Making creme fraiche is a lot like that commercial.  It's easier and faster than yogurt, which makes me rethink my yogurt methodology

If you're not familiar with creme fraiche, here's some info from http://www.wisegeek.com/what-is-creme-fraiche.htm:
Crème fraiche is a delicious, thinner form of sour cream first developed by the French. It has a slight hold and tanginess because it contains bacterial cultures. Crème fraiche can be used as a topping, in sauces, or in a variety of other applications, and many prefer it to the standard and more commonly available sour cream because of its creamy texture.
One of the advantages of crème fraiche is that it doesn’t “break” or become unstable when added to sauces. This is due to its high fat content. If you’re making thick cream soups, Hungarian Goulash or any type of sauce that you want thickened with cultured cream, crème fraiche is a great choice, and a much better choice than sour cream. Crème fraiche is additionally delicious when you whip it with a little powdered sugar and vanilla. It can be ladled over fresh berries, or any kind of fruit, or can make up a sweet filling for crepes.
If you've ever added sour cream to a hot soup or sauce and it curdled, then you know what it means to have a cream "break".  It looks gross when that happens.

Why would you make your own?  Because it's ridiculously expensive.  An 8-ounce tub or jar of it starts around $5.

But cream is only a couple of bucks for a pint (16 ounces).  Buttermilk, which provides the starter culture, is also cheap.  Once you have a batch you can use the leftover bits of one batch to start another.

Here's how.  Are you ready?  You need:
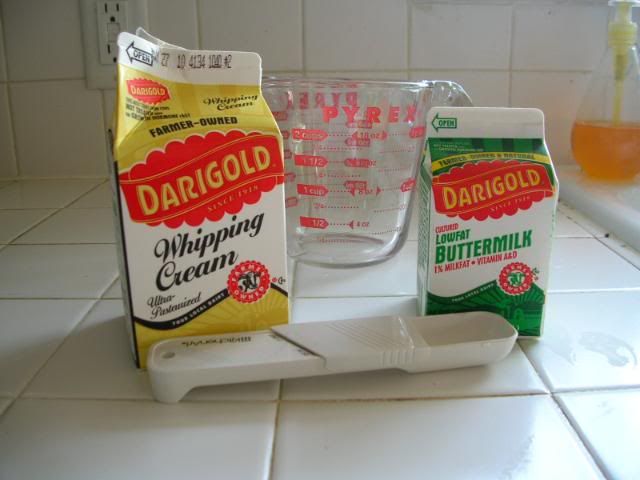
  • One pint heavy cream
  • 2 tablespoons of buttermilk (use the leftovers to make pancakes or blueberry muffins)
  • Clean jar with tight-fitting lid
  • A countertop
  • A fork or small whisk
  • A night
Make sure that your buttermilk contains live active cultures.  If you can get buttermilk without all this extra crap, go for it.  The main thing you need is the cultures. 


I made my most recent batch from the previous one so you're going to see that my pics vary somewhat.  I also used Smith Brothers instead of Darigold.  Smith Brothers is the last dairy in the area that delivers.  We love them lots and lots and lots!
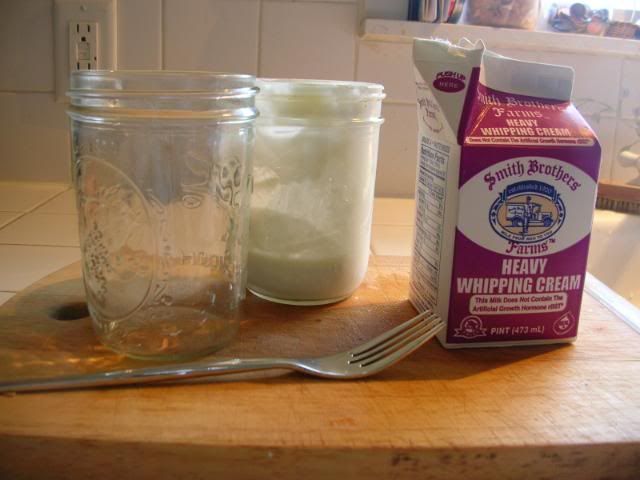
OK, since you're starting from scratch, get ready for this part.  It's really hard. 

Open the pint of cream and microwave it for about 50-60 seconds.  You're not heating it, just taking the chill off of it.

Next, pour it into a jar or container.  The pic below is from the first batch I made a couple of weeks ago.  Pour in 2 tablespoons of buttermilk (1 for each cup of cream) and mix vigorously with a fork or cocktail whisk or put a lid on the container and just shake it.  Who needs a shake-weight?
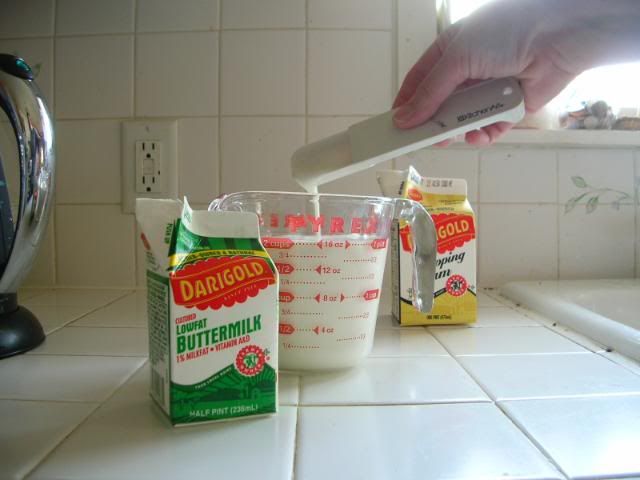
This pic is from the second batch, which I made from my first (the one above).  I warmed up the cream then poured it into the old jar.  I put on the lid, shook the crap out of it, then poured the cultured cream into a clean jar.
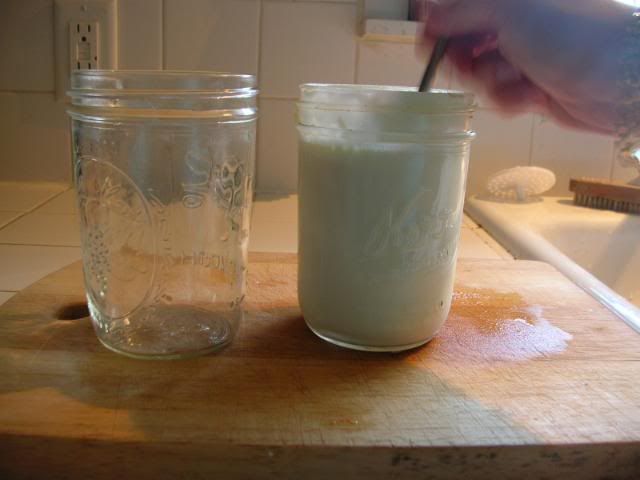
We're talking radical stuff here.  You don't see the blue bag that my husband accidentally moved into the shot, really you don't! 
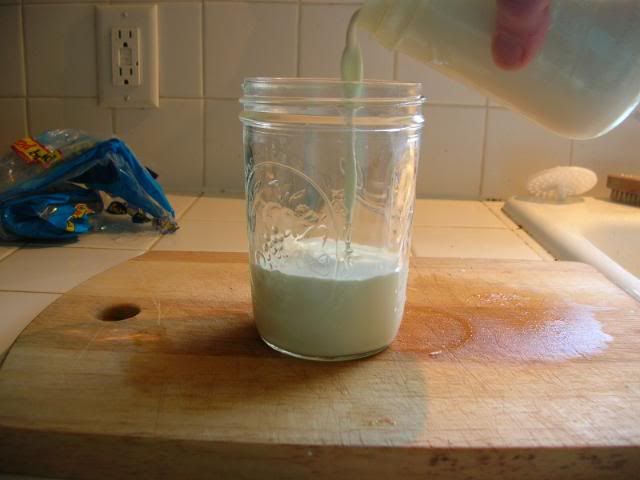
Almost done.
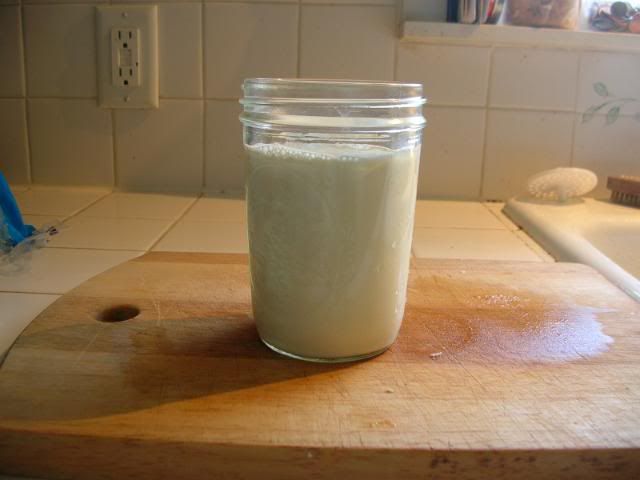
Put a lid on it and leave it on the counter overnight.
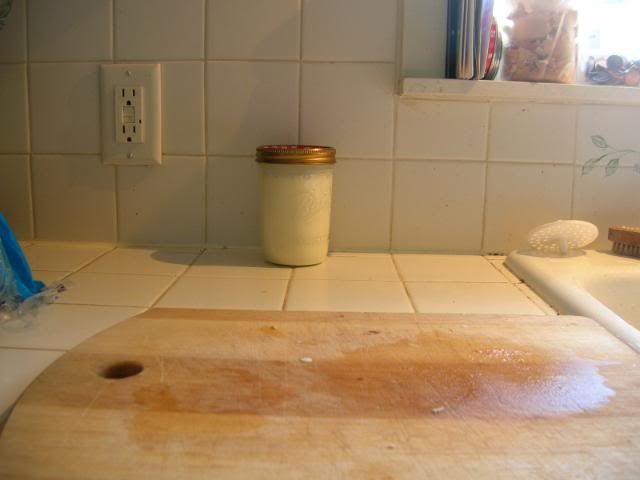
Really people, it's OK to leave dairy on the counter for a while.  Leave it out all night.  These are beneficial bacteria, not the ones that promote spoilage.

I eat cultured dairy products all the time and I'm fine.  See?

Bwahahah.  I love that picture.  I can't believe how many teeth I used to have!

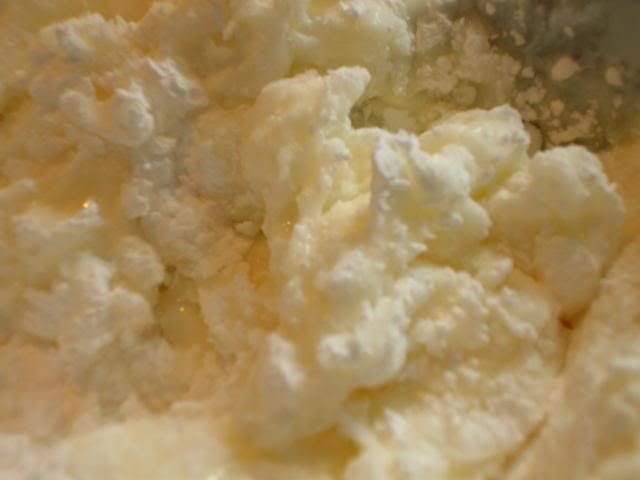
The next morning you'll open the jar to find a thick, possibly bubbly or foamy batch of creme fraiche.  Use it in asparagus soup, pasta with bleu cheese-tomato sauce, or add some sugar and vanilla to it and serve with fresh fruit and berries. 

It's so thick that the bubble I broke stayed there.
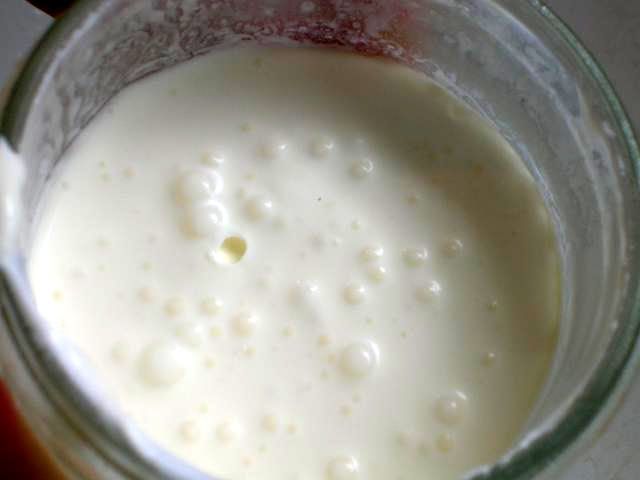
G-man and I can't wait for local fruits to come into season.  We are really sick of apples.  Creme fraiche will be a perfect accompaniment to some strawberries.

Monday, May 3, 2010

Cherry-almond scones with chocolate

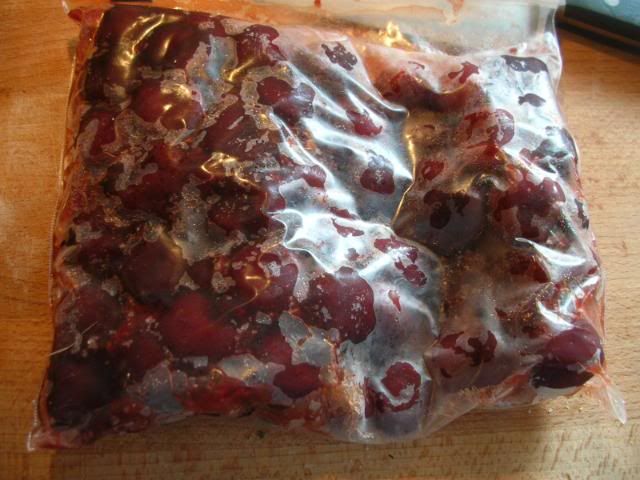
Last June I canned and froze a whole bunch of cherries.  This year I think I'll dry some instead of canning because they'd be great in granola.  Besides, canned cherries are kind of ugly and we never knew what to do with them.

There are still 2 baggies of frozen cherry halves in the freezer.  With cherry season rapidly approaching those cherries need to get used. 

I awoke this morning with an idea for cherry-almond scones with chocolate.  I decided to adapt someone else's recipe to fit my needs.  Mine are quite different, however, and marginally healthier.

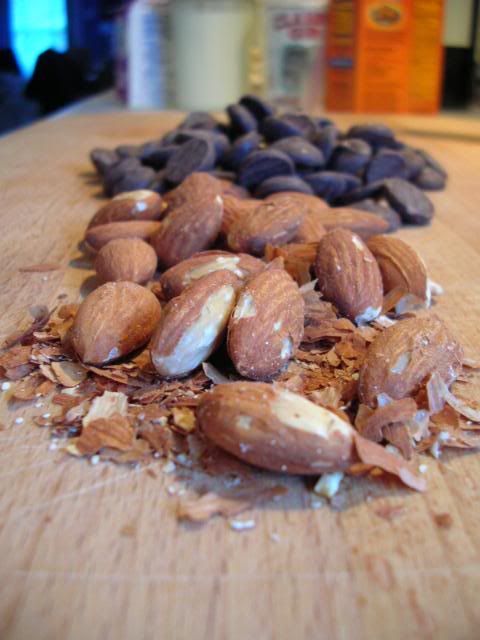
I thought there might be some almonds squirreled away somewhere.  This was all that was left.  That changed my plan to have almonds in the scones. 

I chopped them up anyway and then I did something completely crazy: measured.  I don't measure too carefully when it comes to cooking, but baking is another matter. 

CHERRY-ALMOND SCONES WITH CHOCOLATE AND WHOLE WHEAT

SCONES
2 cups all-purpose flour
1 cup whole wheat flour
1/3 cup sugar
5 tsp baking powder
1 tsp salt
1 1/2 sticks cold unsalted butter, cut into pieces
1/2 cup chopped chocolate bits
2/3 to 3/4 cup chopped fresh, frozen, or canned cherries
1 egg
1/2 cup heavy cream
1/4 cup yogurt
1/2 tsp almond extract

GLAZE
2 cups powdered sugar
2-3 drops almond extract
Mere dribbles of milk

Preheat oven to 350.

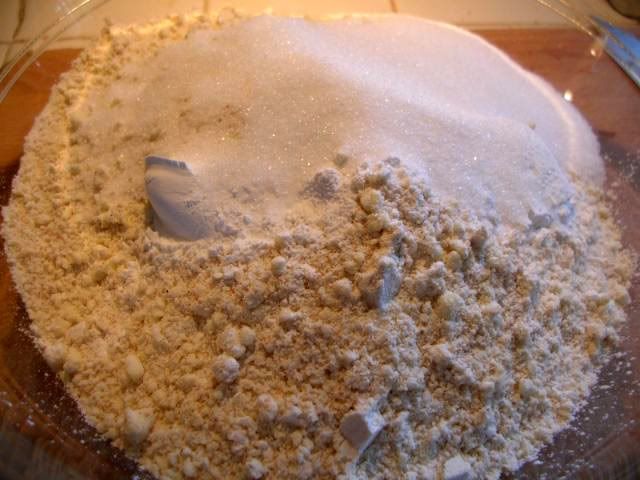
Put the first 6 ingredients in a food processor and mix until blended.  This should take about 30 seconds or so.  The bowl of my processor was too small to handle all this, so I just did the flours and butter, then mixed in the rest by hand.

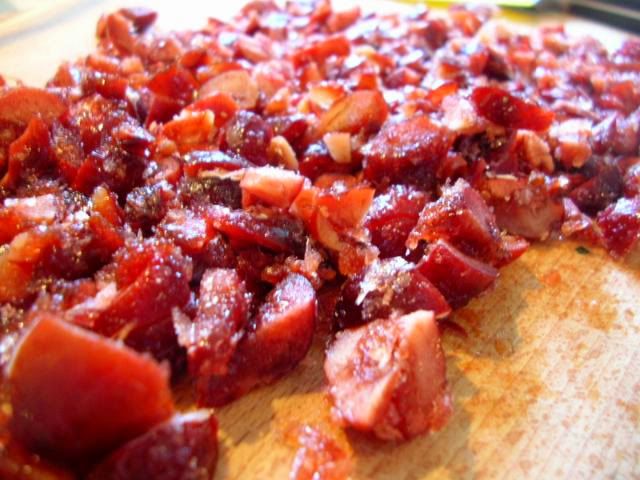
Chop up the frozen cherries.  Do not thaw.  If you're using fresh or canned cherries, be sure to drain them well before adding to the mix.

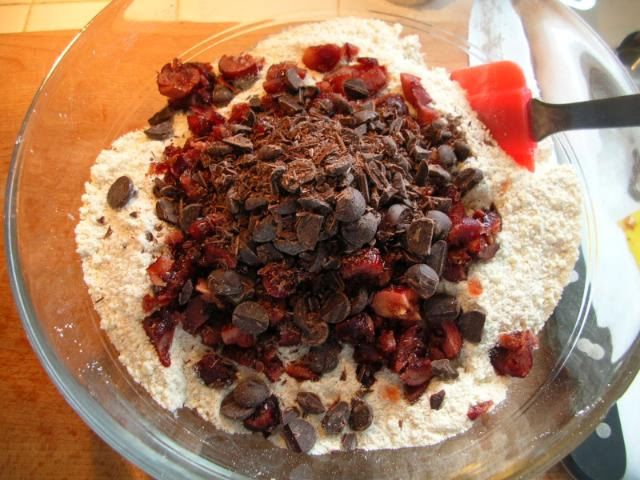
Mix the cherries and the chopped chocolate into the flour mixture.  Doing this before mixing in the wet ingredients coats the cherries with flour so that they won't clump together.

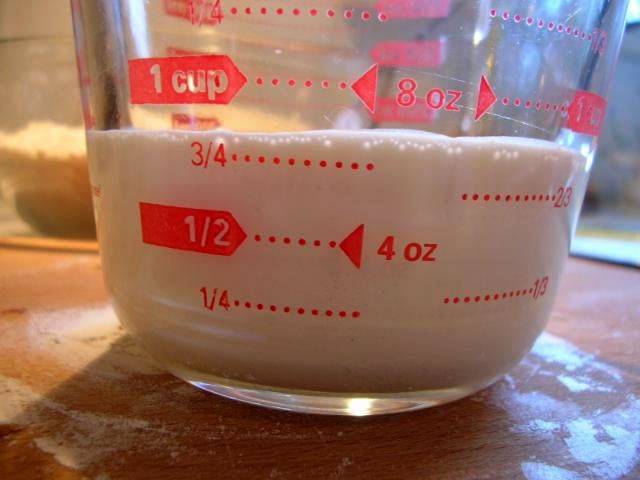
Mix the cream, yogurt, egg, and almond extra together.  If you're wondering why I used part yogurt and part cream, it's just because I had cream leftover from making creme fraiche.  Any other day I probably would make this only with yogurt.

Pour the wet ingredients into the dry...

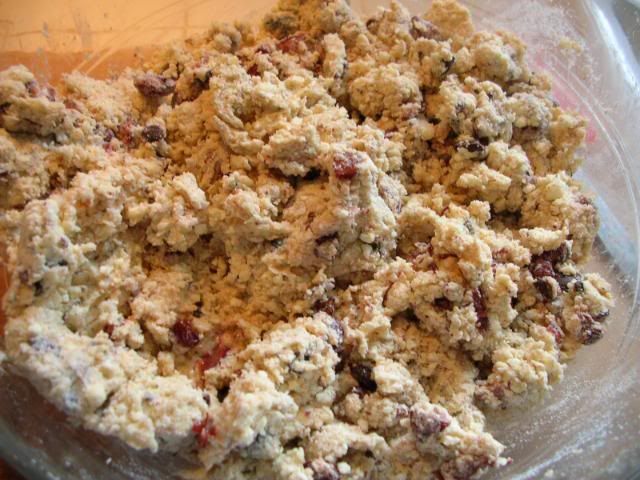
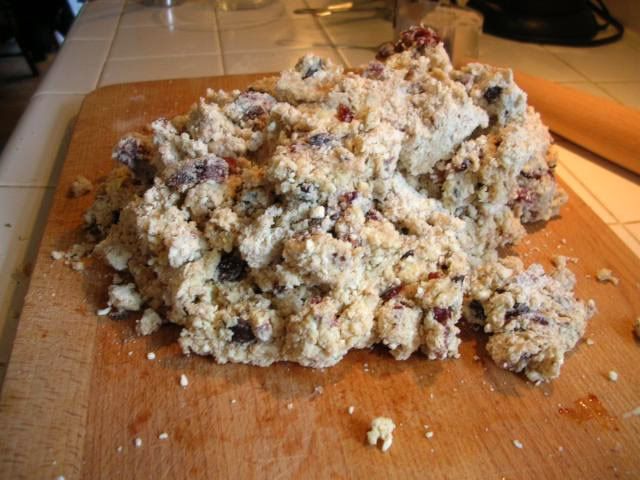
... mix quickly but thoroughly.  You are not trying to create gluten like you would in a bread.

Dump the whole kit-n-caboodle onto a a floured surface.

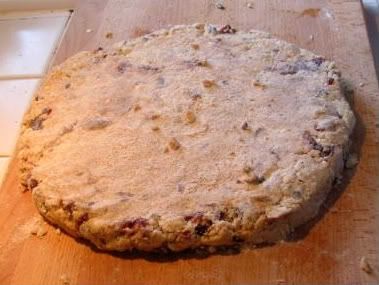
Gently pat it into a disk.  You can roll it afterwards with a rolling pin but I don't think it's really necessary.

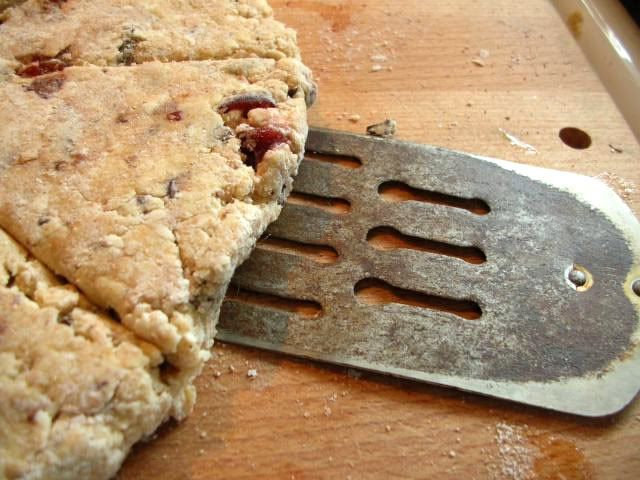
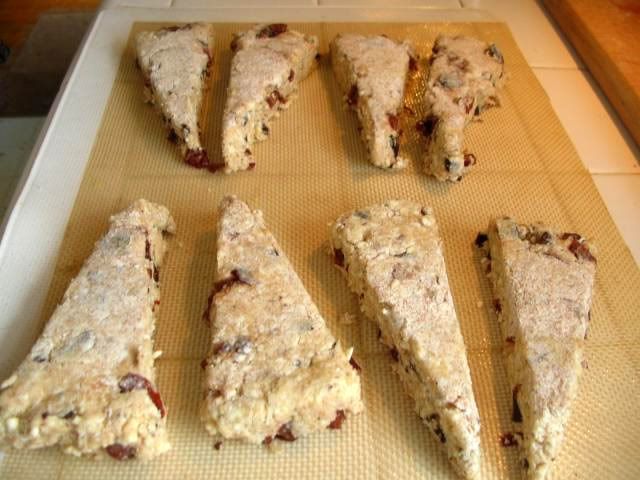
Using a large, sharp knife, cut the disk into 8 or more wedges.  I made some big ones and some small ones.  I've got this ancient, super thin spatula that a former roommate left in my old apartment.  It's perfect for sliding underneath delicate things like scones.  She thought it was junk but it's my favorite spatula.

Transfer the scones to a baking sheet lined with a silicone pad, parchment paper, or one that's been sprayed liberally.  I baked half of my scones and froze the other half.  I'll pull them out of the oven in a few weeks and have homemade scones with tea or coffee in less time than I could run to Starbucks.

If you do freeze yours, freeze them on a silpat or parchment paper, then put them into a baggie once they're solid.

Put the scones into the pre-heated oven and cook for 25 minutes if you used frozen cherries.  My small scones needed the full amount of time and my larger scones needed another 5 minutes.  If you're using canned or fresh cherries, I'd start checking the scones around 22 minutes.

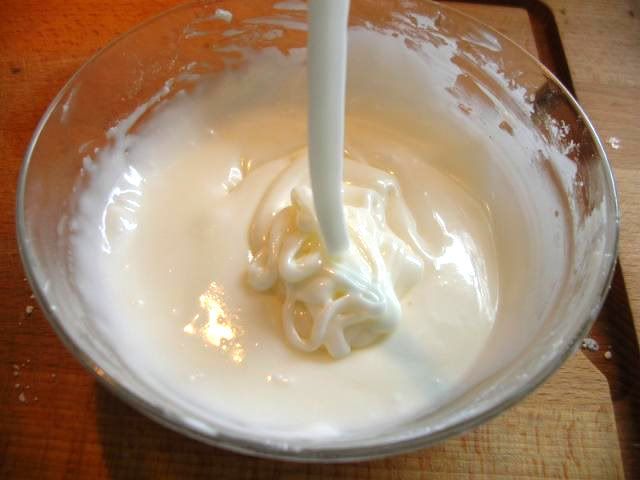
While the scones are cooking, make the glaze.  Put the powdered sugar into a bowl, add a couple of drops of almond extract, then add about a half a teaspoon of milk.  It will look like this, and you'll be tempted to add a lot more milk.

Don't do it.  Add milk just a few drops at a time, mixing well after each addition.  Go slowly here!  It's really surprising how little liquid it takes to melt powdered sugar.  Keep going until it looks like this:

Cool the scones completely on a rack over waxed paper.  This is the hardest part because they smell so good!  But if you try to ice them before they're cool, the glaze will just run off in a hot mess.

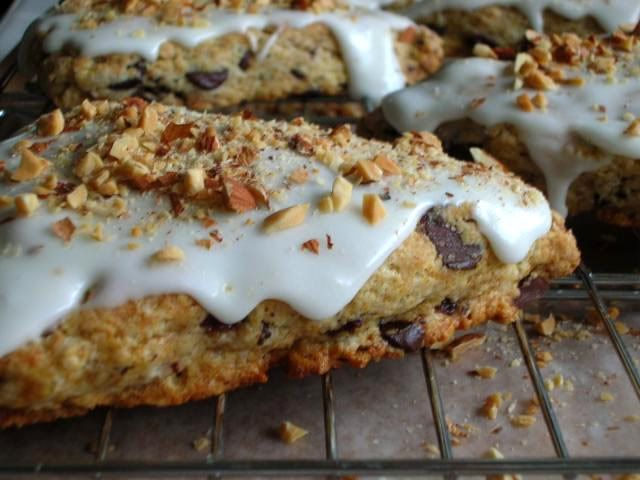
Dribble the glaze onto the cooled scones.  Depending upon how thick you made the glaze, it may need some coaxing like mine did.  Before the glaze dries and sets, sprinkle on the chopped almonds.

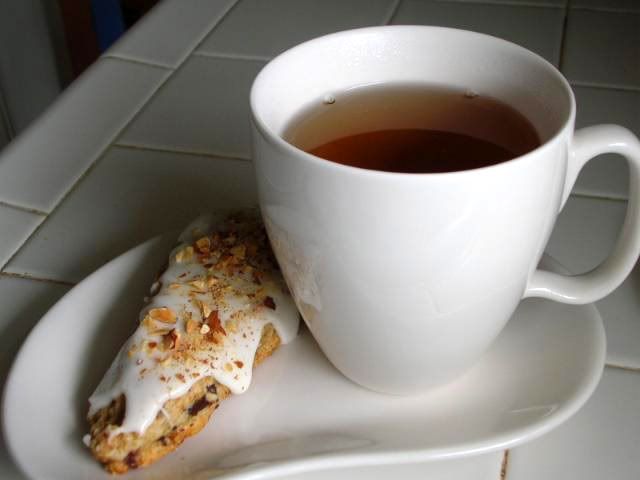
Now make yourself a cup of tea or coffee and go enjoy a peaceful breakfast.

Sunday, May 2, 2010

Before and after of the front yard

I wish I had electronic pics of my house when I first got it so that I could show those.  Alas, you only get to see what I've done so far this spring.

 
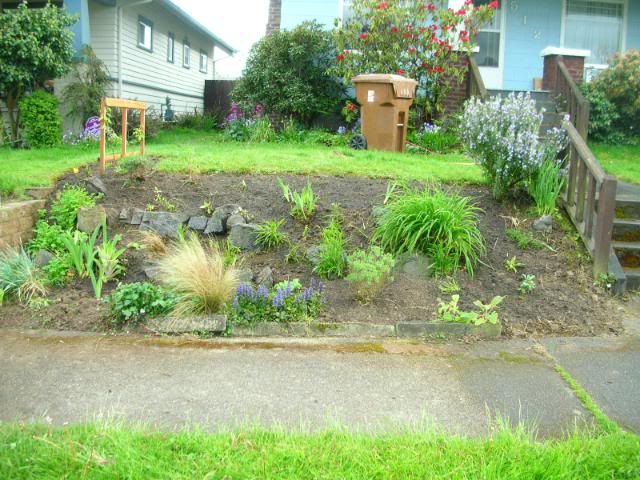
Front yard, left side before (omg how embarassing)

 
And after...

 
I ripped out much of what was in there (besides the weeds!) and extended the bed back about a foot at the top of the bed.  Over the years the grass has crept down the hill.  The bed combines ornamentals, mostly on the left, and herbs.  The herbs are around the edges at the top right, stairs, and sidewalk, so that we can access them easily.  I plan for these to be for culinary use.

 
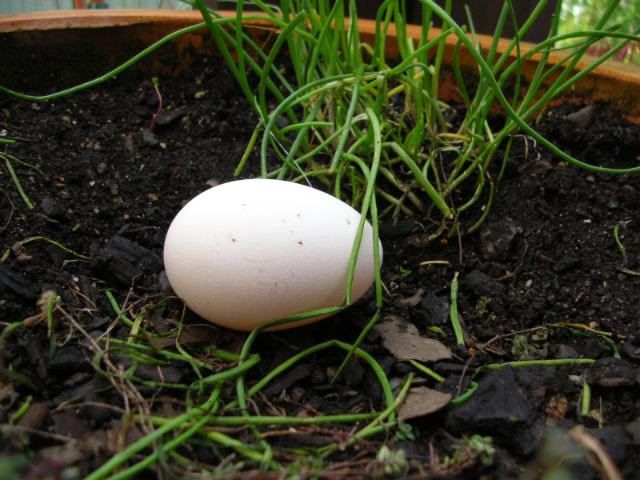
Remember these chives?

 
Well, they now have a new spot to grow and thrive, sans poule.


(I cannot get this f-ing picture to rotate right... annoying!)
 
My herbs this year include:
  • Parsley
  • Sage
  • Rosemary
  • Thyme
  • Basil
  • Chives
  • Lavendar
  • Dill
  • Oregano
  • Cilantro

I still need marjoram and mint, so if anyone has starts they'd like to get rid of let me know.
 
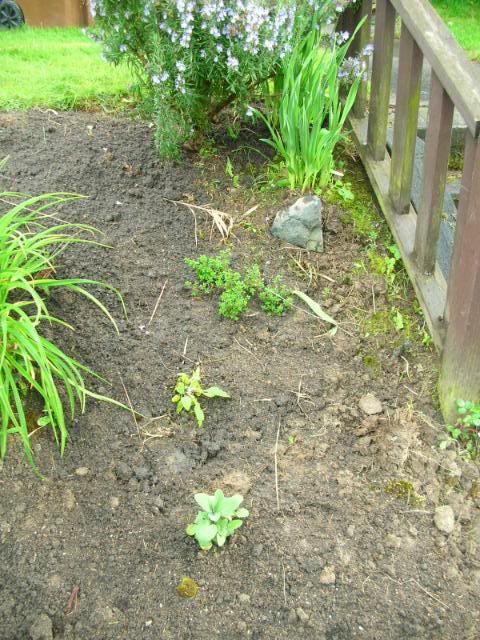
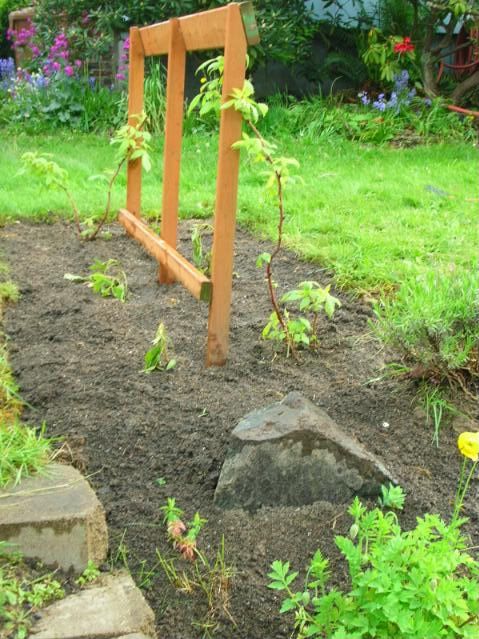
Here's the new raspberry bed.  Some of the little plants did not appreciate being transplanted and have been pouting.  I think that they'll perk up in time.  Eventually I'll give them a more study support than this but for now this prevents the local kids from stepping on the plants.  Depending upon how well they do here, I may create a larger bed devoted strictly to raspberries.  This area of the yard is all dead space, occupied only by grass and moss.  The neighbor to the left has been talking about creating a raspberry bed on her side.  As assertive as these plants have proven to be (they come from friends who had tons of shoots), I suspect that my neighbor might get raspberries anyway.
 
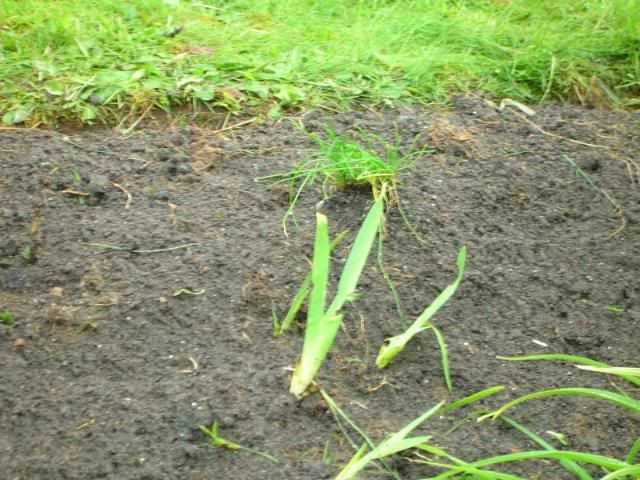
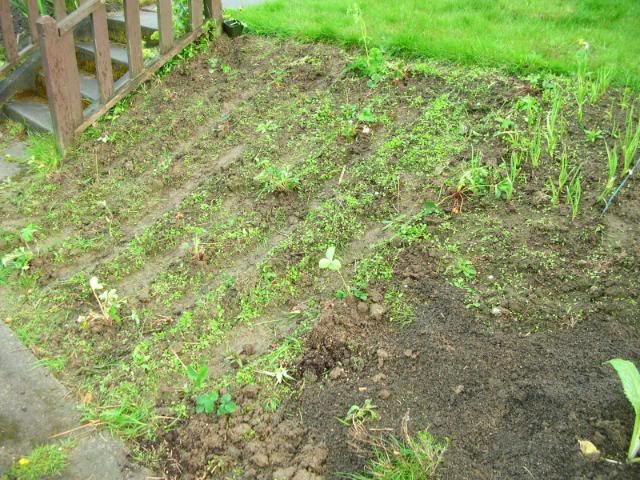
To the right of the stairs, the asparagus patch has done well.  Of the 12 asparagus root stock I planted about 9-10 have sent up wee little spears. 
 
The weeds have popped up, too.
 
What didn't do well was the strawberries: not 1 of 20 came up.  What a waste of money.  I don't know if the root stock were bad or if the cold, rainy spring made them rot. 
 
The good news is that while weeding I found that several dozen strawberry plants that had volunteered in a 1' x 1' section.  About 20 of them got pressed into service and are now in the spots formerly taken by the draft dodgers.  The rest got shipped off to the reserves (a neighbor).
 
The local high school's FFA club had a plant sale yesterday.  I ran over and got 3 organic heirloom tomatoes ("chocolate cherry", "black" something, and "yellow" something), plus 2 everbearing strawberry plants called "tri-star".  It cost just $9! 
 
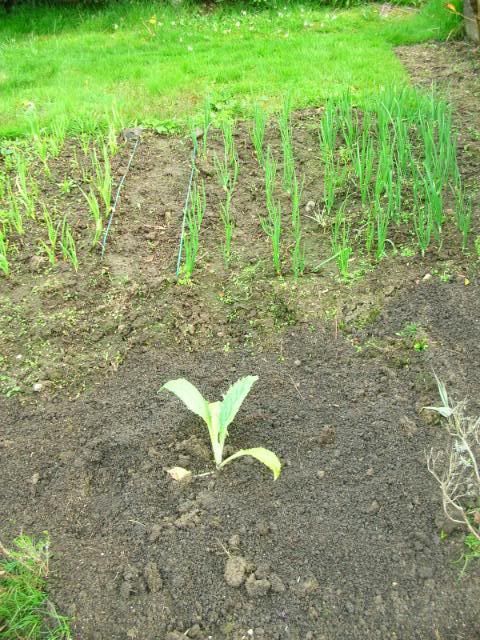
Maybe the 4th time is the charm for artichokes?  I've planted them 3 years in a row from seed and never gotten a single choke.  This year I gave up and bought a started plant.
 
All in all I feel good about the front yard.  It has been hard work because I neglected those beds most of last summer.  At least now I have a less-fuzzy vision for how to use the space and what I want to get out of it.

Friday, April 30, 2010

Confession time

My hubbie isn't the only one with food dislikes.  As a foodie, I'm pained to admit that I don't like mushrooms (including truffles), olives, pears, bleu cheese, cheesecake, or beer.  The very things that make so many people swoon do absolutely nothing for me.  It's a darn shame, too, because I've been told many times that each of these items is quite delicious.
And yes, I do try them from time to time to see if my tastes have changed.  The answer is always that the items remain on my "nope" list.  I do kind of like telling people that I don't like cheesecake.  It must be similar to the reactions people get when they say they don't like chocolate:
That's a combination of pity and disbelief in case you've never received that particular look.

So why, then, did the recipe for Pasta with Tomato-Bleu Cheese sauce on The Pioneer Woman's website make me want to reach into the computer screen and snatch it away from her?  It's not because her pics are always mouth-watering (which they are).  When I read the recipe I could just taste the creamy sauce with the piquant backdrop of the bleu cheese and tangy tomatoes.

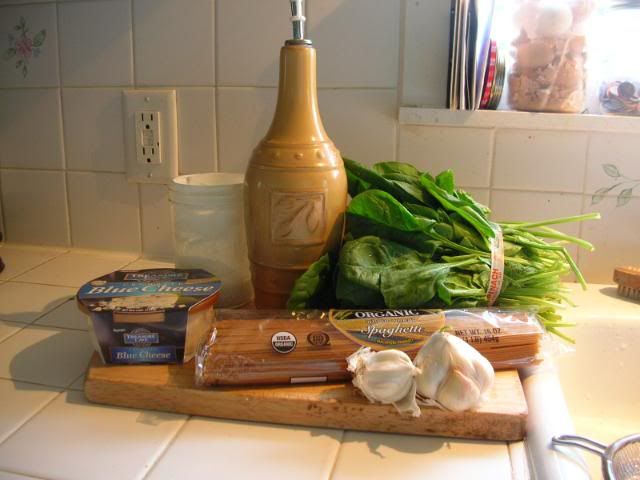
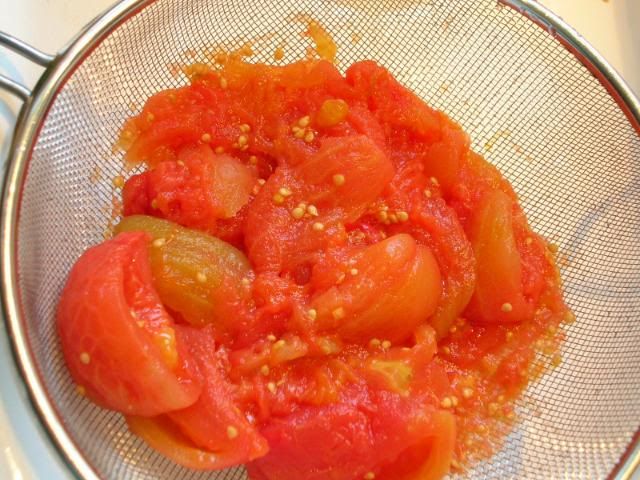
I had to make it.  You can see her recipe at the above link.  The differences between her recipe and mine were that I used a quart of home-canned tomatoes, homemade creme fraiche (and certainly not 3/4 cup!), beef broth, and whole wheat spaghetti.

I don't measure most things, especially for recipes like this one.  Here's what I did:
See the colander at the bottom right?  I drained my tomatoes for about an hour, mostly because I walked off and forgot them.

Every time I open a jar of home-canned anything I always marvel at the fact that I've already handled that food at least once.  [friendly voice] Hello again, little friends!  [evil voice] I've come to eat you.

Next time I make this I probably won't drain the tomatoes at all so that I can reduce the amount of cream even more without sacrificing moisture.

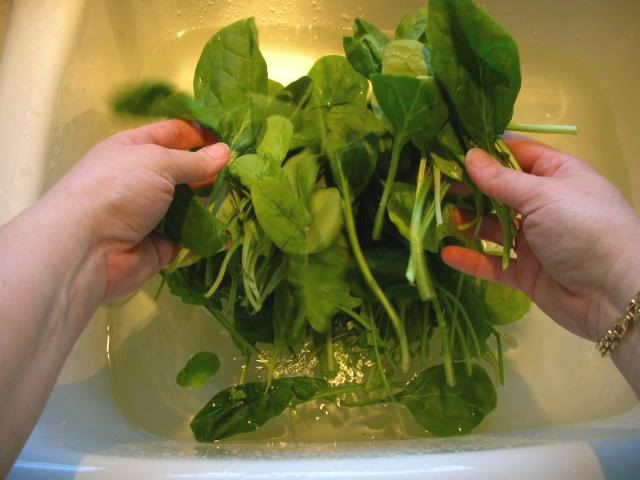
The Pioneer Woman (TPW) is a cheater for most of her ingredients, following the Rachel Ray method of cooking with lots of pre-packaged foods.  I didn't have pre-washed baby spinach.  I had regular spinach.  Gritty, adult spinach.  You've gotta float it in the sink for a bit to let the sand settle to the bottom.  It also perks up the greens a bit.

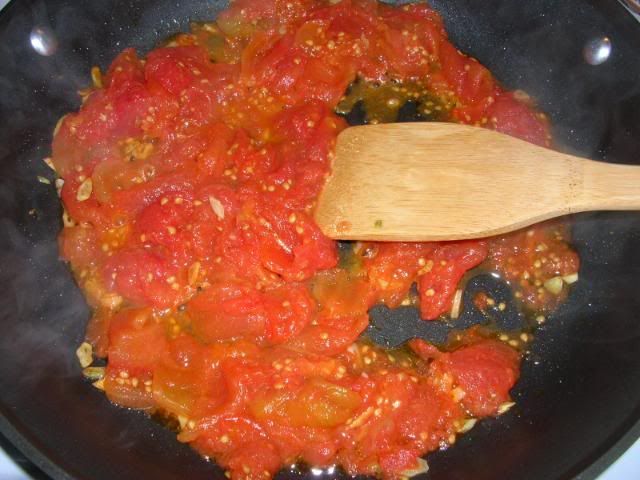
While the spinach floated, I chopped up the garlic.  TPW cooked her tomatoes first but I like the smell and taste of sauteed garlic, so I decided to do it my way.

Plus my computer is clear across the house from the kitchen and I hadn't printed the recipe.  Besides, don't you always start with the aromatics?

After the garlic had reached optimal aroma, I added my tomatoes.  If you compare my pics to TPW's, you'll see that my tomatoes are much drier.

While the tomatoes are cooking down, I made and documented the making of creme fraiche for your reading pleasure.  Watch for a how-to in the next couple of days.  I'm still recovering from how terribly difficult it was.

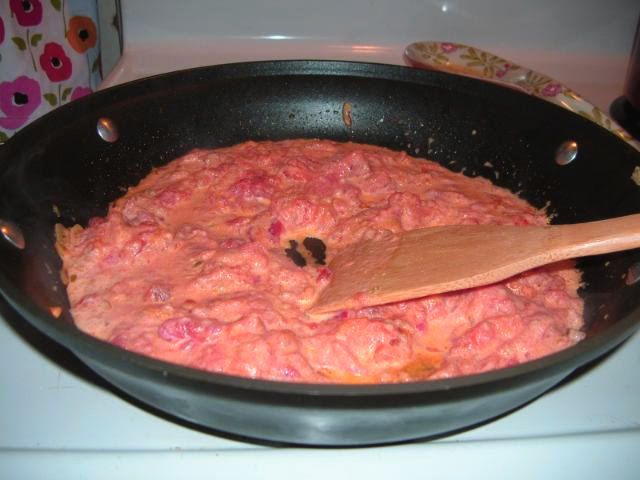
Next I added the cream.  TPW used 3/4 cup.  I used maybe 1/4 cup.  As much as I love cream, I just can't bring myself to use fat-laden dairy products in quite the same way she does.

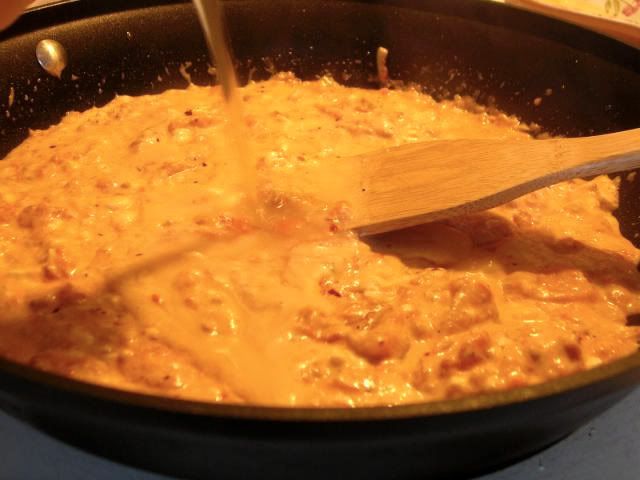
Notice that you can see the bottom of the pan here.  I decided that the sauce was too thick.  Since I had some leftover beef broth in the fridge, I used that to thin out the sauce instead of using more cream (as suggested by TPW).  I probably added about a half to three-quarters of a cup of broth.
Sorry about the weird colors in some of these pics.  The lighting above my stove makes it really tough to get pics with anything near true colors, especially in the early evening.  I'm still learning how to get the best shots on that side of my kitchen.

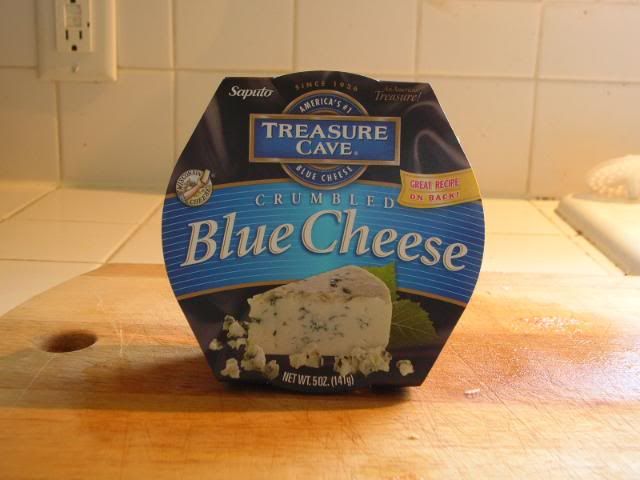
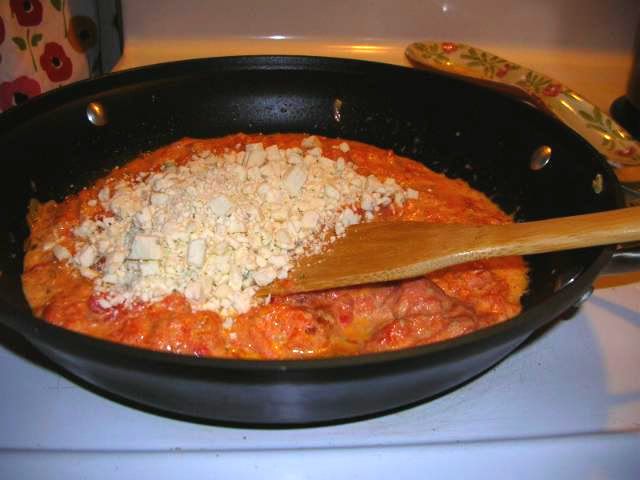
And now, the ingredient I don't like.  Bleu cheese.  Full-disclosure: This is a 5-ounce package of non-local cheese, for which I apologize.  I didn't think it was very environmentally friendly to drive several miles way the heck out of my way to Metropolitan Market just for cheese.  I got a tub of this stuff at the Albertson's a mile from my house instead.

Dump it in, stir it around, and encourage gooey meltiness.

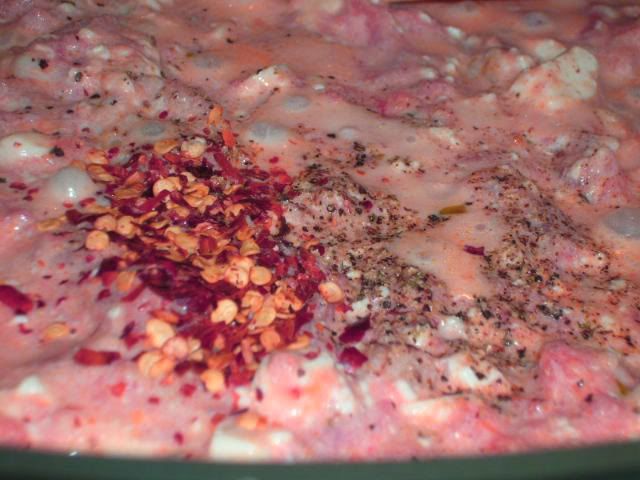
Season with red pepper flakes and pepper, then continue to cook until your pasta is done.

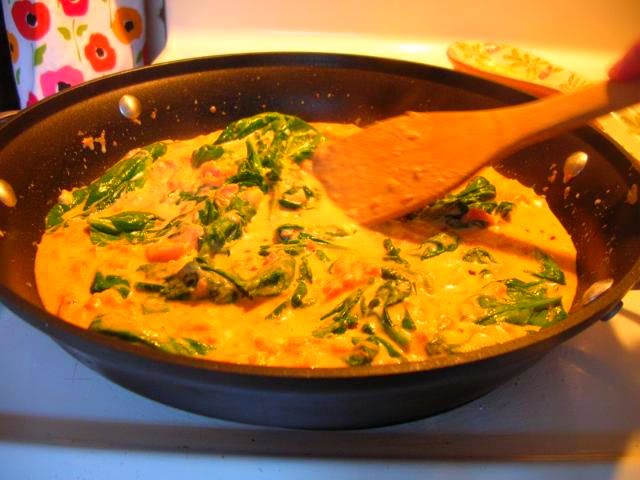
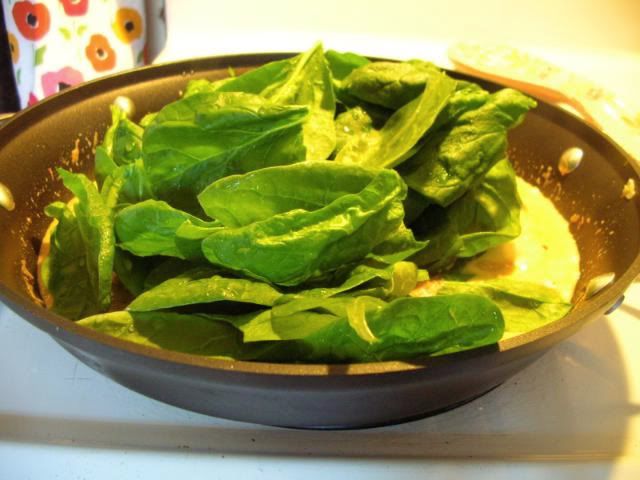
After the pasta had drained and was still steaming in the sink, I went to grab the spinach and toss it in with the sauce.  Problem: I forgot that this adult spinach came with tough, adult stems, which needed to get pulled off.  I was worried I'd scorch the sauce.  It was fine.

Watch as this...
...becomes this...

It only took about 30 seconds!

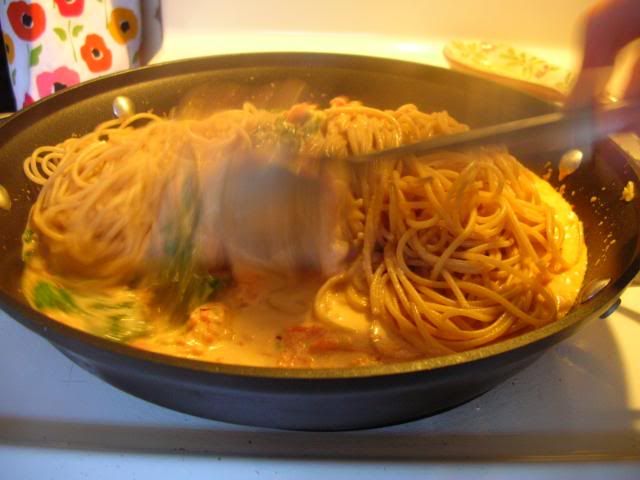
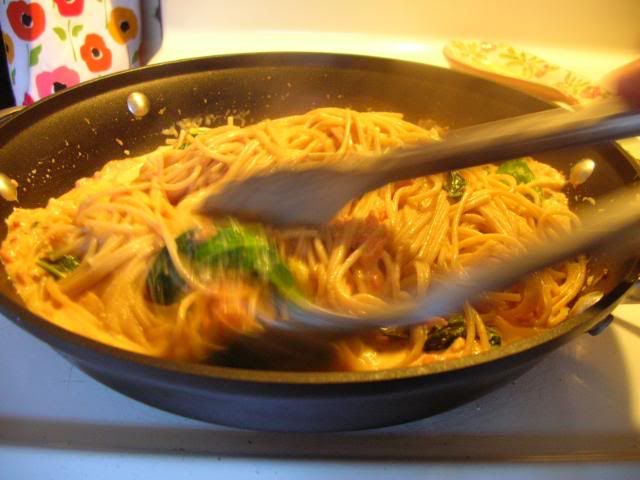
I dumped the drained pasta into the sauce and had fun taking pictures from the tripod on a timer setting until I realized that my action shots were all blurry from too much action.


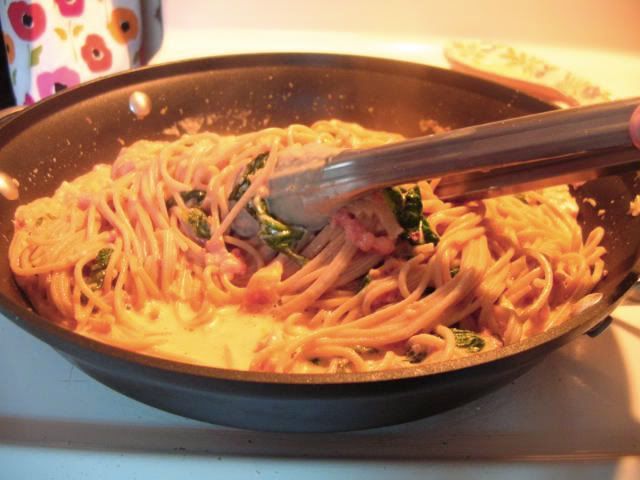
I held still for a faux action shot, then played with hue and saturation until I was no longer sure if the picture looks better or worse than the original.  So I saved and used it anyway.

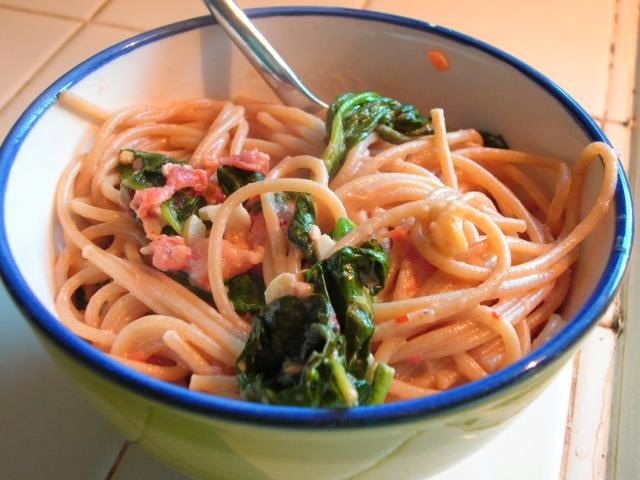
I plated the finished pasta up and took this picture in the natural light next to my sink (where 90% of my cooking pictures are taken).  Much, much prettier!

I have to say that this meal was divine.  As in ohmigawd-stop-me-I'm-eating-seconds divine.  I smacked my lips and moaned a lot.  It was exactly what I had imagined: tangy, sweet, creamy, spicy, peppery.  My husband agreed between his own grunts of pleasure.

The food, people.  He was eating the food.

Maybe, juuuust maybe I'll start using more bleu cheese in things.  This was so good, and so beyond my normal realm of ingredients, that I'm going to keep trying other things on my "dislike" list in the future.

Just don't expect to see beets on here anytime soon.  Bleh.