Showing posts with label charcuterie. Show all posts

Wednesday, March 9, 2011

Pancetta and bacon update

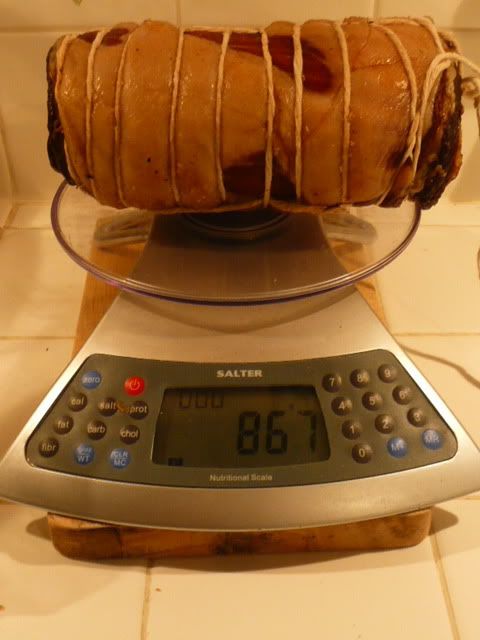
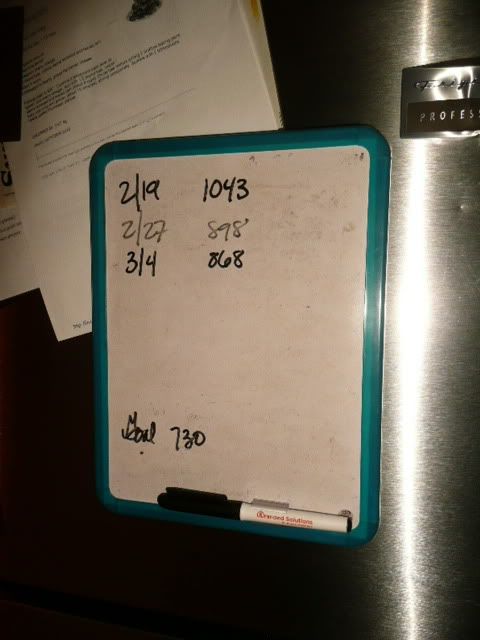
My pancetta started out on February 19 at 1043 grams, or a little over 2 1/4 pounds.  I'm glad I wrote down the dates.


As you can see, it's just 868 as of last weekend whereas it should be closer to 730.


Our weather went through a very dry and cold spell.  According to what I've read, the meat may have developed a crust on it, which isn't allowing the moisture to escape any longer. 

The remedy is to wrap the meat in plastic, put it in the fridge for a few days to allow the moisture in the meat to redistribute, then hang it back up again.  And that's what I've done. 

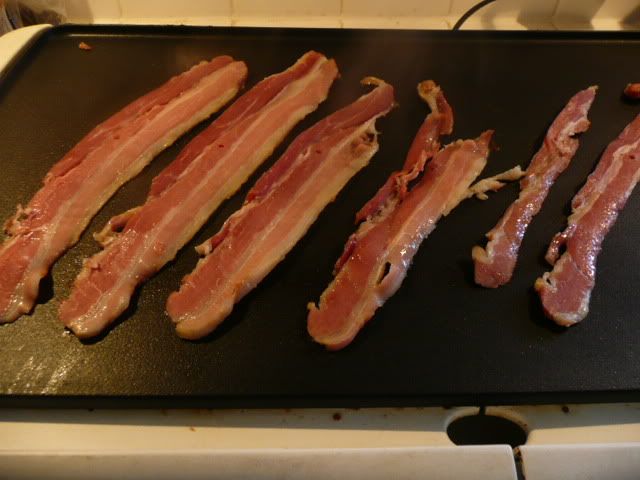
My bacon, on the other hand, is a whole other delicious story.  Last weekend I cut off a few slices and cooked them on the griddle.  The meat is much leaner than store bacon.  Nicely done, Lisa!

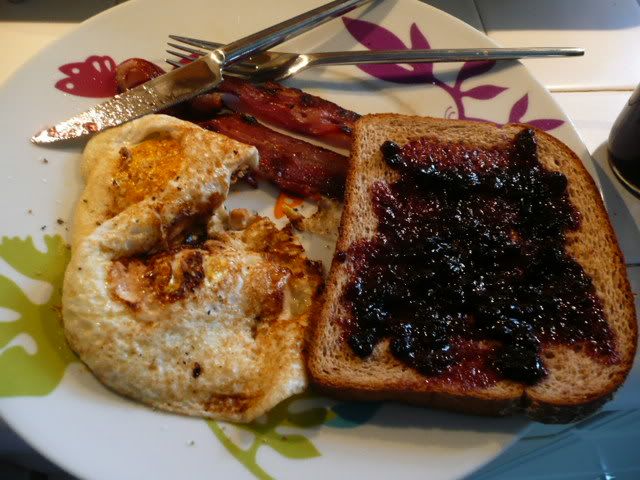
Gene and I had that bacon with fresh eggs from our girls, Poulsbo bread toast, and blueberry citrus conserves I canned (they're my favorite).

Monday, March 7, 2011

Corned beef & Irish soda bread

March's Charcutepalooza challenge was to brine something.  With a cabinet full of pickled cukes, squash, beans, and cabbage, and Saint Patrick's Day not far off, I wanted to try corned beef.

I concocted the brining mixture a week ago and set my locally sourced brisket for a soak.  The recipe called for a five-pound slab but that's a LOT of meat.  I settled on one that was a little under three.

BTW, one of the Charcutepalooza rules was to not include the recipes because they're in a copyrighted book.  Check out Alton Brown's corned beef, which you could do in five days.  Change out Alton's herbs & spices for pickling spice available in the bulk spices section of the grocery store.

If you start yours next Saturday, it'll be perfect for a Saint Patrick's evening meal.  Go on, do it!  The brining takes just five minutes to get going.


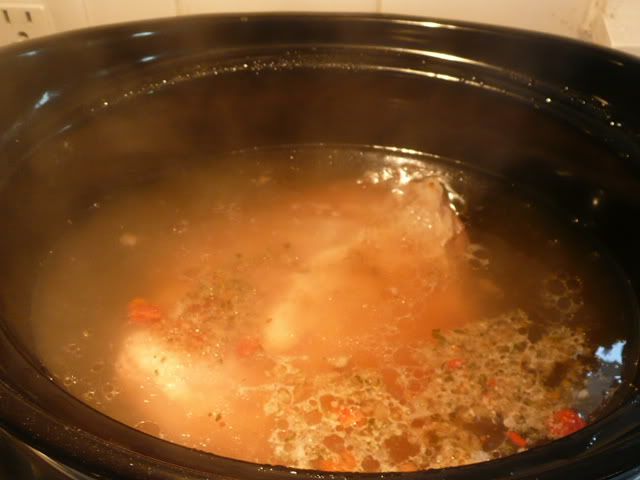
After the requisite five-day period of brining the meat, I rinsed it and put it unceremoniously into the crockpot with some fresh water and about a tablespoon of this vegetable bouillion.  Gene and I had a million errands to run, not one of which was in the same part of town.  The corned beef was left on its own for a few hours.  When we came back it smelled good but was rather tough.  I cranked up the heat in the hopes of breaking down the connective tissues before we left for our friends' house.

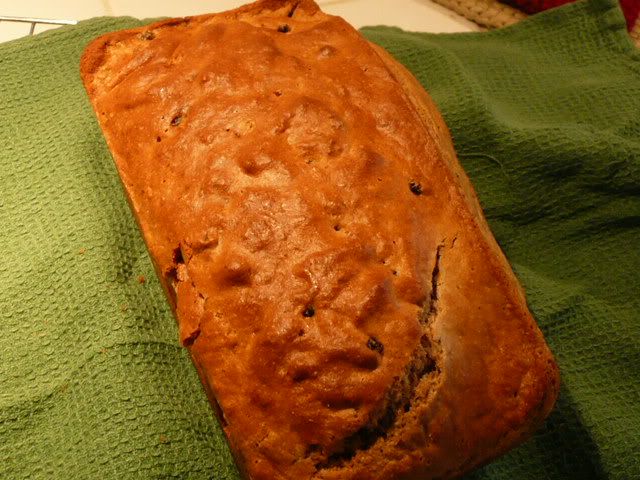
While that was cooking I whipped up a batch of Irish soda bread, adapted from this recipe.  I was completely out of white flour and made it instead with whole wheat.  I increased the leavening agents to lift the heavier whole wheat flour.  It turned out really well and I'll definitely make it again.  This is a bread you could make the night before and reheat.

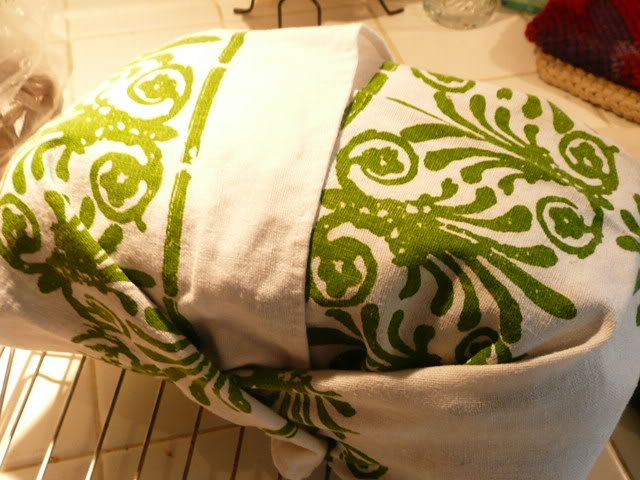
As soon as it came out of the oven I wrapped it in a linen towel and we dashed to our friends house, bread and beef in hand.


I am relieved to report that the corned beef did tenderize and was quite good.  The flavor of the pickling spices had permeated the meat.  Our friends, parents of two young children, welcomed us - and the culinary offerings - with open arms.  They had made boiled potatoes, carrots, and cabbage.  With spicy brown mustard and a local red wine, this was a warming meal shared with good friends.

I regret that I have no photos of our completed dinner.  We were enjoying our evening and completely forgot.  I can say, though, that the corned beef retained a nice pink color and had great flavor.  The kids loved the bread, too!


IRISH SODA BREAD WITH CURRANTS
1 cup all-purpose flour
2 cups whole wheat flour
1.5 tablespoons baking powder
1/3 cup white sugar
1 teaspoon salt
1 teaspoon baking soda
1 egg, lightly beaten
2 cups milk + 1 tablespoon vinegar (or use buttermilk if you have it - I didn't)
3 tablespoons butter, melted
1/2 cup dried currants, such as Zante

1.Preheat oven to 325 degrees F. Grease a 9x5 inch loaf pan.
2.Combine dry ingredients. Blend wet ingredients together, and add all at once to the flour mixture. Mix just until moistened. Add currants gently.  Pour into prepared pan.
3.Bake for 65 to 70 minutes, or until a toothpick inserted in the bread comes out clean.

Note for convection ovens - my loaf was done at 55 minutes. 

The original recipe says to let this cool & wrap overnight.  Blah blah blah.  Screw waiting for it to cool down.  It's utterly delicious served piping hot with butter.


-----------

A year ago today I started this little blog.  Thank you so much for reading.

Sunday, February 27, 2011

Ugly soup

In January, as part of my 2011 resolutions, I was cleaning and ran the oven through a self-cleaning cycle.  Little did I know that would be its swan song.  It never worked right after that, unable to reach temperatures much above "lukewarm".

Gene and I soon went out and picked a new gas oven to replace the old electric one.  The problem is that while we have natural gas in the house for heat and hot water, the kitchen isn't plumbed for gas.  In addition, the delivery date for the oven was a couple of weeks out.  We've been hobbling along without a functional oven for over a month.    As someone who blogs about, among other things, food, that has been a particularly disheartening turn of events.  I have bacon to make, dagnabbit!

On the bright side, yours truly is getting a gas stove.  I haven't cooked on gas since I lived in France over 15 years ago and I cannot wait.

The other bright side is that this is a convection oven.  Yippee!  Though, truth be told, I have no idea what that means in terms of how it'll affect my cooking.

Other upgrades include a newish stainless steel over-the-range microwave we got on Craigslist for $40 and a pot-filler faucet to be installed in the near future above the stove.

All in all the dead oven wasn't such a bad thing, though I'm not excited about the cost.  Alas.

With no oven we've been grilling on the BBQ and cooking on the stove top.  It sucks to BBQ when you can see your breath.

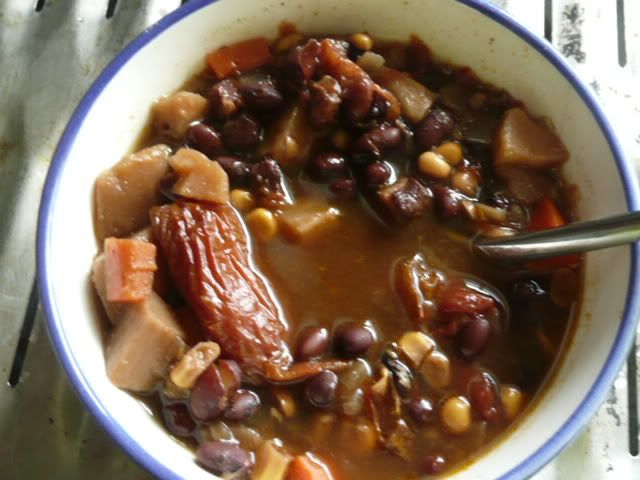
I used up a variety of withering ingredients for this soup and, as the title suggests, it's not going to win any beauty contests but it makes up for it in tastiness and healthiness.


Ugly soup
1 cup dried black beans, soaked and rinsed (ugly ingredient #1)
Olive oil
1/2 onion, diced
3 diced parsnips
4-6 diced carrots
1 cup corn
broth or bouillon of your choice (I used a homemade veggie bouillon, which meant I needed no additional salt)
handful of dehydrated tomatoes (ugly ingredient #2)
1 tbsp cumin
1/2 tsp red pepper flakes
3 ounces salt pork (or use any flavorful meat, such as sausage)
Salt & pepper to taste

In a large stockpot, cook onion in ~1 tablespoon olive oil over medium heat until translucent.  Toss in the root veggies and cook another few minutes to caramelize and get flavor.

Add the corn, tomatoes, meat, and seasonings, then cover everything with your liquid of choice.  Simmer for an hour or longer, depending upon how much time you have.

Serve with a crusty bread to sop up the brothy goodness.

Why is this ugly?  First, the black beans turn everything else a murky brown, like the white parsnips and corn.  The rehydrated tomatoes swell up and look like rusty-brown globs. They're not sexy, but they are tasty.

Most of my ingredients were locally sourced, with the exceptions being the beans, seasoning, and olive oil.  The salt pork is a byproduct of the February Charcutepalooza Challenge, bacon and/or pancetta, and comes from Lucky Pig Farm.

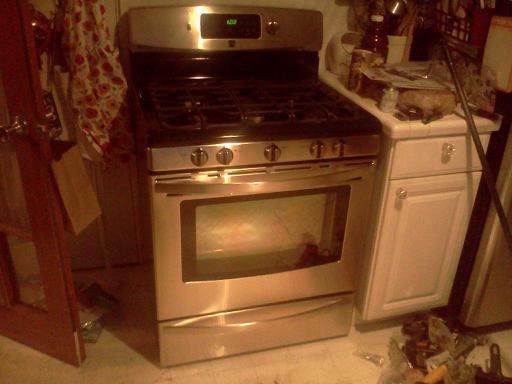
Look what was waiting for me when I got home today (pardon the cruddy cell phone picture).

I plan to break it in tomorrow.
Monday, February 21, 2011

Bacon and Pancetta

Charcutepalooza is in full swing.  It took me a while to get my hands on pink salt, meaning that I'm a bit behind schedule.

A while back I bought a slab of pork belly from my friend and favorite pig farmer, Lisa.  My intent was to cure some pancetta - this was pre-Charcutepalooza  - but I was intimidated by the prospect of taking a $20-slab of meat and hanging it up.  The pork belly languished in the freezer for a couple of months. 

Luckily for me, Charcutepalooza came along, and with it the February challenge to make either fresh bacon or pancetta.  It was time for the pork belly to awaken from its deep slumber.


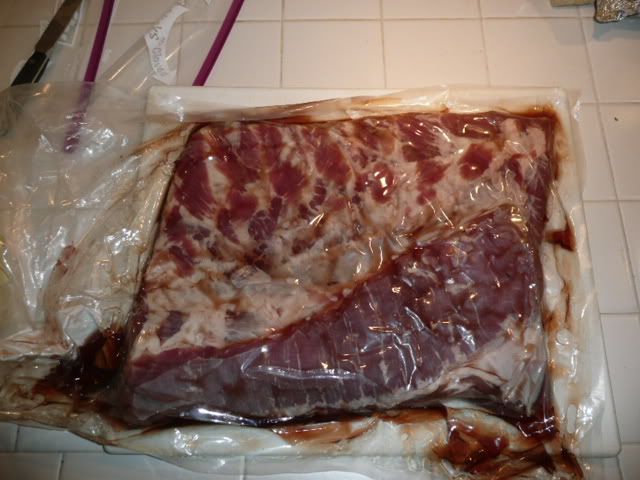
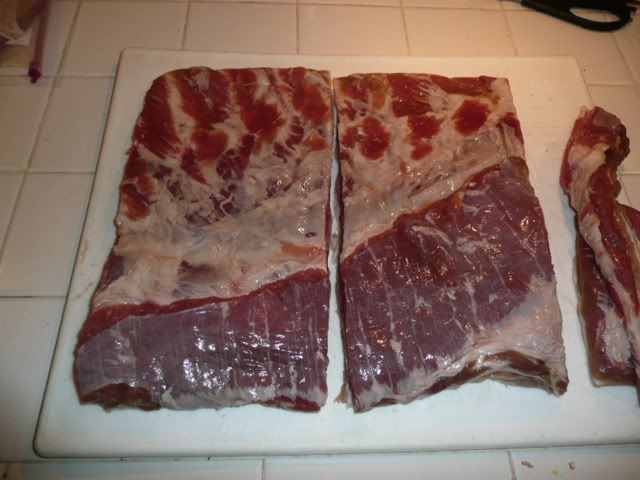
Not knowing what I would do with several pounds of pancetta, I opted to make both the fresh bacon AND the pancetta.  As you can see here, I've trimmed the meat to make it rectangular (more important for the pancetta than the bacon).  The scraps got cut into chunks and made into salt pork.


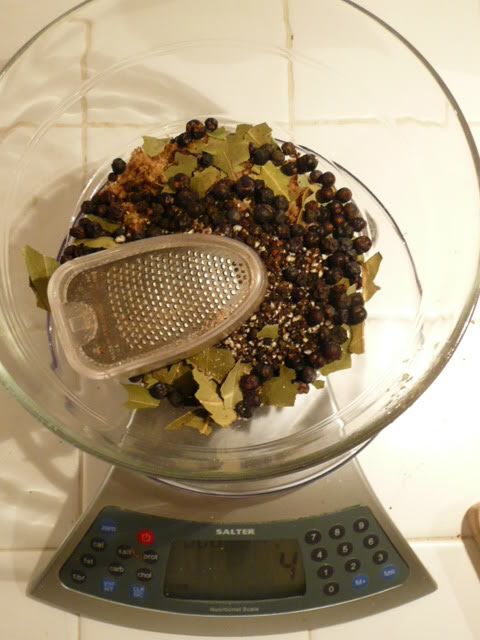
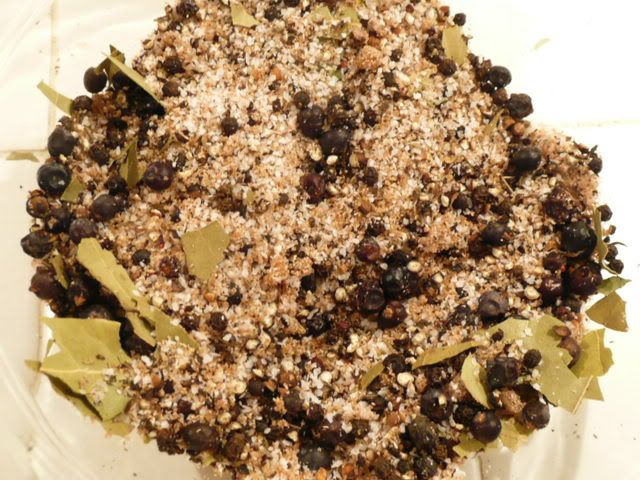
For the pancetta I made up the meat rub, a combination of pink salt, pepper, juniper berries, bay leaves, nutmeg, and a few other things.  Since freshly ground nutmeg can be a pain to weigh, I put the entire grater into the bowl and zero-ed out the scale.  Then I grated my nutmeg and periodically weighed it.  When it hit the correct weight, I opened up the grater and dumped its contents into the bowl.  This was much easier than grating the nutmeg directly into the bowl.


Wish you could have smelled this.


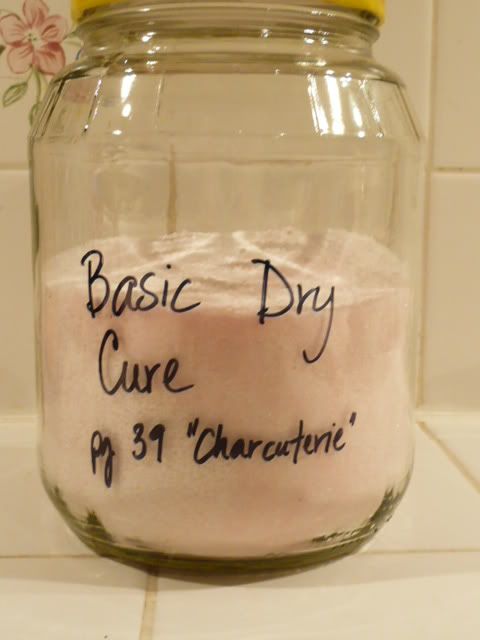
The fresh bacon called just for the "Basic Dry Cure".  It contains sugar, kosher salt, and pink salt.  I've found it's helpful to write down the page number & source book so that I can replicate it at a future date.  If not, Sharpie comes off with rubbing alcohol.


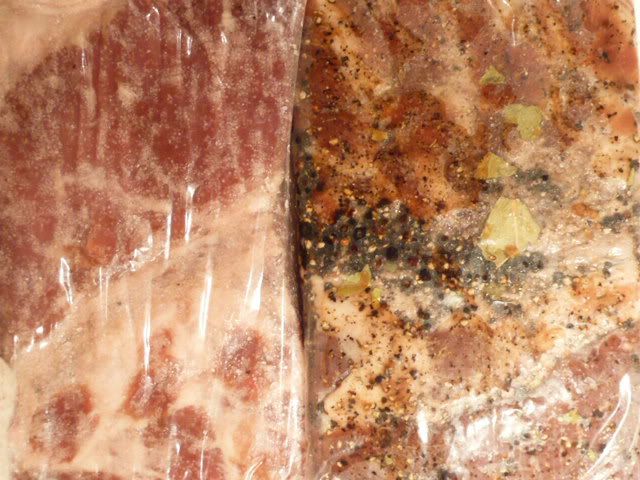
Here are the meats in their respective cures, bacon on the left, pancetta on the right.


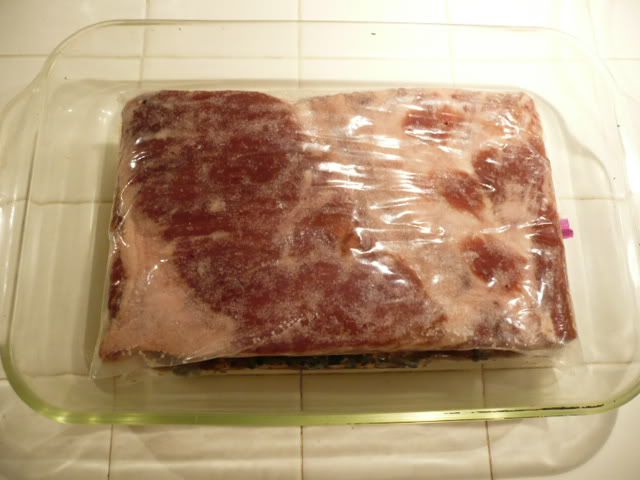
These went into a pyrex dish and into the fridge for a week to cure.  I flipped them daily and was really grateful for that dish after about day 2 - baggies will leak.  Yuck.


I'm now in phase two of curing these meats.  The bacon has to get baked at 200 degrees until its internal temp reaches 150.  Unfortunately, I am sans oven until at least 2/23 when our new one gets here.  It's gas and the old one is electric so we have some plumbing work to do between now and then.  Back into the freezer the bacon went... sigh.

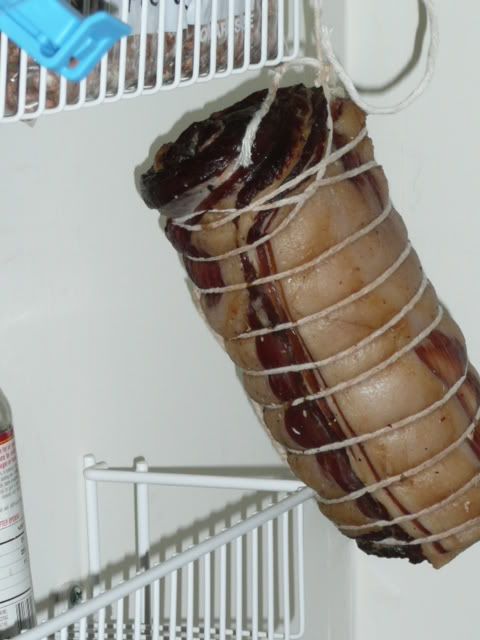
The pancetta, however, is another story.  When its week of wet curing was over, I trussed that sucker up.  To do this, you rinse off the meat, pat it dry, then sprinkle it with pepper.  You roll it up from the short end and then secure it with cotton butcher's twine.  The goal is to get it as tight as possible with no air pockets trapped inside.  It was kind of fun, actually.


I had this image in my head the whole time.  I relate to Mammy in a whole new way now!


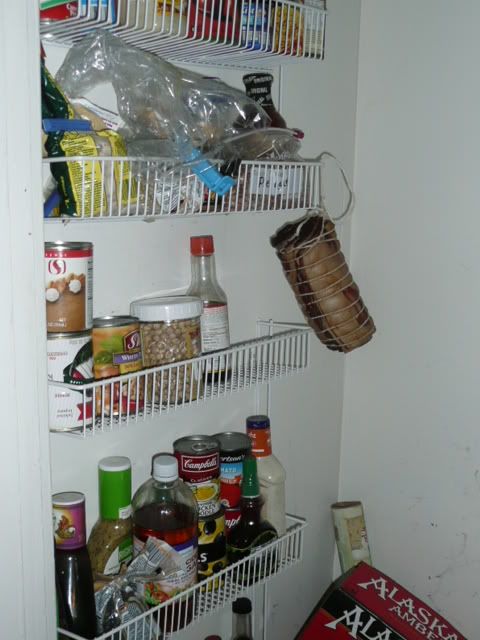
The stairwell to our attic goes up from our kitchen.  Many people don't notice it because I've hung all my pots and pans on the door.  A few years ago I hung wire shelving in the stairwell and call it "the pantry".  Since our attic isn't insulated (OK, much of the house isn't), the pantry is the perfect place to hang my pancetta.  It's cool, dry, and out-of-reach of our 2 cats and 1 dog. 


The meat weighed 1043 grams when I trussed it.  The goal is for it to lose 30% of its weight (730 grams).  I'll weigh it in a few days to see how it's doing.

In the meantime, I'll be looking up recipes that use pancetta.  Let me know if you have a must-try recipe!

Friday, February 18, 2011

When pink salt is not pink salt

A couple we know loves salt.  They love salt so much that they would get salt licks if it were possible.  They collect different salts: smoked salt, truffle salt, flavored salt, etc.  They even bought a block of Himalayan pink salt a while back.

It kinda looks like this:

You serve food on it.  Supposedly you can cook on it but it causes the slab to degrade faster.  They served sliced fresh mozzarella on it, a tasty treat indeed!

Last summer when I decided that I was ready to test making up a batch o' bacon I looked up recipes online and found that many of them called for "pink salt".  That stuff is what came to mind.  A short trip to a local store and I'd procured a bottle of Himilayan Pink Salt. 

Himilayan pink salt is mined and gets its color from the minerals it contains naturally.  The color varies from a pale rose to nearly coral.  In ground or flaked form it's used just like any other type of table salt.  If you buy a slab of it you can serve food on it, as our friends do, or even cook on it.

For some reason I never used it and opted for regular salt, instead.  As it turns out, I'd gotten the wrong kind of pink salt. 

"Pink salt" (sometimes called Prague Powder #1) is a whole other thing.  It's used for curing meats and is a mixture of 93.75% sodium and 6.25% sodium nitrate.  It's dyed bright pink so that you don't mistake it for regular salt and accidently poison yourself.  Oops!

Pink (curing) salt is more difficult to find, which is why my February Charcutepalooza post is behind schedule.  You can find pink salt online but I'm cheap and didn't want to pay $8 to ship a $5 item.  I called a local butcher and asked for pink salt.  They didn't have it but referred me to a butcher in a nearby town.  After choking when they heard how much I wanted - "Is a pound OK?" - they agreed to sell it to me for $5.  I guess a pound is kinda a lot but Charcutepalooza does go all year long.

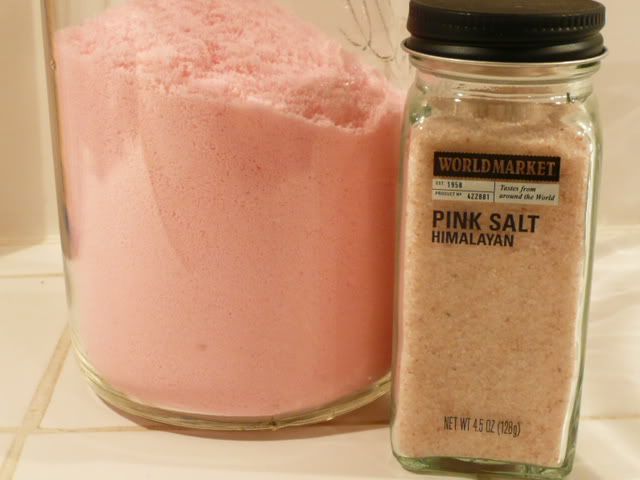
This stuff is screaming, cotton candy p-i-n-k.  Here's a side-by-side.

Tomorrow we make pancetta, bacon, and salt pork.  It's not as much work as it sounds.

Wednesday, January 12, 2011

Charcutepalooza

Having been an avid canner and fervent locavore for several years, I've slowly been sourcing more of our meats from local sources.  We only recently got a stand alone freezer, making large purchase impossible up to this point.  As a home food preservation junkie, the next logical step seemed to try my hand at preserving meats by making "charcuterie", the blanket term in French for any preserved or processed meats.  I guess we call them deli meats in English but it covers a lot more territory in French.

When I heard about Charcutepalooza I had to join.  I was searching for a reason to hit the $25 free shipping on amazon.com anyway, making the timing perfect.

My copy of "Charcuterie: The Craft of Salting, Smoking, and Curing" by Michael Ruhlman arrived about a week later (along with a bubble lawn mower for a friend's little boy... talk about a weird combination of items). 

January's charcuterie item is duck proscuitto.  Duck is expensive and I waffled over buying it.  I finally found 2 small breasts for $8 and went for it.

The process is simple: you submerge the breasts in salt for 24 hours, rinse the salt off, pepper well, wrap in cheesecloth, and hang in a cool place for a week.

Eep.  That last part is freaking me out.

For anyone accustomed to keeping meat in the fridge to prevent spoilage - so pretty much everyone in modern times - unceremoniously hanging meat in what is essentially a closet is, well, scary.  That's why I approached the duck purchase with such trepidation.  What if I spent $20 and it rotted instead of cured?  It's a waste of money and some duck would have died for no reason.

For the sake of Chacutepalooza we're supposed to have our meats cured, consumed, and blogged about by 1/15.  Since I only just hung my meat on Monday, and today's Wednesday, that's not going to happen.  My duck should be ready by this coming weekend because the pieces were relatively small.  I'll write about eating it another time.

Can I laugh now about having said "hung" and "meat" in ths same sentence?  Tee hee hee.  I'm going to do a lot of snickering about sausages, salami, and meat.

I've had one prior experience with homemade charcuterie, having made bacon last fall.  I guess I never got around to blogging about it.  I didn't care for the smoke I had used so the resulting bacon wasn't as good as I would have liked.  I have a feeling this Charcutepalooza challenge will advance my techniques at some point in 2011.  Who knows, maybe I'll actually invest in a real smoker?  The thought of smoked salmon makes my mouth water.

Do any of you have experience making charcuterie?  What did you make?  What would you like to see made during Charcutepalooza?