My grandma gave me this 6-gallon pickle crock a few years ago. This picture was taken in 2008 when I made my first batch of fermented dill pickles. It was a LOT of pickles and it's taken us 2 years to eat and share them.
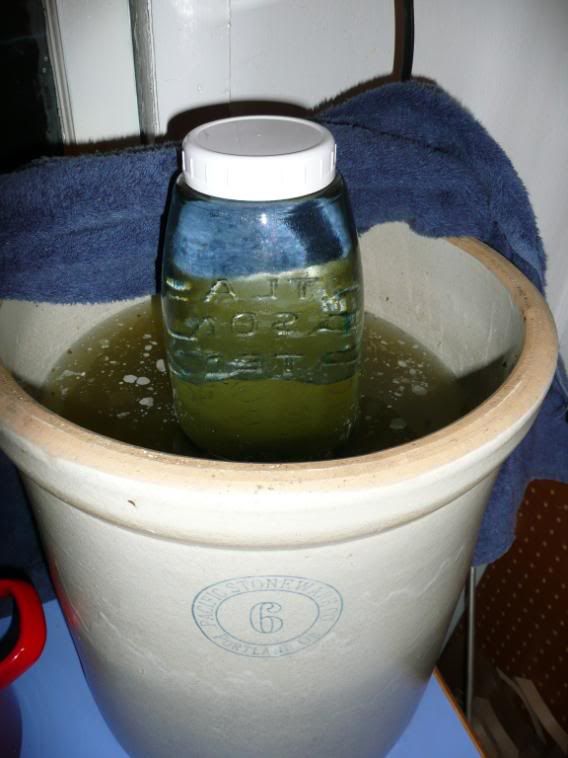
This crock, a Pacific Stoneware made in Portland, OR, probably belonged to my great-grandmother and could be as much as 100 years old. My mom remembers her father making dandelion wine in it when she was a kid. It sat unused in Grandma's basement for 40 or more years until she handed it to me. It's in good condition, with no chips and just hairline fractures in the glaze. It weighs a TON. It still holds water.

Fermented pickles take a lot more time than pickles that get all "dilled up" in the jar. Most people can pickles and let them sit for a couple of months to get their full flavor. I prefer the tang of a fermented dill pickle. It's time-consuming to make but well worth the effort.
~ FERMENTED DILL PICKLES ~
INGREDIENTS
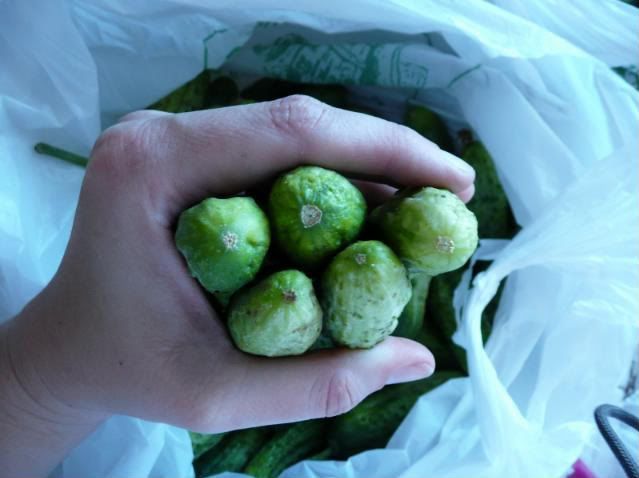
50-100* medium and small cucumbers, scrubbed and blossom-end trimmed off
16 cups water
2 cups vinegar
1.5 cup salt
1/4 cup pickling spices (make your own or buy it in bulk to save money)
3 large bunches of dill (find a neighbor whose dill got out of control, and offer to take it off their hands)
6 cloves of garlic (optional)
Dried chilis (also optional, for use when canning and not for the fermenting)
*Cucumbers are sold by the 100 at the farm stand I frequent. I made about 115 dill pickles because I'd also bought cukes for sweet pickles and had too many to fit into the container.
5 gallon bucket, scrubbed spotless
EITHER a plate & quart jars filled with water OR a plastic bag filled with brine
HOW-TO
Bring the water, vinegar, and salt to a boil, then allow it to cool to room temperature.
Trim the blossom end off your pickles. It's the end that looks like a little brown navel. There's an enzyme in the blossom that makes pickles soft, which is why you trim it. Scrub with a brush to remove all dirt.
Place the pickling spices and half of the dill into your bucket. Place the cucumbers on top and tuck in the dill and optional garlic as you load the cukes. You don't want anything to float to the surface and be exposed to air when you add the brine.

Pour the brine over the cukes, then place either the weighted plate or the brine-filled bag on top to prevent the cukes from being exposed to air. If they're exposed to air they will rot rather than ferment. That's a bad thing.
Now you wait. Check the brine daily for signs of scum (you can see a little floating white stuff in the top picture). Remove it with a slotted spoon or sieve. Depending upon the temperature where you are, it can take as little as 3 weeks or as many as 6 to fully ferment.
When the cucumbers have stopped releasing bubbles it'll be time to can them. If you don't want to can them, you can leave the pickles submerged in a cold place for up to 6 months. But you'll still get scum on the surface so it's easier to just can them to make them shelf-stable.
By the way, when I bought my cucumbers at the farm stand they were selling quarts of hand-made pickles (not the fermented kind) for $13.95. My pickles were $16.95/100, plus the cost of the vinegar, salt, pickling spices, dill, and canning lids. I'll probably can about 10 quarts for maybe $21.
See the rest of the process here.
No comments:
Post a Comment