Thursday, December 23, 2010

Christmas Stollen

Stollen is one of my favorite Christmas treats.  It's a traditional sweet yeast bread enjoyed in Germany.  It has dried fruit and nuts, sometimes marzipan (my favorite), and is covered with layers of butter and powdered sugar.  It has a similar flavor profile to panetonne, an Italian bread that's served around Christmas.  I crave it bad this time of year and since a single loaf is selling for $24.99 at Metropolitan Market (pft... as if), I make my own.  I give it out as gifts and hoard the rest for myself.


I based my bread this year on the epicurious.com recipe, which you can find here.  I made a few changes, though.  I wish I'd printed out and kept the recipe I used last year, because I think it was better.  That'll teach me, eh?  The recipe didn't blow my skirt up.  I have listed at the bottom of this post how I changed the recipe.

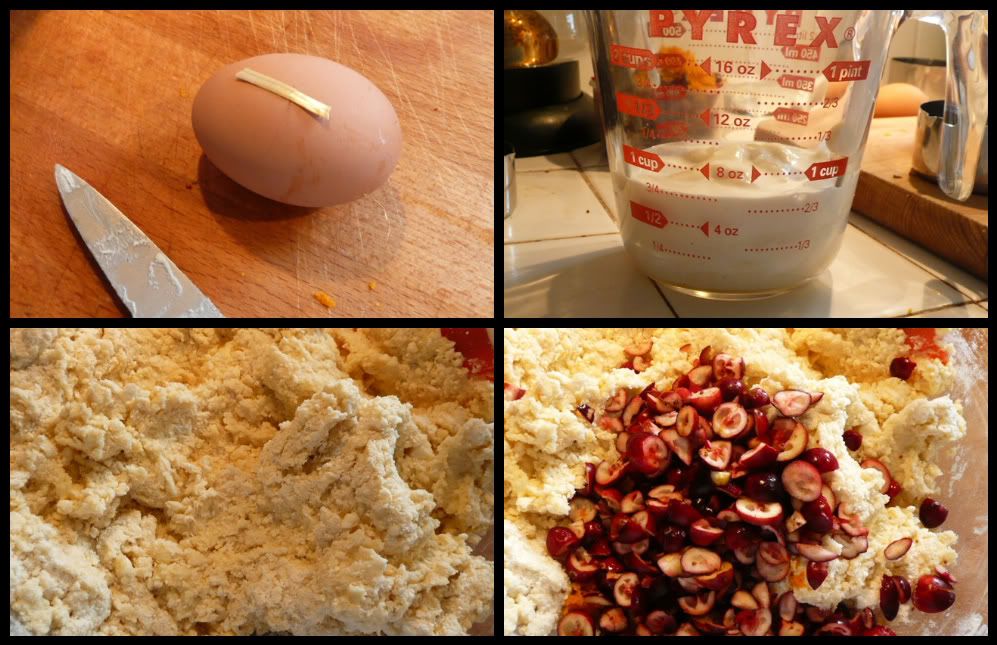
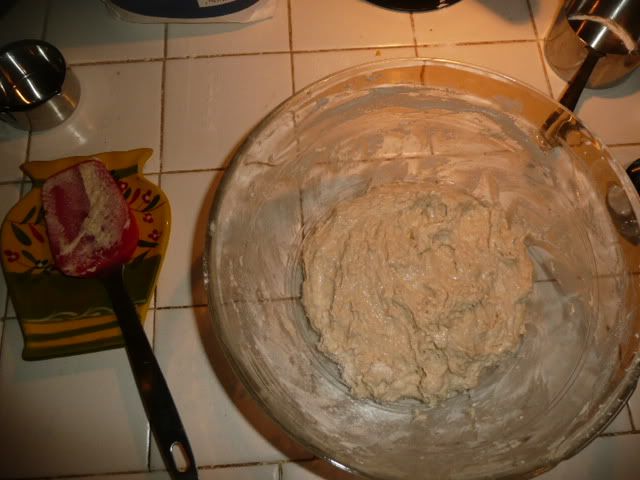
Stollen is a yeast bread, so you start out by making a sponge.  That's easy enough.


But back up a minute.  This recipe didn't have any booze in it.  Shame shame!  I substituted currants for the raisins in the recipe and soaked them overnight in brandy.  They plumped up and were pretty boozy by the next morning.


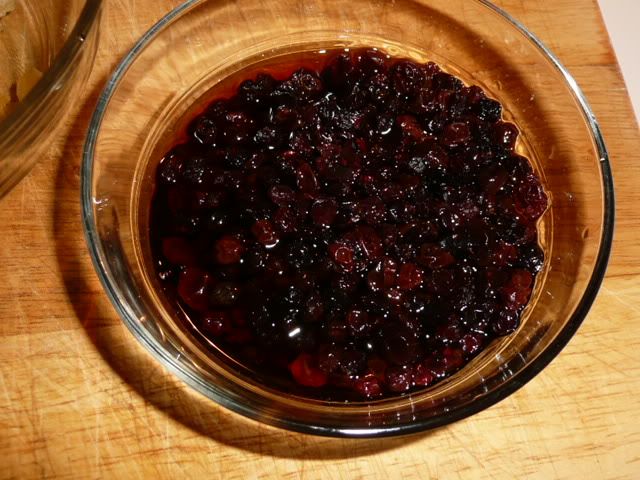
I saved the brandy rather than drink it (and boy, was I tempted!).  It's a good thing I saved it because I wound up using it in a chicken liver pâté I made the very next day. 

Another deviation from the traditional recipe was to use chopped hazelnuts instead of slivered almonds.  I recently ran into my farmer buddy who sold me these nuts and I was feeling guilty for not having used them.  So into the bread they went.


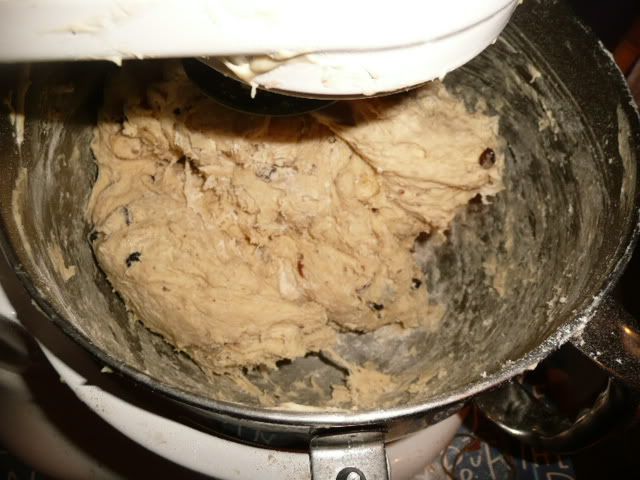
From here you mix...

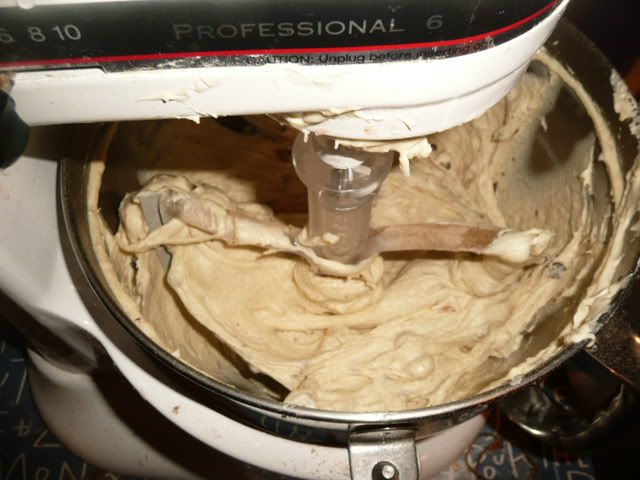
...knead for 8-12 minutes... 

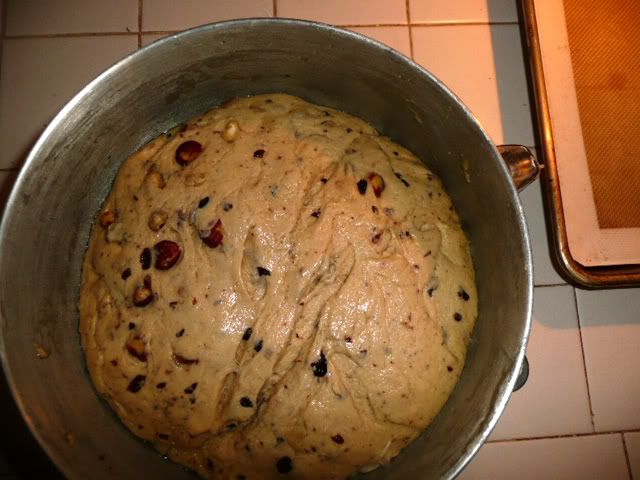
...and let the dough rise for 2 hours.

I don't remember waiting 2 hours for the dough to rise in the past.  Because it was taking so long, I finally put the dough in the fridge overnight and finished it the next day. 

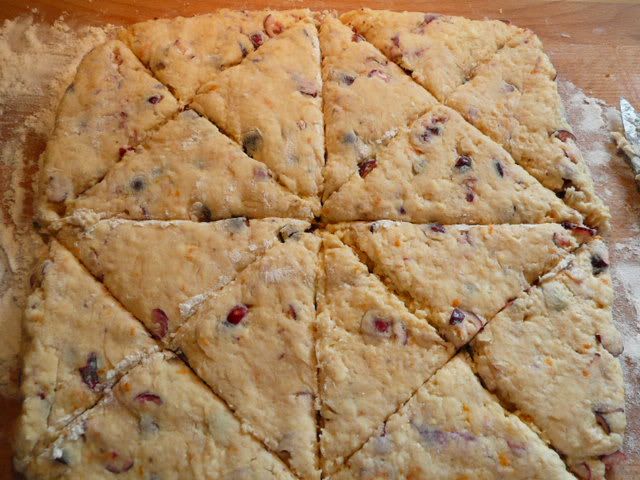
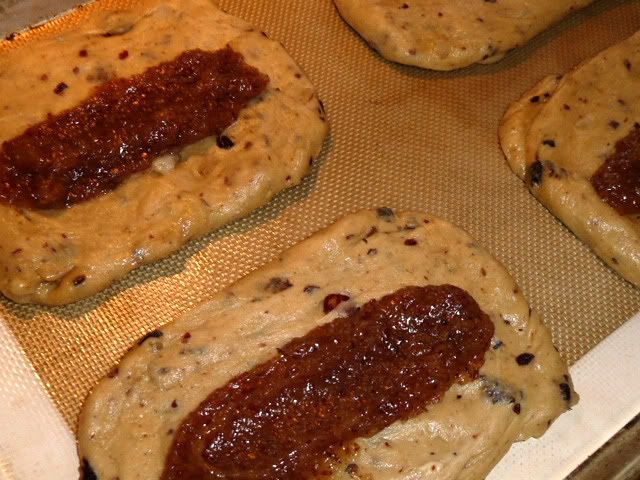
This was another deviation from the epicurious recipe: I added a marzipan filling when I shaped the loaves and I made 8 small loaves instead of 2 big ones.  The marzipan was a canned filling and I was surprised when I opened it that it was brown instead of white.  Oops.  Guess I bought the wrong kind.  I think it was every bit as good, though.

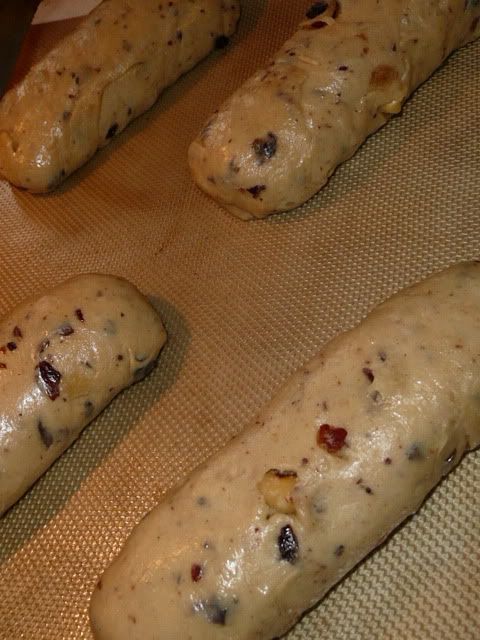
Roll these puppies up and let them rise another 2 hours.  This is a "hurry up and wait" recipe if ever there was one.


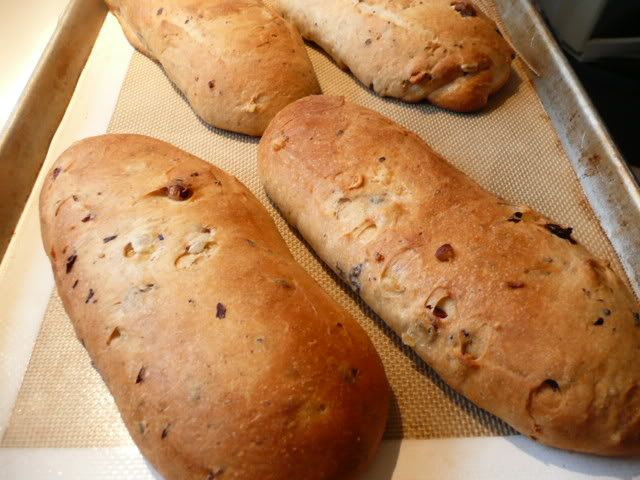
I finally got to bake them on day 2.  I reduced the baking time to about 35 minutes and checked them with a thermometer (205 degrees is ideal) to make sure they didn't dry out.

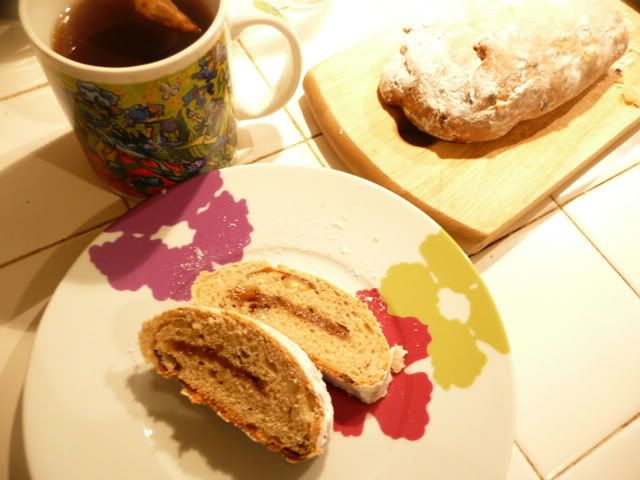
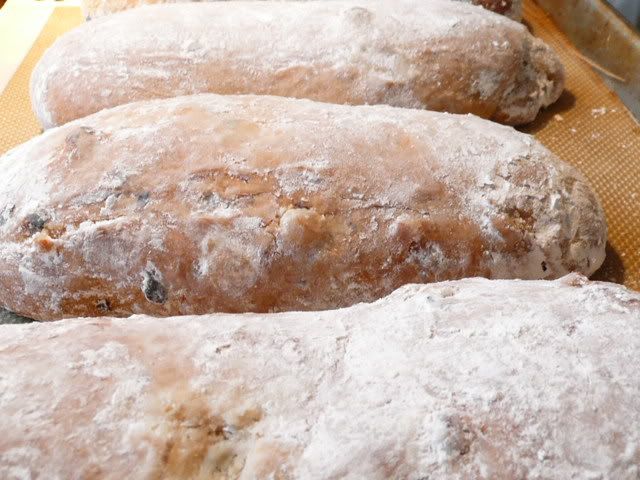
After they cooled, I brushed them with butter and rolled them in powdered sugar.  Doing so keeps them moist for a longer period of time and adds flavor.


My favorite way to have stollen is with tea.


My changes to the original recipe:
  1. Substitute currants for raisins.
  2. Soak currants overnight in brandy.
  3. Ditch the candied fruit - that's weird.  Use candied lemon instead.
  4. Replace slivered almonds with chopped hazelnuts.
  5. Add a marzipan filling.
  6. After the bread is done and warm, but not hot, brush with melted butter and roll in powdered sugar.
I guess I'm still on the quest to find the perfect stollen.

Wednesday, December 22, 2010

Dark Days Frittata

As you may know, hubbie and I keep 9 hens on our wee urban lot in our city of 200,00 inhabitants.  These girls provide us with an abundance of eggs... unless they're molting.  Then they don't lay at all.

Of our nine hens, six are "production" birds, which typically lay 4-6 eggs/week all year-round.  The other three are ornamentals and lay from 2-4/week starting in about April or May and going until October or so.  Lately only Gwen and Nugget have been laying - all the girls had really hard molts this fall - but it's still enough to provide our household of two with enough eggs for eating and baking. 

And these eggs are the perfect Dark Days Challenge food.

Here's a frittata that I made.  I guess it's technically a frittata because there is no bread in it, which would make it a strata, nor does it have a crust, which would make it a quiche.

Dark Days Frittata

I started by dicing and cooking some red potatoes from our garden.


I cooked them up in my favorite skillet.


Then I added some chopped kale and garlic.


I decided that I was going for kind of a southwest-y flavor, so grabbed one of my roasted red pepper ice cubes from the freezer.


... popped it into the microwave for 30 seconds...


... then beat it with about six eggs, some salt, and pepper.  Next time I'll use 2-3 of the cubes because the flavor got lost amongst the other things.


I poured the eggs over the potato mixture, then topped with some cheese.  I think this is more of the queso fresco I've had for a while.


Bake at 350 for 30-40 minutes and voila!  I topped it with some cilantro that had been languishing in my fridge.  The cilantro and cheese were the only non-local ingredients. 


Ingredient break-down:

Local: eggs, potato, red peppers, garlic

Not local: salt, pepper, cilantro, cheese

Tuesday, December 21, 2010

Dark Days chicken with cranberry relish

There are just days when it seems like getting a meal to the table is an impossible task.  Then you throw in the Dark Days Challenge (DDC) and there's an entirely new hurdle.  I mean, it's one thing when I plunk down a dish in front of hubbie and wave my hands over it, rattling off the local ingredients.  It's a whole new ball of wax to know that new people who have never read my blog will now read it for the first time, judge it, and either come back or henceforth eschew the Pint-sized Pioneering link.

Gah!  The pressure!!

Deep breaths: I can do this.  I cook with local ingredients all the time.  I canned last summer so that we'd have local foods for this winter.  Chill out, Jenn, and just cook.

In all honesty, this meal wasn't conceived as a DDC submission.  It was a spur-of-the-moment, grab-and-go from the grocery store, followed by a throw-it-together frenzy once at home.  Only after I'd made it did I realize that it was worthy of a DDC.

Here's a breakdown of the ingredients and their origins.

From the grocery store:
Chicken cutlets (local)

Pantry items:
Potatoes (from my garden)
Green beans (home-canned)
Garlic (farmers market)
Salt and pepper (not local)

Fridge items:
Cranberry sauce (homemade from farmers market item)
Mustard (not local)
Tomato jam (from my yard to my pantry to my mouth it's about a 50-foot voyage)
Butter (local)
Wine (Washington State)

I started out by browning the chicken cutlets in a skillet, then removing them.  I threw in a half-used container of homemade cranberry sauce, a blob of dijon mustard, salt, pepper, and some white wine.

Snuggle the cutlets back into the sauce, cover, and let simmer for 20 minutes or so.

While that was cooking, I pricked the potatoes, cooked them in the microwave for about 8 minutes, then finished them off in the oven to get crunchy skins.


Finally, I popped open a jar of my green beans from my pantry.  After opening them I realized I'd canned sans salt.  I remember having a reason for this at the time but it now escapes me. 


This is not as much salt as it would appear.  Most of it dissolved in the water. 

Once the beans were warmed up, I drained and put them aside.  I threw a pat of butter and some minced garlic into the pot, swirled it around, then returned the green beans and tossed them.  Done and done!


All plated up, it was a darned fine meal.


That potato was screaming out for a dollop of tomato jam.


Why yes, I do think that a glass of Washington State Pinot Grigio would go nicely with this, thankyouveddymuch.


Monday, December 20, 2010

Knitted wine charms

Last week I was looking at some "Top Ten Not-a-Mug Gift List" and found these scarf wine charms


Being a knitter, I scoffed at buying such a silly thing... then set out to make my own.

Oh, holy crap is this a cute, fun, and instantly gratifying project.  I whipped them out in just 2 nights, not including the fringes.  It took me longer to pick the yarn and stitches than it did to make the teensy scarves.  They are adorable, don't you think?


(I think this grey one is my favorite.)


This one is sooo soft because it's merino wool.  Heck, most of them are wool... good wool.


These were delivered to my friend, Margaret, on Sunday afternoon.  She said they'd be perfect for camping.  And that's why she's my friend: she drinks wine when she camps.  I love her!  Margaret is such an amazingly talented knitter than I think many of us knitting underlings are afraid to knit things for her.  Knot me!

If you knit and still need a fast, unusual project for Christmas, make some of these.

Sunday, December 19, 2010

Guest post - Pasta with kale

Meet Jennifer.  She and I went to high school together, where I sat behind her in algebra class.  It took me most of that semester to realize that our teacher was, in fact, her dad.  Jennifer and I reconnected last summer on facebook when our classmates were planning an 18-year reunion.  (I know... weird.)

As we've gotten to know each other again via facebook Jennifer and I have discovered that we have a lot in common.  I asked Jennifer if she'd be interested in doing a guest post on cooking with local food in Bellingham.  Oh happy day, she agreed!  Jennifer is an avid user of her pressure cooker, something I've yet to really get into, so help me persuade her to return with a future post about pressure cooking, ok?

Jennifer lives in Bellingham with her handsome husband and their two young boys.  Bellingham is home to 2 farmers markets, Western Washington University, and is located a stone's throw from the San Juan Islands and  Canada. 

Without futher ado, I'll turn my blog over to Jen for today.

-------------
One of the things I love to make in the fall and winter months here in Bellingham is pasta with kale. I first saw Lydia Bastianich cook this on her show called “Lidia’s Italy.” It’s simple, easy, and takes very little equipment or fancy foods.

The best part however, is the fact that you can substitute any bitter green veggie for the kale. Some good substitutes that I’ve used in place of kale are swiss chard, arugula, beet greens, collard greens, and mustard greens. These greens on their own are usually dismissed by many as tasting awful. But cooked in this manner they are delish, light and healthy. Bitter greens are usually available all winter long from local farmers and they’ll even grow up through the snow.

All photos by guest blogger Jennifer, except as noted

I purchased my kale from the Rabbit Fields Farm stand at the Bellingham Farmer’s Market. It’s open year round now due to the building of the covered market area. Most of the building is made from recycled building material and the internal structure utilized refurbished beams from an old county bridge.

On top of the market structure is a weathervane in the shape of a beet that was made by a local artist. Welcome to Bellingham!

For a nice break from meat during the week and a tasty way to serve up kale, here’s how to make Pasta with Kale.

Ingredients:
16 oz. dried pasta (I prefer linguine)
Grated parmesan
1 garlic clove
1 bunch of kale
Favorite bottle of white wine (this is optional and veggie/chicken stock/or even water can be used instead)
Red pepper flakes
Salt and pepper to taste
Olive oil

Instructions:
First, thinly slice a clove of garlic and sauté in small amount of olive oil. Scoop out the garlic when it begins to turn brown and reserve.

Then chop up your kale into small bits and place into the garlic infused oil. Get ready: iy will snap, crackle, and pop because the kale contains so much water, which reacts with the oil.


Toss the kale in the oil, cover quickly, and cook down for a few minutes.

Once things have settled down under the lid of your pan, add a pinch of red pepper flakes, salt and black pepper.

Toss again and then add a bit of wine. I use about ¼ cup. Cook off the alcohol in the wine and cook the kale until is it tender. Add the reserved garlic back to this mixture at this time.

While the kale is cooking heat up a gigantic pot of boiling water with a small handful of salt. Yes, I said handful.  In Italy, the farther south you go the saltier the pasta water gets, so that by the time you’re in Sicily the pasta water is as salty as the Mediterranean. One small handful and you’re about mid-Italy.

I cannot emphasize enough, but make sure this pot of boiling water is BIG.  If your noodles have ever stuck together it’s because you didn’t leave enough “swimming room” for the pasta.

Once your pasta is cooked scoop it out of the water and add it to the hot, cooked kale. Toss the pasta, garlic and kale mixture together in the pan. Add a little extra pasta water if the pasta and kale are having difficulty mixing together.


Turn off the heat in the pan and sprinkle a generous amount of parmesan cheese. Serve it up in bowls and enjoy.


The whole meal takes just 20 minutes, so it’s a really good dish to make when you don’t have a whole lot of time.  Have fun!
-------------

Leave a nice note for Jennifer if you want her to write another guest post sometime.


Friday, December 17, 2010

Cranberry-orange scones - my own recipe!

There are 4 farmers markets in Tacoma, each on a different day of the week in a different part of town.  Three of them closed for the winter in October but the one that's the farthest from my home has decided to open once monthly.  A month ago I stumbled upon the open market and found fresh, bulk cranberries at the seafood booth.  I've seen fresh cranberries in the grocery store plenty of times but never in bulk.

(Learn how cranberries are grown here, and see pictures here.)

The vendor explained why you never see cranberries in bulk: cranberry farmers have exclusive contracts with Ocean Spray, which prohibits them from selling cranberries to anyone else.  This vendor had a friend who had some berries that weren't promised elsewhere so had offered to sell them at the market.


I bought 2 pounds of berries... and am still trying to figure out what to do with all of them.  I'll probably freeze them for later use.  Cranberries do freeze beautifully.  I'm also floating the idea of trying to make a cranberry curd.

Ever seen a fresh cranberry up close?  They're hollow, which is why they float and bounce.

I once ordered a fancy girlie martini with cranberry flavoring of some kind.  It came with a cranberry floating in it, which I ate for some stupid reason.  A word to the wise: don't eat raw cranberries.  They are so tart and acidic your face will cave in on itself.

Because I'm a scone junkie, here's a recipe I created to feature the fresh cranberries.  The scones are light and airy.  Take a bite and you'll get both sweet from the glaze and tart from the berries.  Fresh cranberries are very different from dried ones.  Hubbie has already asked me to make these for Christmas morning.


Enjoy.


CRANBERRY-ORANGE SCONES

Ingredients
3 cups flour
1/2 cup sugar
5 teaspoons baking powder
1 teaspoon salt
1 1/2 sticks cold butter, cut into pieces
6 ounce container of yogurt plus enough cream or sour cream to make 3/4 cup
1 egg, lightly beaten
1 teaspoon vanilla extract
1 orange, zested and juiced (need 1/8 cup orange juice)
1 cup chopped cranberries (chop, then measure)
Optional: 1/2 cup chopped nuts

Glaze:
Powdered sugar
Orange juice

Instructions
  1. Combine flour through butter in a food processor until it resembles corn meal.  Move to a large bowl.
  2. Combine the wet ingredients, including orange zest and juice in a measuring cup, then add to the butter/flour mixture.  Stir until just combined.  Dough will be very sticky.  Your egg may or may not have straw stuck to it.
  3. Add in the cranberries.
  4. Turn dough onto floured surface and pat into a square 1/2" high.  Cut in to triangles as seen in the picture and transfer to a baking sheet.  At this stage you can freeze the scones on a cookie sheet then move to a baggie once solid (see note below). 
  5. Back at 350 for 20 minutes or until faintly golden brown.  Allow to cool on a rack.
  6. For the glaze, combine roughly 1 cup of powdered sugar with small amounts of OJ until it resembles a runny glue.  Drizzled on top or dip the scone into the glaze.


If you're going to freeze these you can cook them without defrosting.  Cook at the normal temp and check them at the 20-minute mark.  My office has a toaster oven that's perfect for cooking scones at work and torturing colleagues.  I also like to keep a couple of kinds of scones on hand in the freezer so that I can make a variety at a moment's notice.

By the way, these pumpkin scones are delicious, and very close to the Starbucks version that inspired them.  I doubled the baking powder and all of the spices except cloves, increased the butter from 6T to 8T, and improvised my own glaze of vanilla extract, powdered sugar, and cinnamon.