Tuesday, September 7, 2010

Wedding anniversary

Today is our first wedding anniversary.  In honor of this year of mariage, I want to share some pictures from our honeymoon in Hawai'i.

 Near Kaneohe

Windward coast somewhere

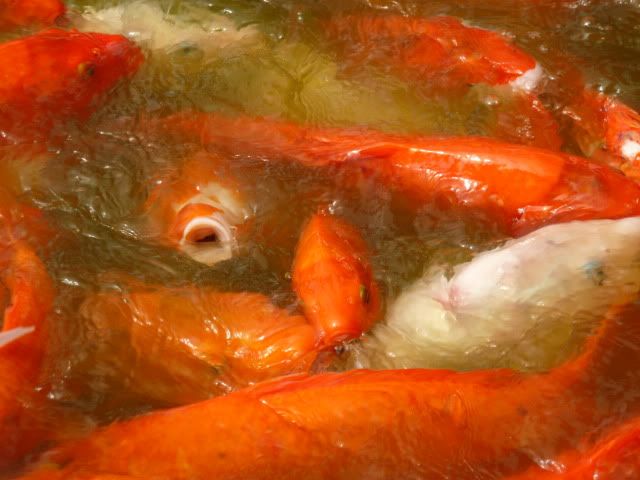
 Koi

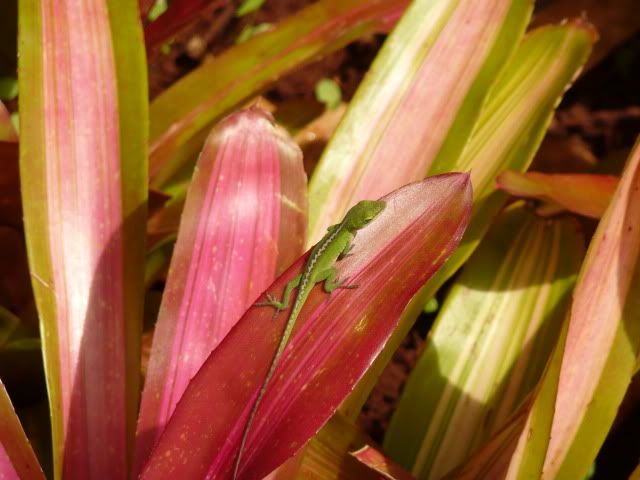
 Native lizard

 Ed
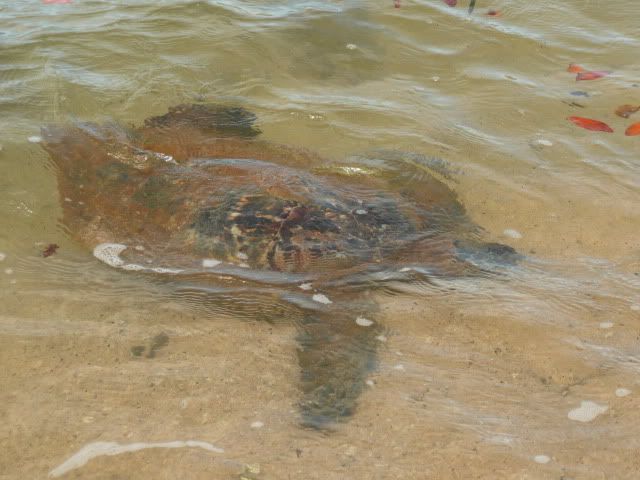
(the beach where we stayed was home to no fewer than 6-8 sea turtles, some of whom we named)

 "Our" beach - we rented a studio in a private home on the beach and saw people on it just twice during our week there.

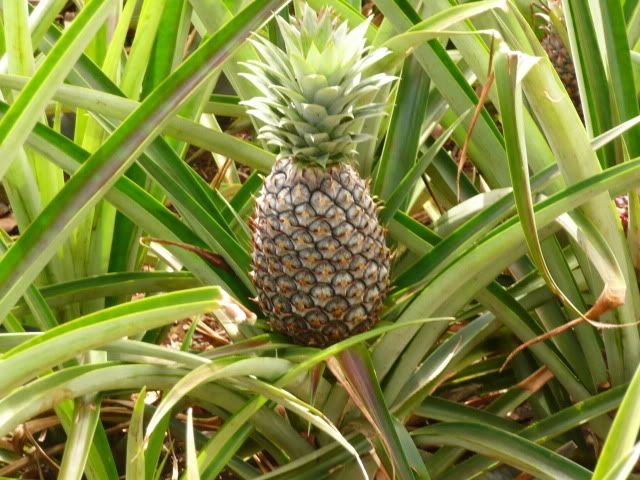
How pineapples grow.

Sunset on from the North Shore
(Is it any wonder we painted our house bright blue and used orange accents upon our return from our honeymoon?)

Happy first anniversary, honey.  You bring out the best in me.  May we enjoy many more anniversaries.

Monday, September 6, 2010

Purple veggies

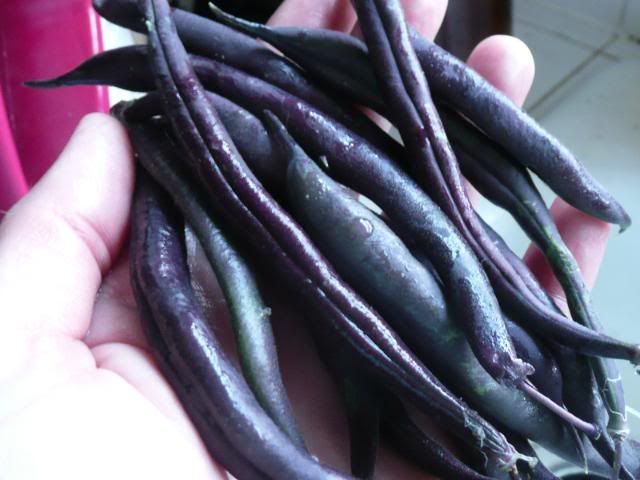
When I pulled up all of my potatoes I made a nice little discovery: the purple beans I had planted were just 8" tall but covered with beans.

OK, this was the entire crop.  But aren't they pretty?

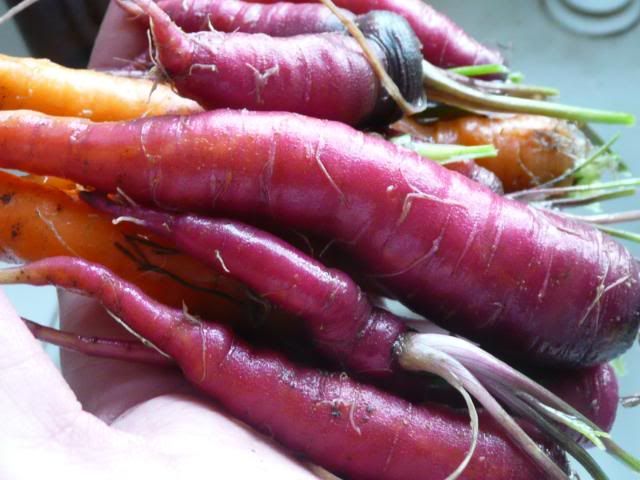
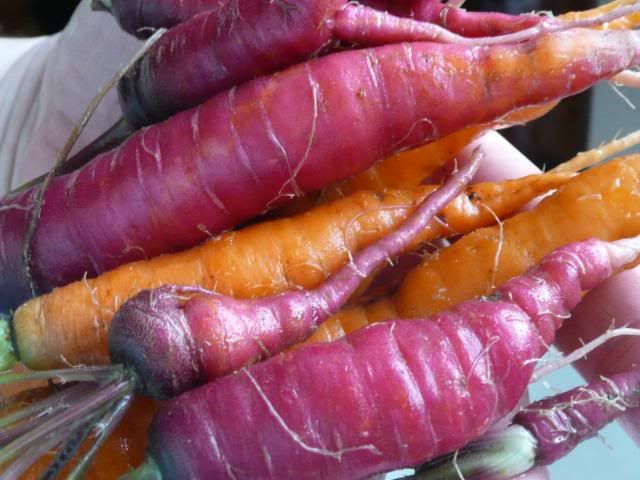
I pulled up a few of my "Cosmic Purple" carrots.  They're still small but check out this color.

I've left the rest of them in the ground and will plant a fall crop in the front yard in the hopes of getting more out there.  Last year I regretted not having planted more carrots.  Home-grown carrots are just so... so... "carroty". 

The orange carrots are basic Nantes variety, nothing special, but still tasty.

Sunday, September 5, 2010

Review of a garden tool

My mom spends her springs in the mid-west and usually returns with an implement of some kind for my garden.  Last year she brought me a tote similar to this one.

I love the tote and use it all the time for shopping at the farmers market and grocery store (added bonus: no touching icky store baskets!).  People always stop me and ask where I got it.  It even has a pocket inside for car keys and a small wallet, items which would otherwise get buried by the haul.

This year my mom gave me this.  It's sort of a leatherman for a gardener.  I wish I still had the package to tell you the brand.

It has clippers...

... a saw and a knife...
... a "weeder" and a serrated knife/bottle opener:

The bottle opener especially cracks me up because I don't drink beer.  But I could come to the rescue of a neighbor in their yard who finds himself sans opener!  I guess it could be used to open garden chemicals.

Oh look.  You can see my toe in that last pic.  My pedicure was pretty until I got paint stripper on my toe while refurbishing my windows.

I have used this tool several times but wouldn't recommend getting it (sorry, Mom). 

The not-great:
  • The green plastic cover slips off with very little effort.  There are small metal disks that cover the pins on which the blades pivot.  Those covers come out when the green plastic cover slips, getting lost in the grass.
  • The clippers are hard to use because they open too wide to use comfortably in one hand. 
  • I used the saw to hack away at my neighbor's butterfly bush that was encroaching on my tomatoes.  With such a short blade it's hard to get any sort of traction in the branch before you have to change directions.  That said, it did work but took a lot of effort.
  • I'd be afraid to use the weeder tool for 2 reasons: 1) I am not confident that the tool could stand up to the leverage required to get a stubborn weed out of the ground 2) I wouldn't want dirt to get into the tool.
  • I have no idea what the serrated blade on the bottle opener is for that the saw couldn't do.
The good:
  • I've been leaving the tool on my front porch.  When I go to the front veggie gardens to cut a squash off the vine, saw off broccoli head, or snip some herbs, the tool has been very handy.  That's been useful because I keep my garden tools in the backyard.
  • Its small size and fold-ability mean that you can't hurt yourself on it.
In summary, it's a OK tool but not one that you should buy for yourself.  I doubt it will withstand the type of abuse heaped upon normal gardening tools but for harvesting things from my kitchen garden it's been fine.

Saturday, September 4, 2010

Tastes like chicken

We've been buying all of our food at the farmers markets.  My favorite vendor is Lisa from Lucky Pig Farm and her adorable 7-year-old son named Calvin.  Lisa is so friendly and talks lovingly of her animals and farm.

G-man and I rode our bikes to the market and I decided to get some chicken from Lisa.  Unfortunately I got a flat tire on my bike.  Luckily there's a bike store right near the market, so I left my paid-for chicken with Lisa while my tube was replaced. 

When I returned to get my chicken Lisa was busy.  I enlisted Calvin to retrieve my chicken, then G-man and I rode home.

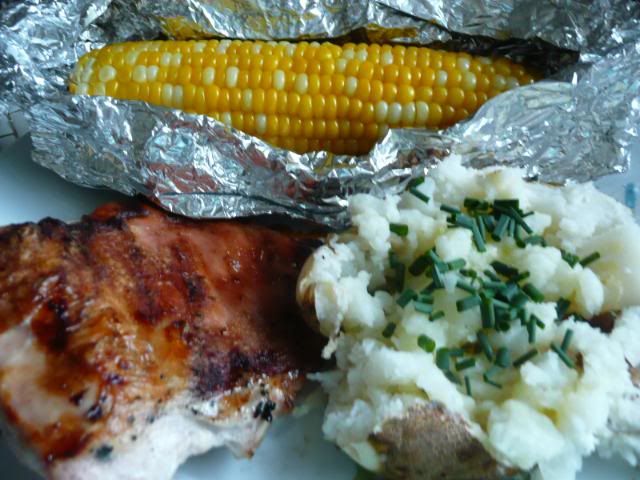
For dinner we'd decided to cook the chicken and accompany it with roasted corn and potatoes from our yard. 

G-man roasted the chicken and I never saw it until it hit the plate.  When he served it I asked where the drumsticks were. 
"There weren't any," he told me.  "It was just the breast meat."  I scratched me head. confused: the chicken I'd bought had had legs and wings.  "It wasn't 2 pounds, either."  I'd bought a 2-pound chicken.  2+2 wasn't equalling 4.

Oh well, the meat was hot and on our plates, so we dug in.  It was good and tasted like chicken.

The next day Lisa called me: Calvin had given us another customer's rabbit loin.  Lisa had frozen it for us and would bring it to the next week's market.  She told me that Calvin was horrified and had cried because he didn't want me to be mad at him.  I'm sure that he has seen some people's faces when they walk by the stand and cringe at the "fresh rabbit" sign.

Calvin and I hugged and made up the next time I saw him.  I assured him I wasn't mad at all.  Hey, I've lived in France, home to equal-opportunity meat eaters!

Tonight we're going to eat that chicken I bought.  I've seen it: it has 2 legs and 2 wings and it's definitely a chicken.

Friday, September 3, 2010

Corgis shed. A lot.

When we got Rosemary her breeder said, "you do know that every corgi's first job is to shed, right?"  I muttered something to indicate that, yeah yeah, I knew, I had cats, and shedding was not unknown in my house.

But I only knew in a strictly academic sense.  Holy moly that dog sheds non-stop!  It's rather impressive.  What's weird, though, is that she only seems to shed white fur.  She's russet, black, and white.  Where is the rest of the fur going? 

Do I want to even know??

We've been grooming Rosemary frequently using a furminator and yet the furballs are everywhere: under the furniture, skittering across the hardwood floors, gathered on the stairs of the back porch, in the car, on the cats.

This is our female cat, Mira.  Even she is subject to Rosemary's shedding.  Last weekend I found Mira with a small hairball on her eyebrow.

She was not amused.

By the way, did I tell you that Rosemary is famous?  She appeared on the local news station for a dog shampoo sponge review back in March.  It's rather strange to watch her, knowing that's the same dog that has worked her way into our hearts but that we weren't even thinking about getting a dog at that time.

Isn't life funny?

Thursday, September 2, 2010

Fun with fermentation, Part III - sweet pickles

Today marks day 3 of fermenting food, though truth be told I did these sweet "icicle" pickles at the same time as yesterday's dill pickles.


INGREDIENTS
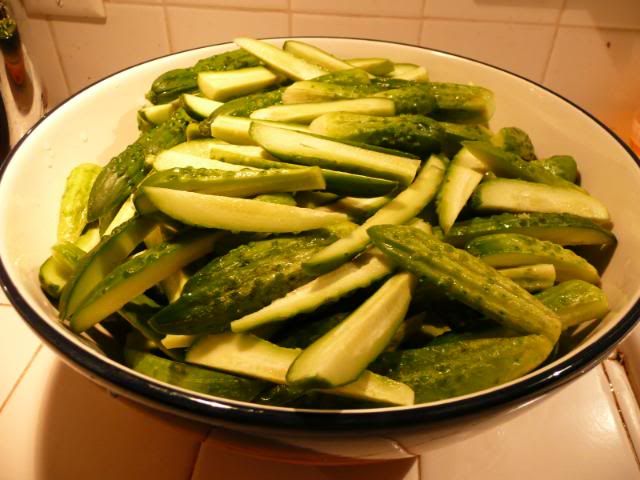
50-75 small cucumbers, trimmed, scrubbed, and cut into quarters the long way
water
pickling, canning, or kosher salt
white vinegar
pickling seasoning
white sugar

EQUIPMENT
Non-reactive container large enough to hold all the cukes, brine, and plate or baggie
EITHER a plate and jars filled with water OR plastic baggies filled with brine

DIRECTIONS
Like all food involving fermentation, this recipe takes several weeks to do.  Take it a step at a time and don't get overwhelmed by the fact that the steps are spread out over a long time.  Each individual step is easy and quick.

Day 1
Like yesterday's post, scrub and trim the blossom-end off the cukes. 

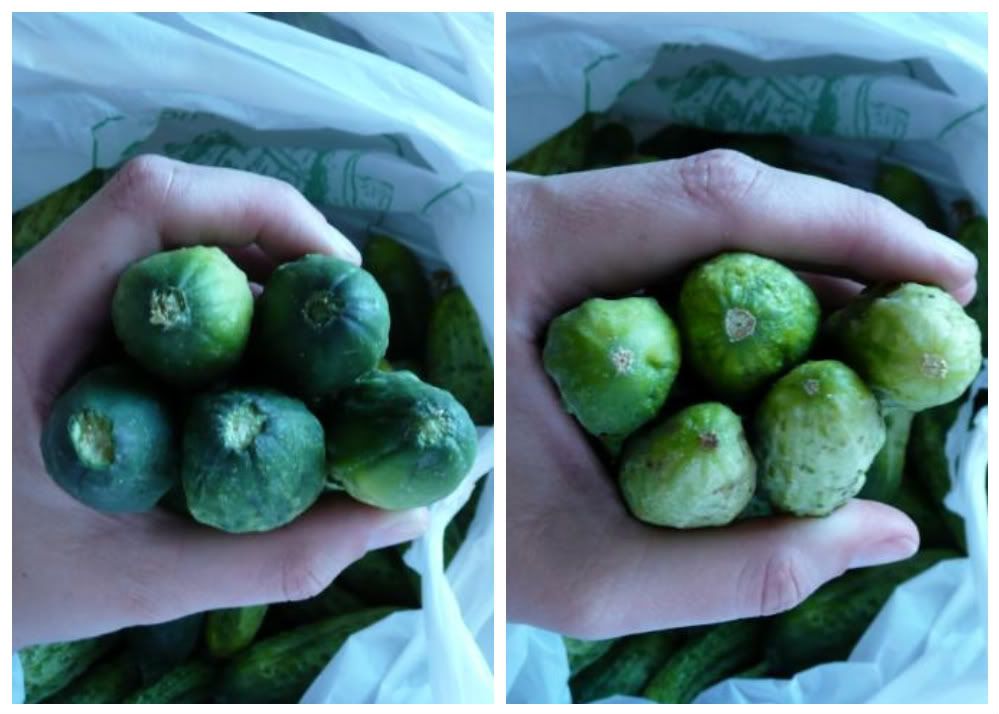
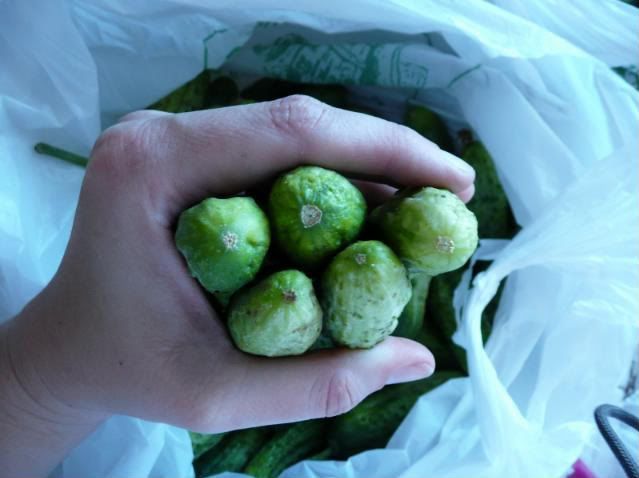
Left pic shows the stem end (darker, puckered "wound" where the stem was) and the right shows the blossom end (lighter, healed "navel" where the blossom has fallen off).

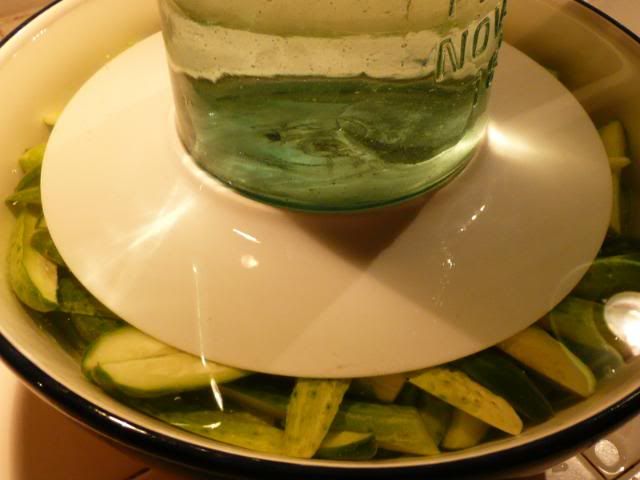
Bring the water and salt to a boil.  Pour over the prepared cucumbers, place the weighted plate or brine-filled bag, and leave this whole brew for 3-6 weeks.  Check daily for scum or mold and remove as necessary.  Like the dill pickles and sauerkraut, the time needed to ferment will depend upon the temperatures where you are.  They're done fermenting when they stop bubbling.

Wednesday, September 1, 2010

Fun with fermentation, Part II - dill pickles

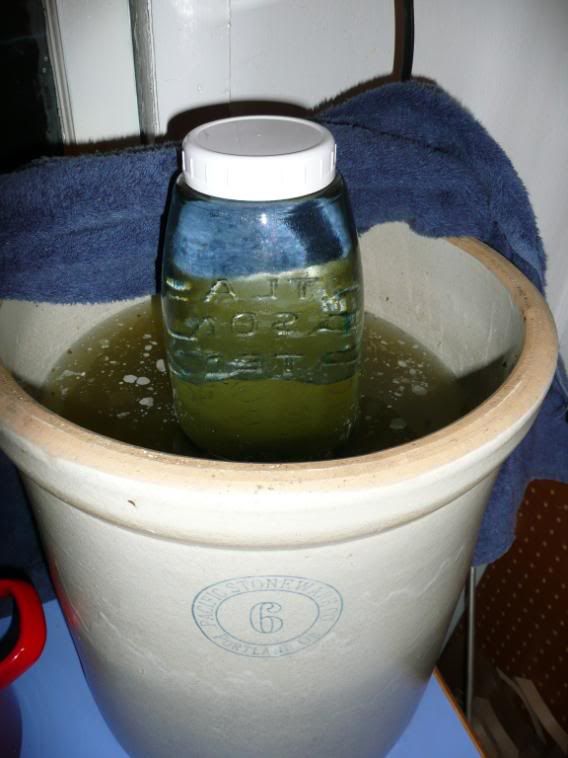
My grandma gave me this 6-gallon pickle crock a few years ago.  This picture was taken in 2008 when I made my first batch of fermented dill pickles.  It was a LOT of pickles and it's taken us 2 years to eat and share them.

This crock, a Pacific Stoneware made in Portland, OR, probably belonged to my great-grandmother and could be as much as 100 years old.  My mom remembers her father making dandelion wine in it when she was a kid.  It sat unused in Grandma's basement for 40 or more years until she handed it to me.  It's in good condition, with no chips and just hairline fractures in the glaze.  It weighs a TON.  It still holds water.

And because it still holds water, it's good enough to hold brine for pickles!

Fermented pickles take a lot more time than pickles that get all "dilled up" in the jar.  Most people can pickles and let them sit for a couple of months to get their full flavor.  I prefer the tang of a fermented dill pickle.  It's time-consuming to make but well worth the effort. 

~ FERMENTED DILL PICKLES ~

INGREDIENTS
50-100* medium and small cucumbers, scrubbed and blossom-end trimmed off
16 cups water
2 cups vinegar
1.5 cup salt
1/4 cup pickling spices (make your own or buy it in bulk to save money)
3 large bunches of dill (find a neighbor whose dill got out of control, and offer to take it off their hands)
6 cloves of garlic (optional)
Dried chilis (also optional, for use when canning and not for the fermenting)

*Cucumbers are sold by the 100 at the farm stand I frequent.  I made about 115 dill pickles because I'd also bought cukes for sweet pickles and had too many to fit into the container.

EQUIPMENT
5 gallon bucket, scrubbed spotless
EITHER a plate & quart jars filled with water OR a plastic bag filled with brine

HOW-TO
Bring the water, vinegar, and salt to a boil, then allow it to cool to room temperature.

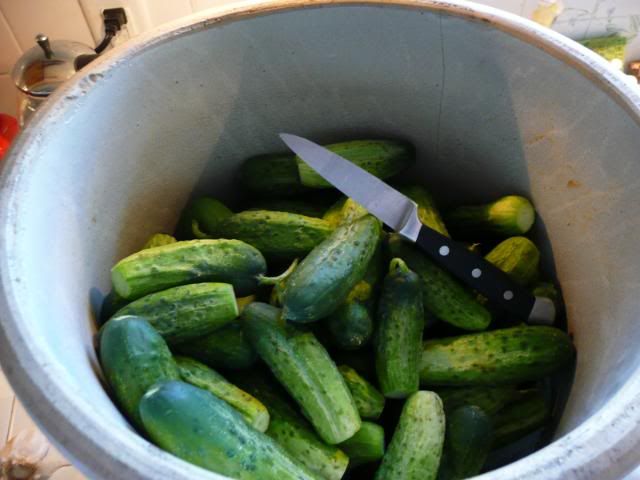
Trim the blossom end off your pickles.  It's the end that looks like a little brown navel.  There's an enzyme in the blossom that makes pickles soft, which is why you trim it.  Scrub with a brush to remove all dirt.

Place the pickling spices and half of the dill into your bucket.  Place the cucumbers on top and tuck in the dill and optional garlic as you load the cukes.  You don't want anything to float to the surface and be exposed to air when you add the brine. 

Pour the brine over the cukes, then place either the weighted plate or the brine-filled bag on top to prevent the cukes from being exposed to air.  If they're exposed to air they will rot rather than ferment.  That's a bad thing.

Now you wait.  Check the brine daily for signs of scum (you can see a little floating white stuff in the top picture).  Remove it with a slotted spoon or sieve.  Depending upon the temperature where you are, it can take as little as 3 weeks or as many as 6 to fully ferment.

When the cucumbers have stopped releasing bubbles it'll be time to can them.  If you don't want to can them, you can leave the pickles submerged in a cold place for up to 6 months.  But you'll still get scum on the surface so it's easier to just can them to make them shelf-stable.

By the way, when I bought my cucumbers at the farm stand they were selling quarts of hand-made pickles (not the fermented kind) for $13.95.  My pickles were $16.95/100, plus the cost of the vinegar, salt, pickling spices, dill, and canning lids.  I'll probably can about 10 quarts for maybe $21.

See the rest of the process here.