
I bought my pressure canner on ebay. The first time I used it I was scared to death it would explode so I stayed the heck away from it. I was also scared to death that we'd get botulism. Turns out that I was canning at 15psi instead of the recommended 10psi, which explains why my first batch of home-canned asparagus was aspara-mush.
CYA STUFF
Before I go any farther, I want to point you to an excellent canning and preserving resource, the National Center for Home Food Preservation. When in doubt, refer to that website and it'll tell you how to can specific things (like pumpkin cubes) and when there are no safe tested methods (like pumpkin puree). I refer to the site all the time because you never know when a method has been updated.I used to be an active member of a forum where people would sometimes promote unsafe canning methods on the basis of "my grandmother did it, my mom did it, and I do it and nobody has ever gotten sick". I'd get seriously pissed off and tell them (and any new canners who were reading) that they were welcome to serve that to their families, but my family and friends would only get food that had been canned according to the HFP guidelines. That means that only things that are high acid - pickles and fruits - get canned in a boiling water bath and everything else got pressure canned according scientifically proven methods.
On that note, it's my promise to you that I follow the HFP guidelines for safe home canning methods. If you spot something in a picture or in my directions that's incorrect, let me know ASAP and I'll correct it. I want this to be a safe resource for you.
OK, let's do this thing!
Home-canned chicken stock
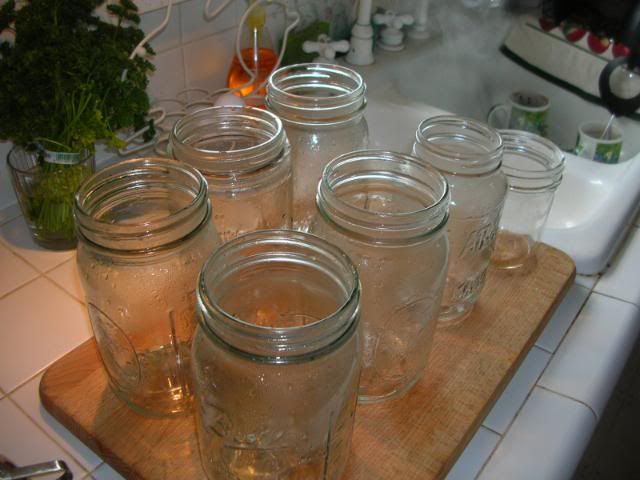
1. If your stock is cold, bring it up to a simmer on the stovetop. Before you put the jars into the canner inspect the rims for any cracks or chips. Get rid of those jars or delegate them to non-canning usage only. They will not form a reliable seal now or ever again.
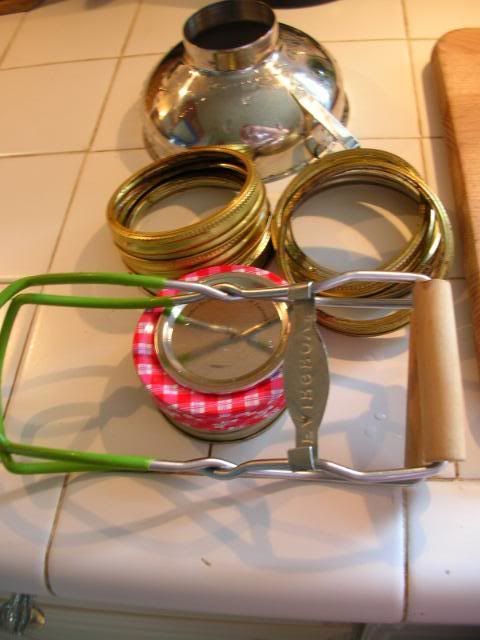
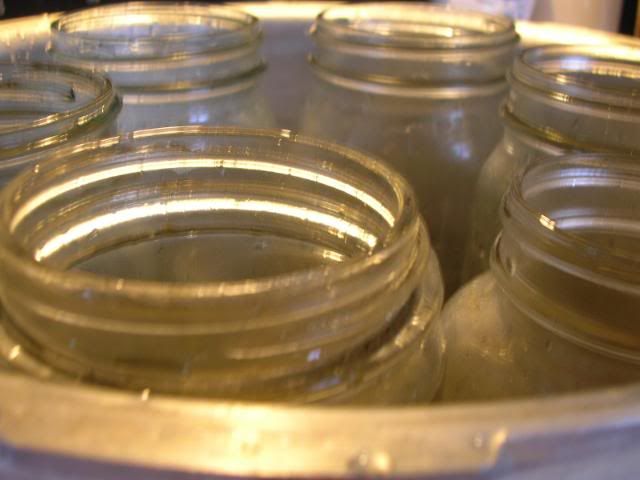
2. Clean all your gear: rings, lids, funnel, and jar-lifter. The nice thing about pressure-canning is that while everything has to be squeaky clean, it doesn't have to be sterile.
Hey, I know her!
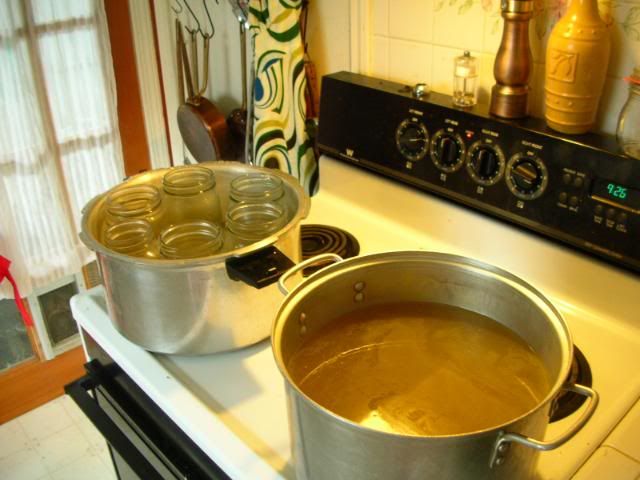
3. Put your jars into the pressure canner with the recommended amount of water and bring water to a slow boil. You'll want to put some water in the jars to prevent them from floating.
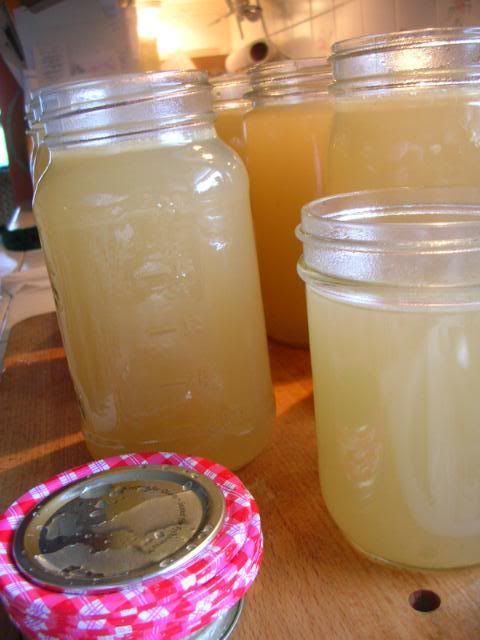
4. Once the stock and the canner's water are both at a low boil, quickly remove all the jars, dump the water, and fill them with the hot stock. These jars were steaming, they were so hot. Notice that I've got them on a cutting board so that the tile won't decrease the temp or make them crack.
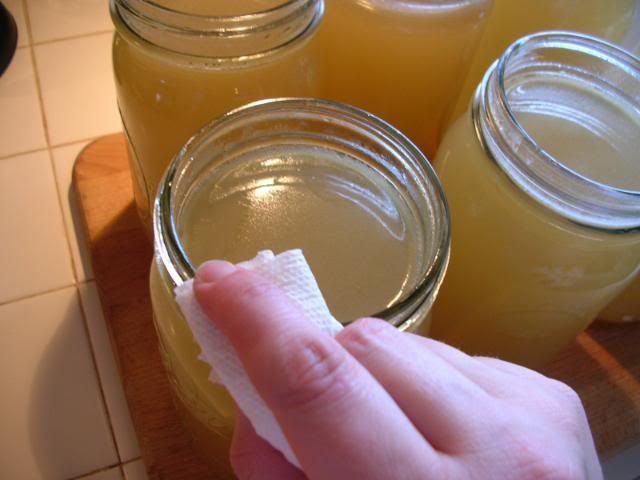
5. Wipe the rims of all the jars to allow the lid to form a good seal. Place the lids and twist on the ring. You aren't trying to get a tight seal, which is what "finger-tight" means: the air in the jar needs to be able to escape.
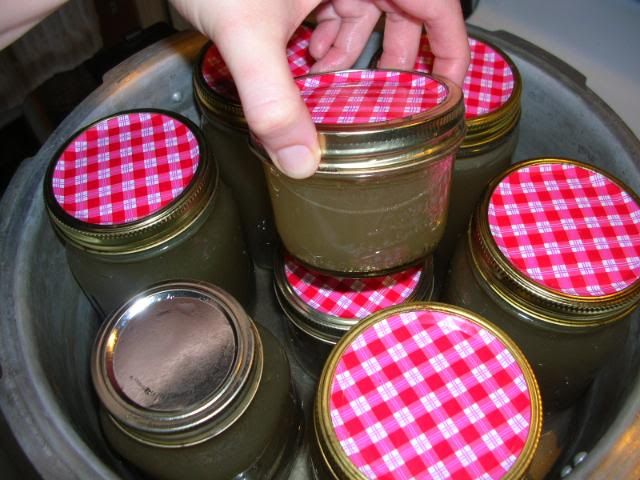
6. Load the canner. Mine is a 7-quart load. I like canning a variety of sizes of jars so that I don't have to use an entire quart of stock if only a cup is required.
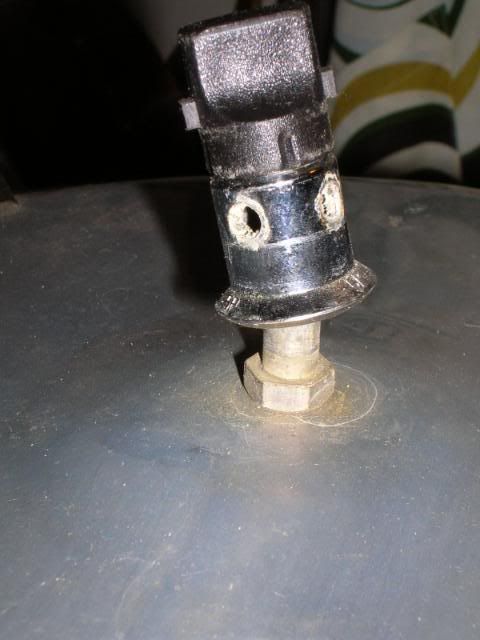
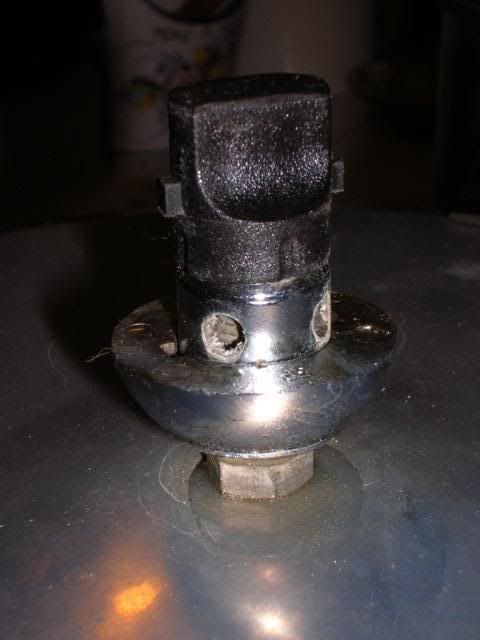
7. My pressure canner is a "weighted guage". The vent, which is shown open/cocked, is equivalent to 5 psi when down.
If you have a dial guage canner you need to check the internal pressure annually, which can be done for free by a local county extension office. Again, the HFP webpage will have the how-to for that.
8. After you've vented the steam for 10 minutes and set the guage for the desired psi, you'll leave the stock to process for 90 minutes. I turn my heat down 1 notch (from 7.5 to 6.5), which is what I've learned is the best setting for my stovetop.
This will be loud and steamy. It's best to pressure can on cool days for this reason. On the upside, it smells really good. I've left my back door open in the past and regretted it because of siphoning, which is caused by inconsistent temps and drafts.
The humidity caused by the steam can be a problem. I've recently noticed streaks in the paint in the kitchen where condensation has run down the walls. I just need to get a rag and clean the walls but arg... because I didn't have enough to do!
9. After the 90 minutes have passed, turn off the heat and remove the canner. Do not vent it (release the pressure) or open it. Leave it alone. I'm incredibly impatient, so this is the hardest part for me. When the canner stops hissing you can open it but be careful of the escaping steam. Steam burns hurt like a mother-fracker. Once you've open the canner, leave the jars in there for about a half an hour.
I often can on work nights and just leave the canner on the counter, closed, all night after I've pulled it from the heat.
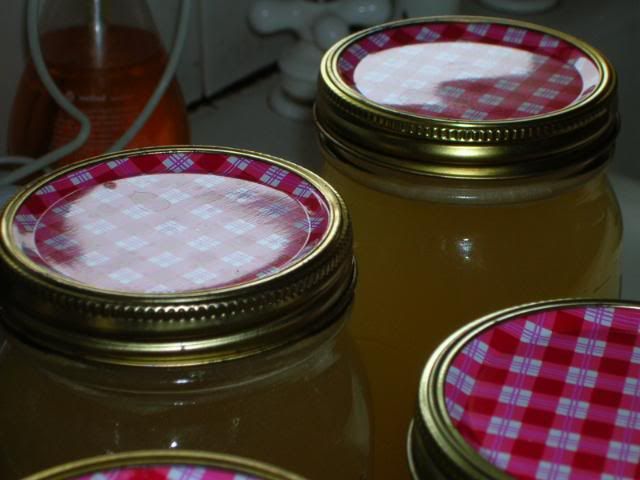
10. In this pic you can see that the left jar has sealed correctly. The reflection shows that it's concave (sucked in). The jar on the right has a convex lid that did not seal. If I were canning another batch I would just reprocess it but I didn't, so I threw it into the fridge and used it right away. Some things can be reprocessed and others will turn into goo if you try a second time. The lids will ping and pop for up to an hour as the internal pressure finds equilibriuum. If you see bubbles in the jar, this is normal.
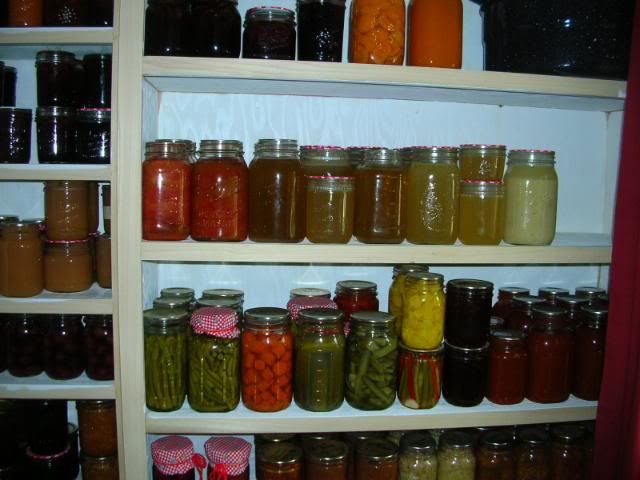
11. Leave the jars on the counter for 24 hours undisturbed. Mark the contents and month/year, then put them in your pantry. Here's my stock on the canning shelves:
(I was looking for the famous Toulouse Lautrec poster of Can Can girls when I can across the one at the top of this page. Since it's from my home city and the restaurant was well-known, I used it instead.)
No comments:
Post a Comment