Showing posts with label vanilla. Show all posts

Friday, November 19, 2010

Be a Maven of Marshmallows

My brother loves - LOVES - hot cocoa.  Every year for Christmas he gets a massive supply of cocoa mixes because a) he's hard to shop for and b) it's a can't-miss gift for him.

As you can imagine, when I saw this book on TV a couple of years ago I knew he had to have it.
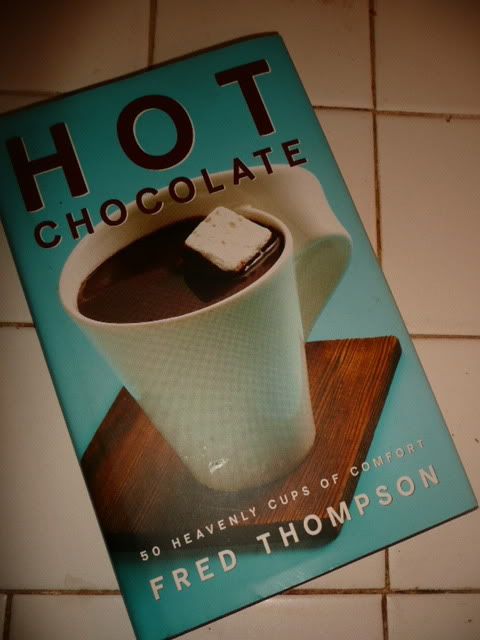
When it arrived, I poured over it... and kept it.  Sorry, Jason.

I haven't made many of the recipes but I do have a few favorites.  This was when I tried my first homemade marshmallow.

When people find out that you've made homemade marshmallows, they usually have one of two reactions.  Some people will say, "Ugh, I can't stand marshmallows".  This recipe has converted many - though not all - a hater.  The rest of people fall into the second category of disbelief and amazement: "omg you can MAKE those at home?  You're incredible!"

I love the second group!


So, without further ado, here's a recipe that will bring you in the realm of domestic diva.  Start to finish it'll take about 30 minutes.  It's quasi-dangerous so I wouldn't allow children in the kitchen during the making of the marshmallow.  They'll love to help cut and coat the end product with powdered sugar, though.

MARSHMALLOWS
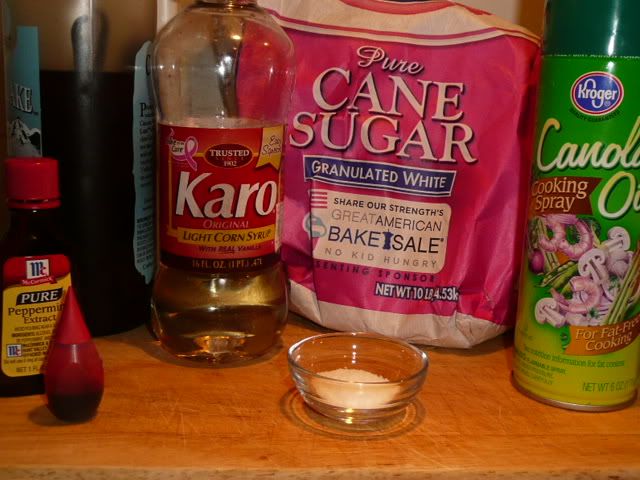
Ingredients
Three 1/4-ounce envelopes of unflavored gelatin
1/2 cup cold water
3/4 light corn syrup
2 1/2 cups sugar
1/2 cup hot water
1/2 tsp salt
2 tsp pure vanilla (see note at bottom)
Powered/confectioner's sugar

Equipment
Cooking spray
8x8 or 9x9 glass pan
Large heatproof mixing bowl
Hand mixer
Heavy saucepan
Candy thermometer
Heat-proof rubber spoon
Plastic cutting board
Pizza cutter
Small bowl

1. Spray 8x8 or 9x9 dish liberally with cooking spray.  Don't be shy because the candy is VERY sticky.

2. In a large, heatproof mixing bowl, combine the gelatin and cold water, stirring to mix.
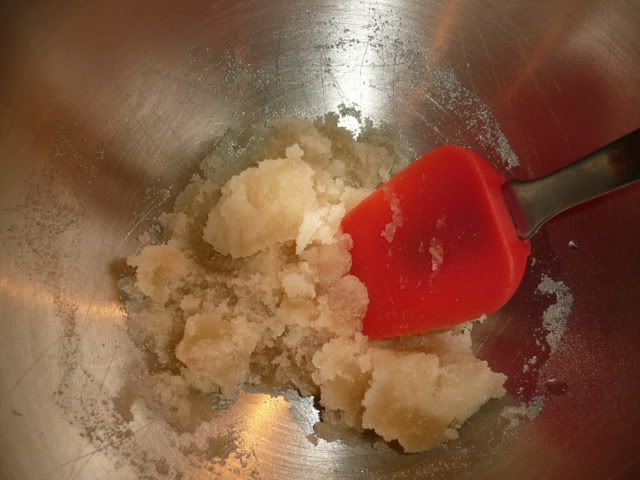
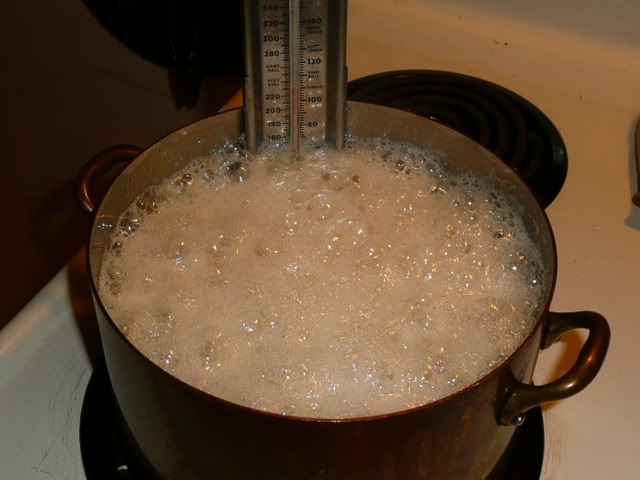
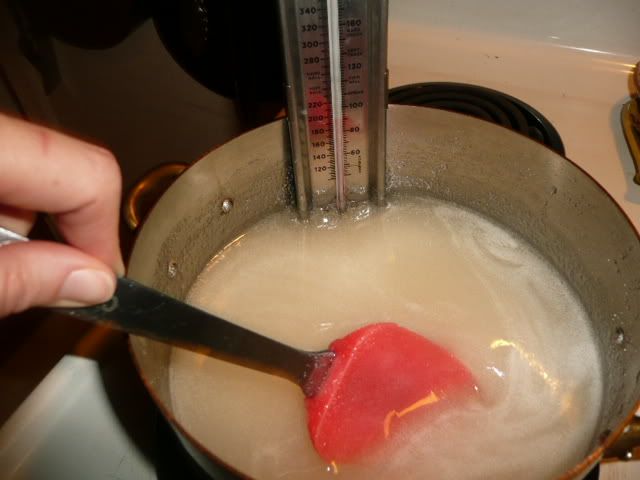
3. Heat the sugar, corn syrup, hot water, and salt in the sausepan over med-high heat, stirring until it comes to a boil.  Stop stirring, put in the candy thermometer, and heat to 240 degrees,
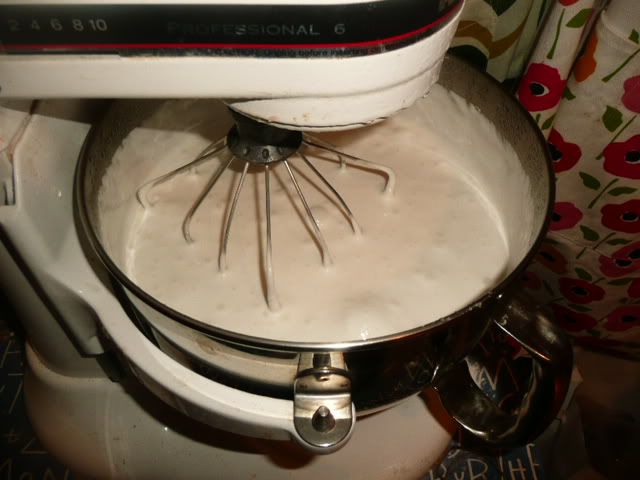
4, Pour mixture into the gelatin.  Using mixer, whip until mixture doubles in size.  It smells kind of wet-doggy at this phase.  Fold in vanilla extract when it's done.
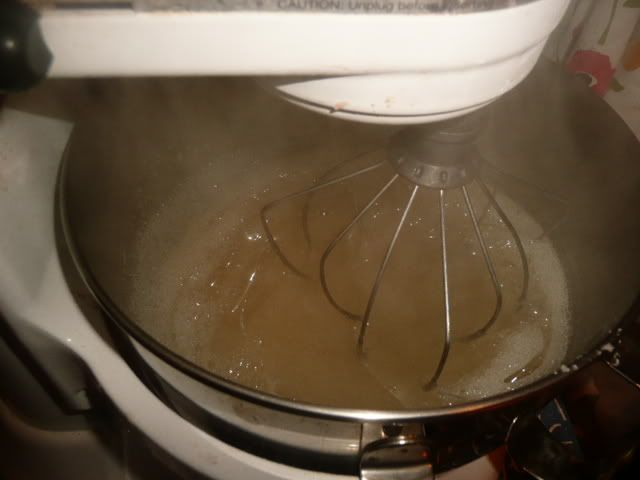
(Side note: I didn't like how my Kitchen Aid mixed this and will go back to a hand-mixer next time.)

5. Pour the mixture into the prepared pan.  Allow it to cool and set overnight, uncovered.
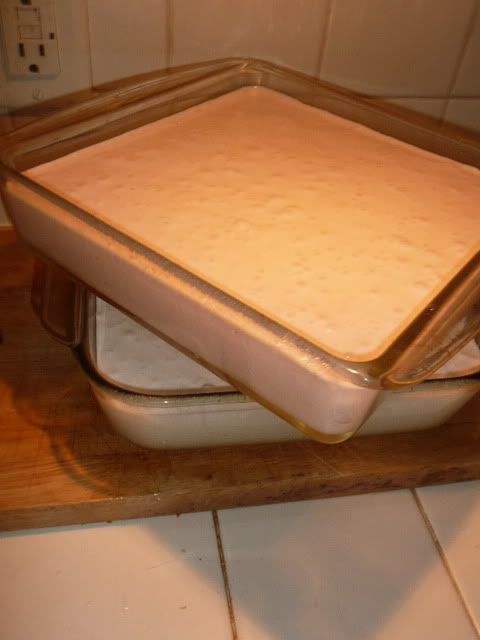
I made a double batch and did some pink peppermint marshmallows, too.  They turn plain old hot cocoa in holiday in a cup.

6. Powder the cutting board with confectioner's sugar and turn the marshmallow out onto the cutting board.  Using the pizza cutter, which you can coat in sugar as well, cut into squares and toss with powdered sugar.  store in air-tight container.

NOTE: Use a high quality vanilla because it's the only flavor these will have besides "sweet".  If you want to make peppermint marshmallows, which I love, use just 1 drop of the extract at the same time as the vanilla.  Believe me on this: any more than a drop of peppermint extract in these will have you running for the faucet.  I like to use red food coloring to make them pink so that I can tell them apart without opening the containers. 

If you cut with a round biscuit or cookie cutter, the marshmallows will turn out bell-shaped due to the way the  "dough" cuts.  It's a cool effect and is even prettier with chocolate drizzled over them.  I've also thought of rolling them in cocoa but never have.

I've found that these keep for quite a while, though they do get grainy eventually.  It doesn't bother me but some people might not like it.

Thursday, October 21, 2010

Happy birthday, dad

Today is my dad's 63rd birthday.

He doesn't read my blog, so I can tell you what I got for him.

Last weekend I was driving to Seattle to visit friends and I heard an interview on NPR with a Seattle author who wrote a book called "Jet Age".  I was fascinated by the conversation about the global impact of the Boeing 707.  My dad was a pilot in the Air Force and I thought he'd enjoy the book.  When I got back home, I went straight to King's Books, a small independent bookstore, and ordered the book for Dad. 

I looked up the book earlier this week on amazon.com and the book was about half the price.  On one hand I want to get a refund and get it online instead.  On the other hand, I want to support a local business (putting aside the fact that amazon.com is a Seattle company).  The book is already paid for, so I guess the decision is made.

Oh well.

We're having a small party at my folks' house this weekend.  I promised Dad I'd make vanilla ice cream.  G-man is traveling - again - so it'll be just my folks, brother, and me.  Oh, and Rosemary will go, too. 

Now, if only I had room in the freezer for the ice cream freezing thingy.

Here's the recipe I'll try for Dad: http://www.foodnetwork.com/recipes/alton-brown/serious-vanilla-ice-cream-recipe/index.html.  I've tried making egg custard ice cream in the past except there's a problem: our eggs are too eggy.  I'll eschew eggs for now and make a sinful dessert of cream, cream, and more cream.

Saturday, August 28, 2010

Peaches and Vanilla-Peach Jam

Canning Peaches
subtitle: "How to make your entire kitchen sticky"

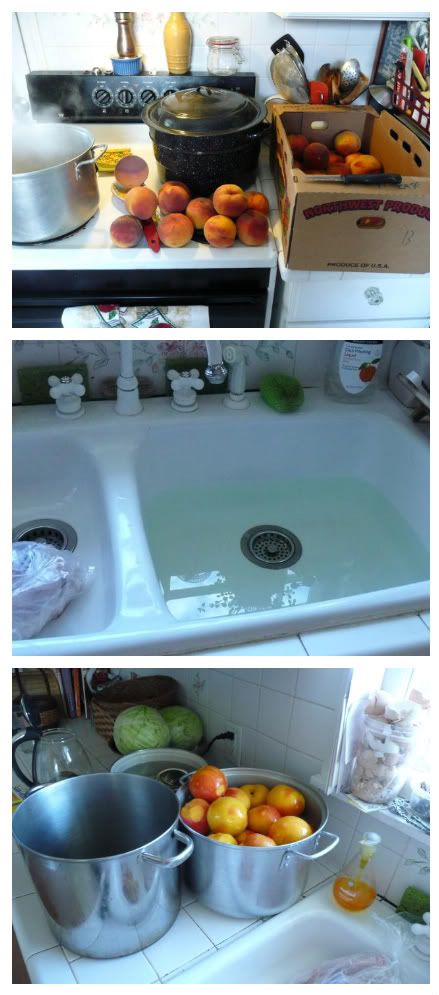
Last Thursday I bought 2 22-pound boxes of peaches from 2 different farm stands.  Each told me that the peaches needed a few days to ripen, so I left the peaches in the carport until Sunday afternoon.  Strangely, the box that was open to the air ripened better than the one that was closed (ripening fruit gives off ethylene gas, which in turn helps speed the ripening of the rest of the fruit).  I used the less-than-perfectly-ripe fruit for jam and canned the ripened peaches in a light sugar syrup.


Peaches were the first thing I ever canned.  They're easy to can, requiring no ingredients other than sugar and water, and the steps are straight-forward:

1. Peel, pit, and halve peaches.  This is the most complicated part because peeling peaches means dropping them into boiling water for 1-3 minutes then shocking them in cold water to loosen the skin.  I sliced my thumb on a peach pit, so be careful.

2. Put peach halves into a syrup.  I make an extra-light syrup (1.25 cup sugar to 5 cups water), and bring to a simmer.

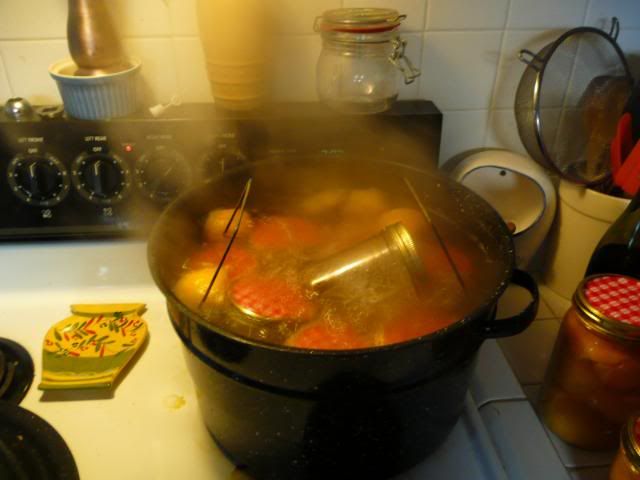
3. Pack peaches into sterile jars and process for 25-30 minutes, depending upon the jar size.
That's it, though time-consuming.  Processing all those peaches and making the jam below (which I did at the same time) took me about 4 1/2 hours.  This is not a project you do on a lark.

Sometimes a jar breaks.  When this happens, just throw it and the contents away (other jars are fine).

Two years ago I went for a picnic with my friend, Bonnie.  She whipped out a jar of vanilla-peach jam she'd gotten at the grocery store.  The jam was incredible!  We slathered it on crackers with cheese and loved every second of it.  Months later when it was peach-canning time I decided to replicate that jam and made two batches.  It became my favorite of all the jams I've ever made (with the sol exception of blueberry conserves) and it a wonderful gift jam because it's so distinctive.  People seem to appreciate gourmet jams more than simple ones.  It's strange, really.

My last jar got traded for some rhubarb so this year I had an excuse to make it again.

Vanilla-Peach Jam
4 cups diced peaches
1 box powdered pectin
1 vanilla bean, split and caviar removed
2 T lemon juice (use the stuff from a bottle to guarantee acidity)
5 cups sugar

Makes roughly 6 half-pint jars or 3 pint jars.

Start by sterilzing your jars, rings, and tools.  The easiest way to do this is to place them in the canning kettle as you bring the water to a boil.  Put the lids in a bowl and cover with the hottest tap water you can get, but not boiling water: you want to soften the rubber but not ruin it.

Put the peaches in a large, tall, non-reactive pot (no aluminum: use stainless steel or enameled pots only).  Whisk in the pectin, vanilla caviar and bean, and lemon juice, then bring the fruit to a boil over high heat.  Add the sugar all at ounce and bring to a rolling boil (meaning you can't stir it down) for 1 minute.

Leave the jam on the counter for a minute or so while you get the jars ready to be filled.  Stirring the jam one last time before filling the jars will help the fruit distribute evenly throughout the jam and prevent floating.

Cut up the vanilla bean and put a segment of the bean into each jar.

Pour the jam into the prepared jars and load the canning kettle.  Once the water is back to a hard boil, plop on the lid and set your timer for 5 minutes.

After the timer dings place your jars on the counter (I usually put mine on a wooden cutting board because we have ceramic tile and I don't trust the temperature difference not to crack the jars).  Don't disturb the jars for 24 hours.  If you don't have the countertop space to space you can put the jars back into the peach boxes, leaving space for air to circulate, and place the boxes out of the way.

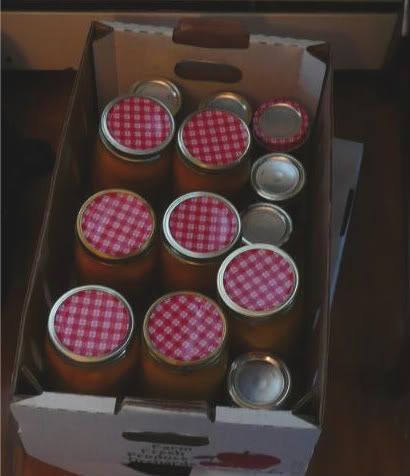
Remember to label the jars.  My day's work and 40 pounds of peaches yielded:
10 quarts plain peaches
6 pints vanilla peaches
6 half-pints vanilla-peach jam
2 pints peach juice (why throw it away??)
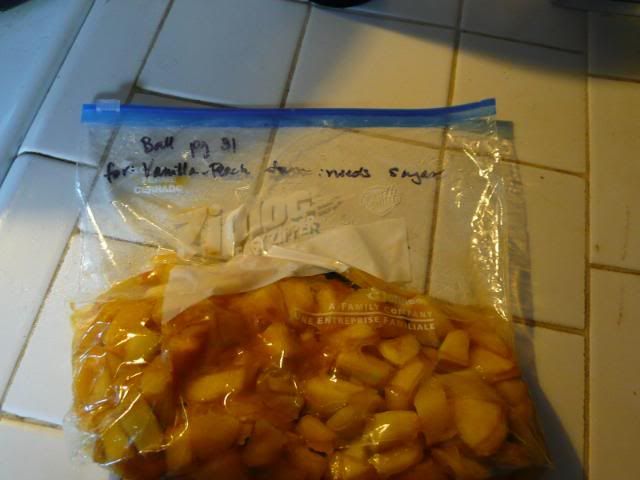
A package of  peaches in the freezer to be made into vanilla-peach jam another time.

p.s. Happy birthday to me!

Thursday, July 15, 2010

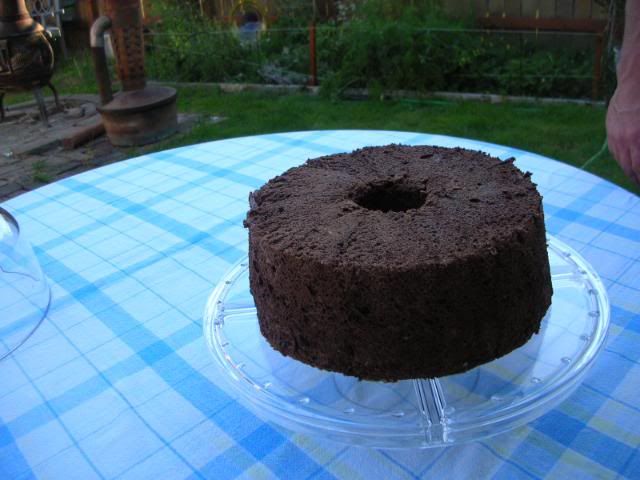
Chocolate Angel Food Cake

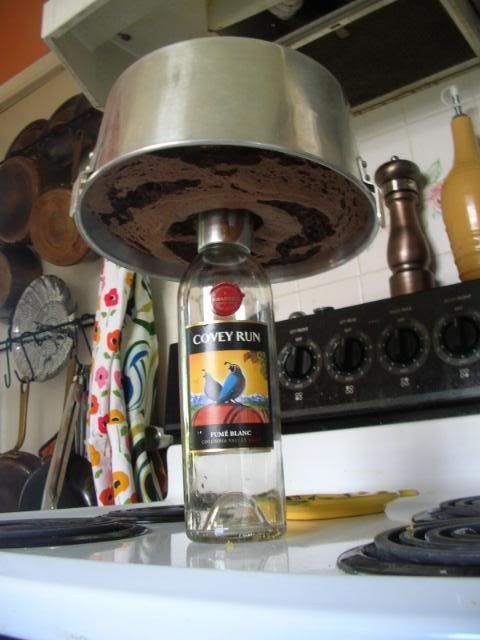
I don't really like wine.  Really.  I only choke it back for one reason: to have a place to cool angel food cake upsidedown.

I must go through 2-3 cooling bottles a week.  Ahhh... the sacrifices we food bloggers make.

Seriously.  I hate wine.

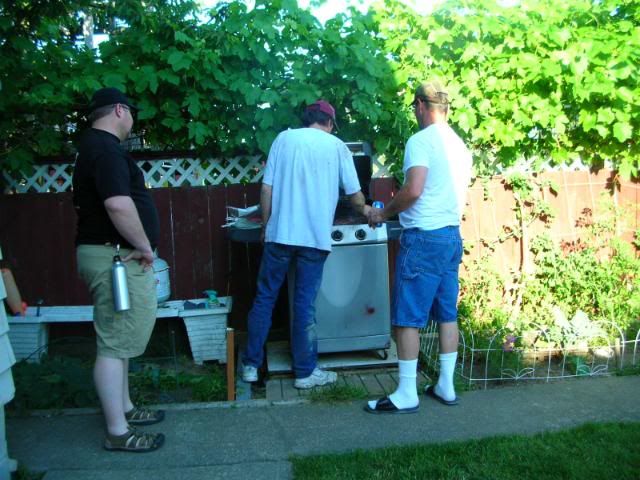
Our next-door neighbors invited us over for a BBQ last weekend.  The men kept themselves busy with the meat.

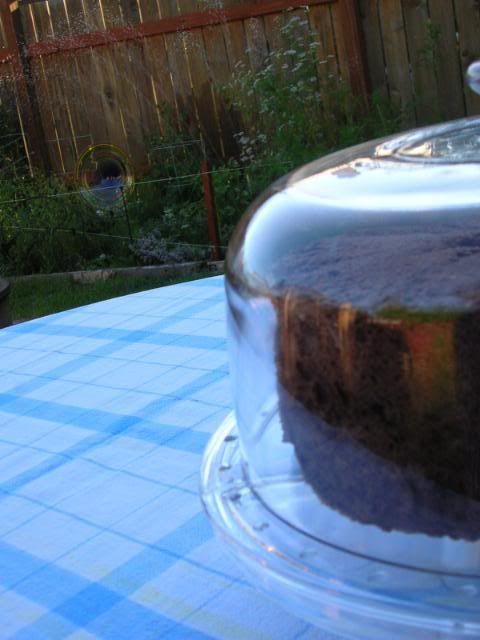
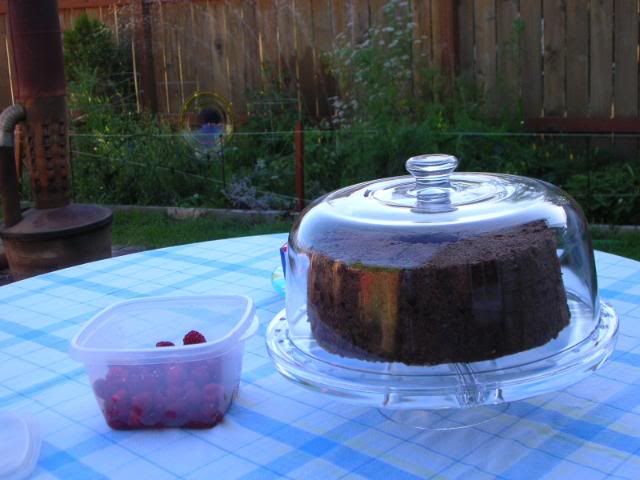
Even though we're not eating the girls' eggs right now, we still have a respectable inventory of them.  Since angel food cake uses about 12 egg whites and we also had a ton of local berries, I made this:


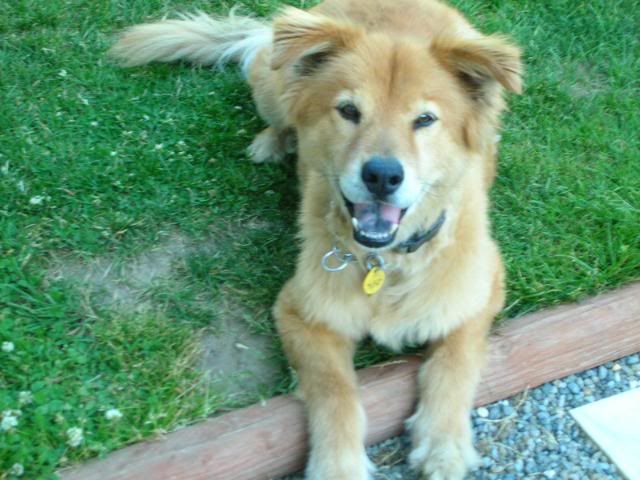
Buddy wanted some, too.

Chocolate Angel Food Cake recipe

Note: I made it without cake flour and it was fine.  I also forgot the cream of tartar.  I did like the use of almond extract, something I hadn't seen in an angel food cake before.

Monday, July 5, 2010

Making scones healthier

I have no photos for this post.  I was pre-coffee/tea and just didn't get around to it.  Sorry.

The Pioneer Woman makes lots of lovely things, including butter- and cream-ridden scones that probably top out around 600 calories each.  We don't live on a cattle ranch and we don't quite expend the calories a typical day of wrangling does.

So as much as I love Ree's scones - and her cooking in general - I just can't bring myself to make them the same way she does, with butter and cream and cheese, oh my!

What I can do, however, is use her recipes for ideas and starting points for my own cooking.

Today, for example, I decided to make vanilla bean scones.  I happen to have a few vanilla beans lying around.  I also have quite a few cherries because they're in season and I've been buying them up like it's my patriotic duty to consume as many cherries as possible.

I took at look at Ree's recipe and decided that 2 sticks of butter was not gonna happen.  Additionally I didn't have any cream and I wanted some fiber in the scones. 

Her recipe called for -> I used instead:
  • 2 sticks of butter -> about 1 1/3 sticks butter
  • 3 cups all-purpose flour -> 2 cups AP flour + 1 cup whole wheat
  • 3/4 cup cream -> 3/4 cup 1% yogurt
  • a glaze using 3 cups powdered sugar and whole milk -> nothing
  • nothing -> 1 cup chopped fresh cherries

My Alton Brown-esque rationale is that as I was figuring out the replacements was to determine the purpose of each.  In general fat is what makes baked goods moist.  The addition of the cherries introduced moisture that was removed by the reduction of the butter. 

The cream is there to act as a binder (along with an egg) to pull together the dry ingredients and to make it all moist.  I may try to decrease the butter to 1 stick next time, while increasing the yogurt to 1 cup.

As for the whole wheat flour, it gave the scones a slightly nutty flavor and made them a bit heartier.  Heartier = more satisfying = eat less.

Right as I pulled the scones out of the oven my dad showed up for a visit.  He stayed for a cup of coffee and some fresh, hot scones.  G-man is working from home today and I finally put the scones away after hearing him amble through the kitchen and mutter "these things are too damn good".  This from a man who doesn't generally like cooked fruit.

That seems a good endorsement of the healthy-fied recipe!  We didn't miss the sweet glaze nor any of the fat from the cream and extra butter. 

It's totally possible to make many recipes healthier.  Try your own recipe edits and let us know how they go.

Friday, July 2, 2010

Crazed and infused, part II

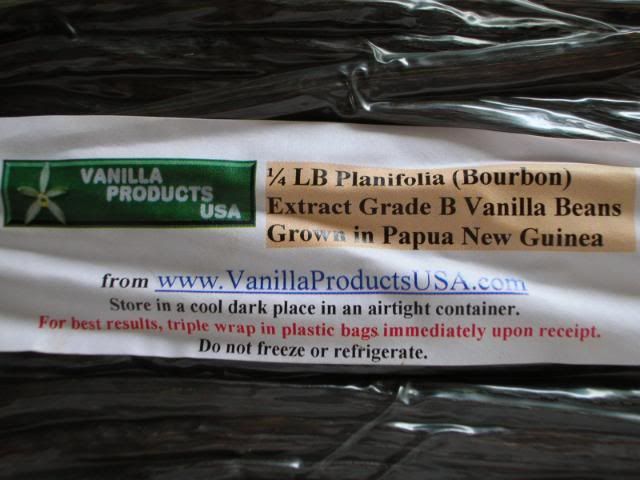
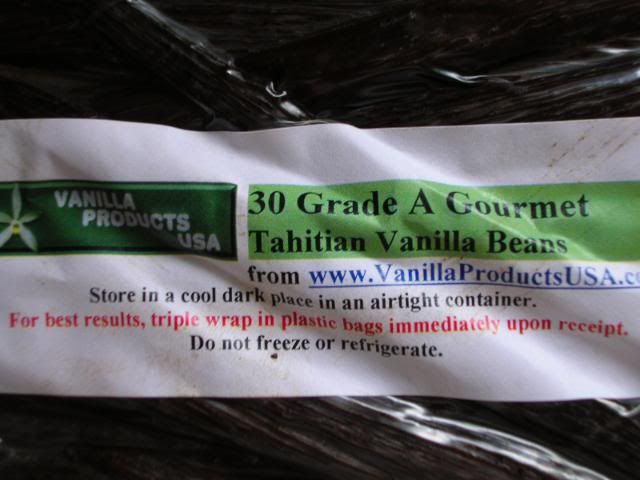
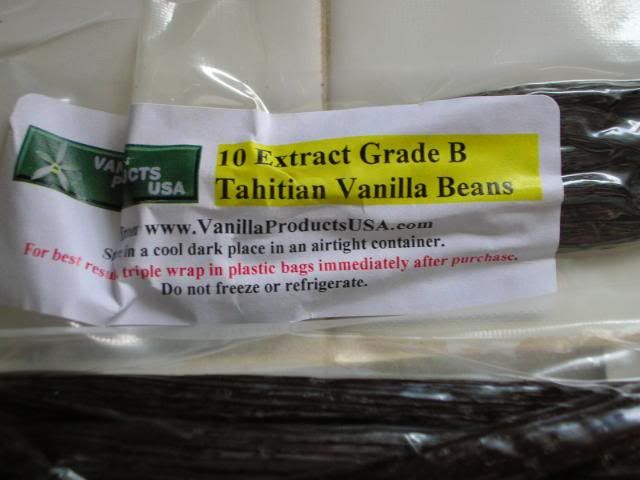
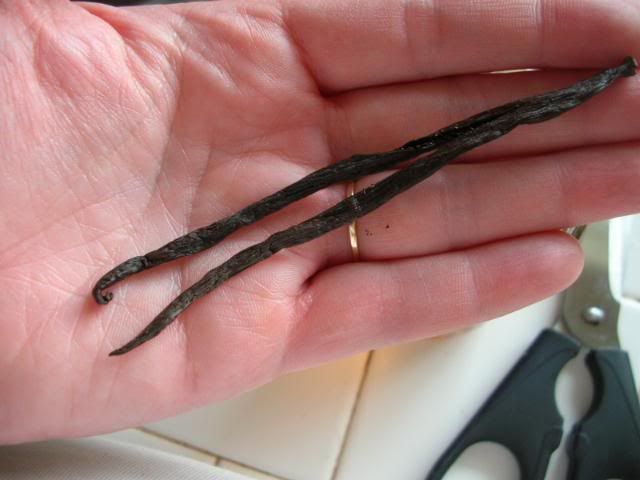
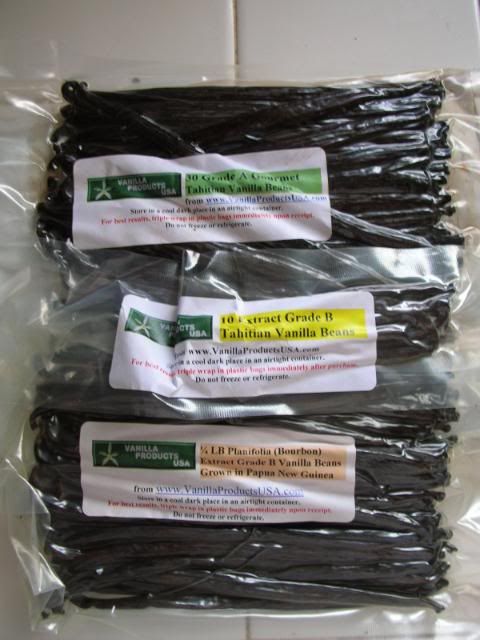
In my last post I mentioned that I'd bought some vanilla.  Small quantities, really.  All are about 6-7" long.

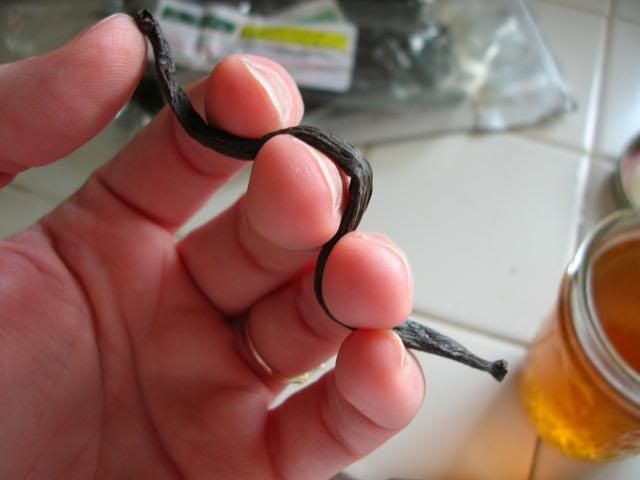
They came with these 10 little weenie beans (~3" long) as a bonus:

What possessed me to do this?  Honestly, I've been thinking about it for over a year.  And if something keeps my attention that long, I know I've got to do it.

I am really pleased with these beans.  They're fragrant and supple.  The packages are all vacuum-packed very well, too.

Some of these beans are destined for another infusion.  Vanilla extract, to be exact.

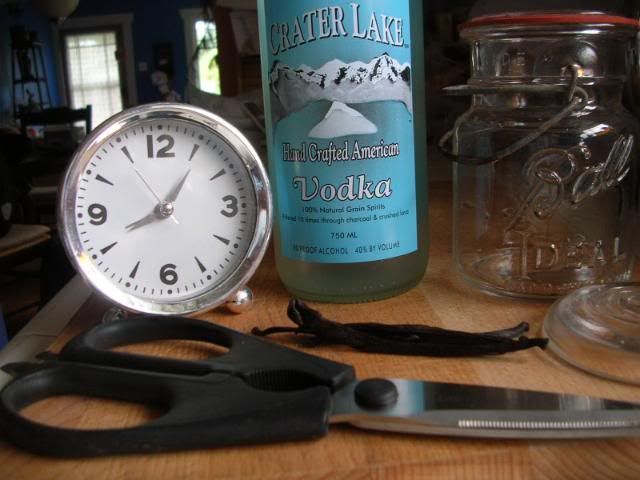
Here's what you need to make your own vanilla extract:

Vodka
Vanilla beans
Time

OK, ok.  You need a jar and scissors, too.

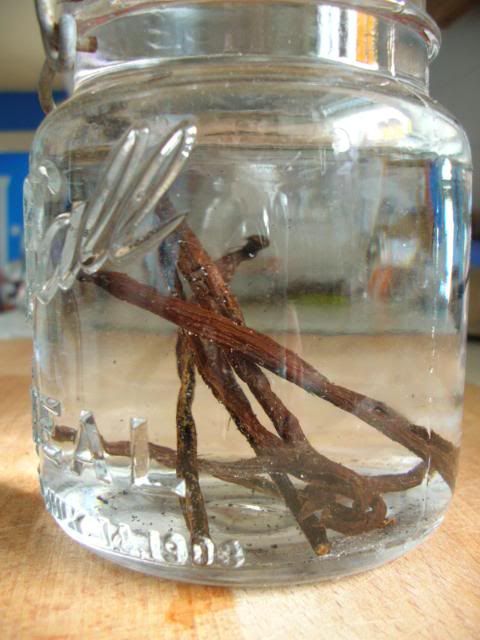
Cut the beans lengthwise.

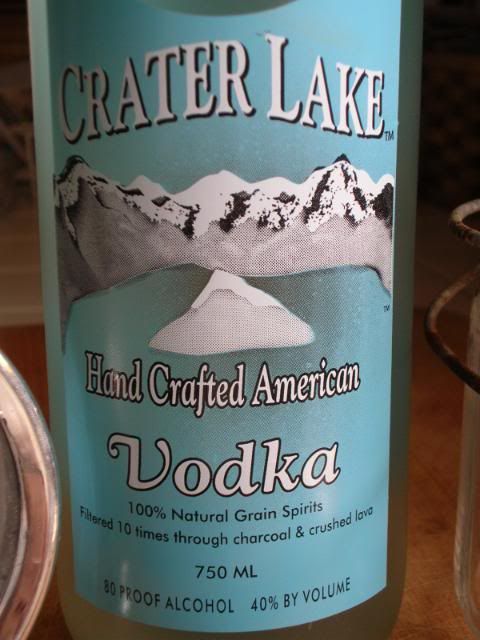
Put them into the jar and cover with vodka.  You can also make this with bourbon.  This vodka is about as local as it gets for us in WA, given that it was distilled in Bend, Oregon.

Ever been to Crater Lake?  My folks took us when my brother graduated from high school.  It was June and fuh-fuh-fuhreezing at the summit!  It it very beautiful, though, and well worth the trip.  I do have to say that the road to the summit is the longest straight road I've ever seen in my life.  We just don't have long straight roads in Washington.

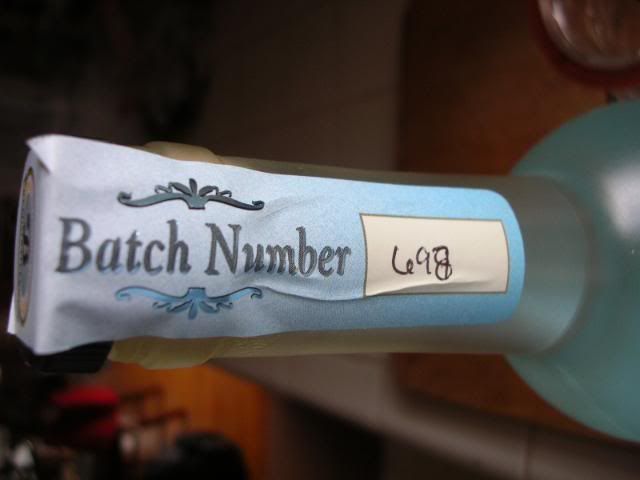
Look, it's even hand-typoed by someone named "RA"!

I put the jar in my cupboard and shake it every day or so.  The vodka started to turn amber within a few hours and should be full-on vanilla extract in a few weeks.  I'll keep topping off the extract with fresh vodka as I use the extract.

Cost:
Vodka - $20
Vanilla - $2 (roughly)

Total amount made: about 16 ounces now, with nearly 10 ounces of vodka in reserve to top off the jar

A 4-ounce container of Trader Joe's vanilla extract costs $4.  I guess I could have bought cheaper vodka for this, and maybe I will next time.

Ironically I'm almost out of vanilla extract so the timing for this couldn't have been better.  Maybe I should break out one of the vanilla beans for cooking.  It's not like I don't have some to spare.  I have been dying to make either some vanilla scones or cherry-vanilla biscotti.  When peaches come into season in late summer I'll make vanilla-peach jam, my favorite!

UPDATE: since writing this post a few days ago I've been diligently shaking my vanilla whenever I think about it.  It's becoming a nice amber color and smells yummy.  Totally worth it.

Thursday, July 1, 2010

Crazed and infused

A few weeks ago I was at the farmers market and found something I'd never thought about before: rosemary honey.  It was so herb-y and yummy that I've been dreaming of it ever since.  It would be divine in a vinaigrette, or in tea, or... or...

OK, I need to expand my "cooking with honey" repetoire.

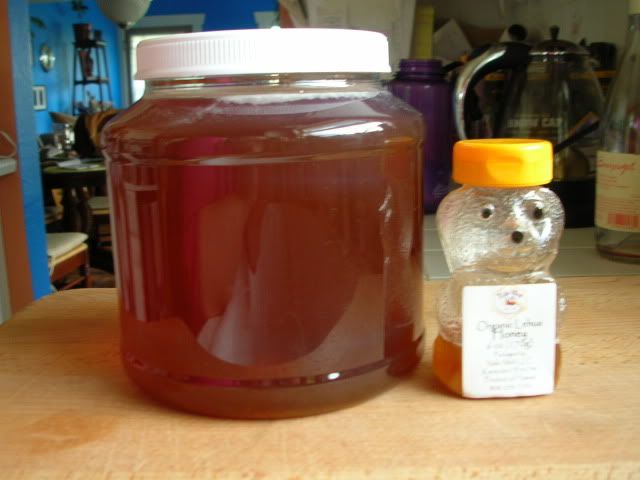
Anyway at $13 for a bottle, I decided to turn to google and see how hard it would be to make my own.  As you may remember, I have a little bit of honey.

Holy moly, it's easy.  As G-man would say, it's "stupid easy".

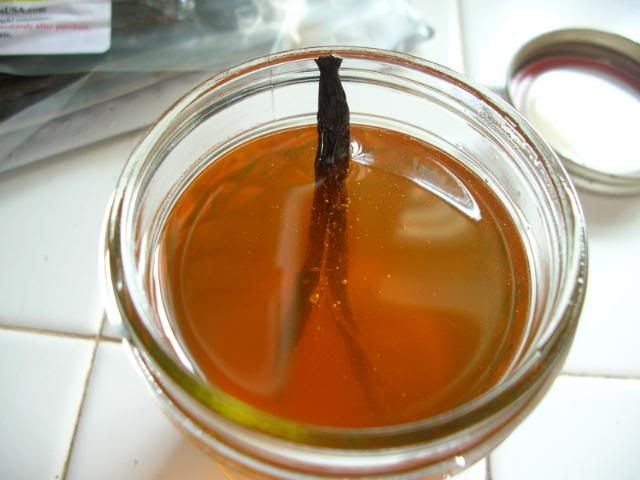
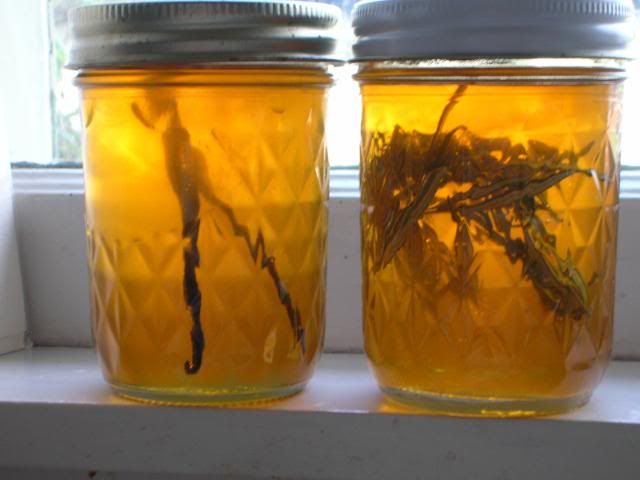
Here's what you do.  You put some honey in a jar and add your herb of choice.  Then you put it in a window sill where it can heat a little in the sunlight each day. 

I also made a vanilla honey.  The vanilla bean reminded me of a stick man in a hot tub.

Having half of a stick man bathing on my window sill seems kind of lewd.

Taste the honey in a couple of weeks to see if the flavor has developed enough.  I've had these honey pots on my window sill for about a week now and haven't tasted either.  I suspect that the flavors are still pretty mild so I'm going to leave them alone for a while longer.

A note of caution: do NOT turn the jar upside down to get better sunlight, no matter how tightly you think the lid is on.  Learn ye from my own dribbling, sticky stupidity.
By the way, I also bought some vanilla beans on ebay recently.  They cost about $17 shipped whereas 2 beans in a glass jar at my local grocery store will put you back $11.  You're looking at about 50 beans.

Note to self: beware obsessive-compulsive personality traits that clearly come from my father (if you knew him you'd know what I mean).

Oh, and expand vanilla recipe repetoire.