Showing posts with label homemade. Show all posts

Friday, November 19, 2010

Be a Maven of Marshmallows

My brother loves - LOVES - hot cocoa.  Every year for Christmas he gets a massive supply of cocoa mixes because a) he's hard to shop for and b) it's a can't-miss gift for him.

As you can imagine, when I saw this book on TV a couple of years ago I knew he had to have it.
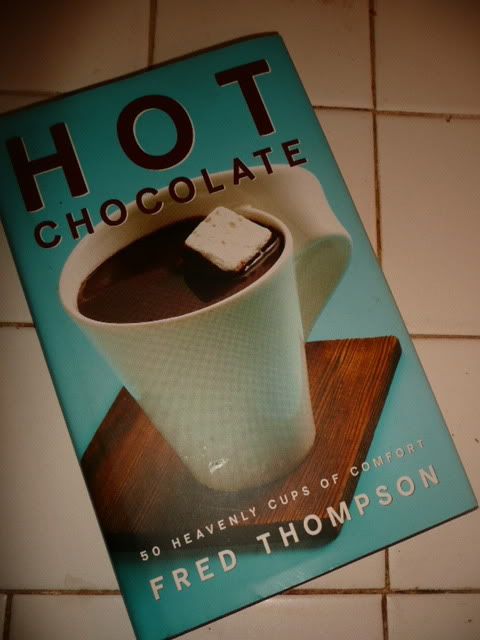
When it arrived, I poured over it... and kept it.  Sorry, Jason.

I haven't made many of the recipes but I do have a few favorites.  This was when I tried my first homemade marshmallow.

When people find out that you've made homemade marshmallows, they usually have one of two reactions.  Some people will say, "Ugh, I can't stand marshmallows".  This recipe has converted many - though not all - a hater.  The rest of people fall into the second category of disbelief and amazement: "omg you can MAKE those at home?  You're incredible!"

I love the second group!


So, without further ado, here's a recipe that will bring you in the realm of domestic diva.  Start to finish it'll take about 30 minutes.  It's quasi-dangerous so I wouldn't allow children in the kitchen during the making of the marshmallow.  They'll love to help cut and coat the end product with powdered sugar, though.

MARSHMALLOWS
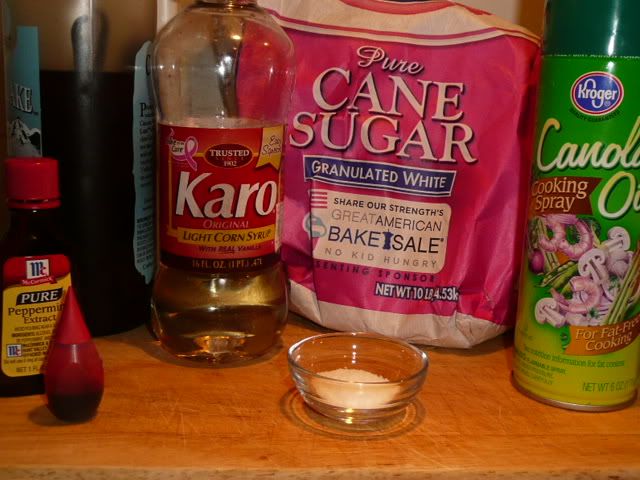
Ingredients
Three 1/4-ounce envelopes of unflavored gelatin
1/2 cup cold water
3/4 light corn syrup
2 1/2 cups sugar
1/2 cup hot water
1/2 tsp salt
2 tsp pure vanilla (see note at bottom)
Powered/confectioner's sugar

Equipment
Cooking spray
8x8 or 9x9 glass pan
Large heatproof mixing bowl
Hand mixer
Heavy saucepan
Candy thermometer
Heat-proof rubber spoon
Plastic cutting board
Pizza cutter
Small bowl

1. Spray 8x8 or 9x9 dish liberally with cooking spray.  Don't be shy because the candy is VERY sticky.

2. In a large, heatproof mixing bowl, combine the gelatin and cold water, stirring to mix.
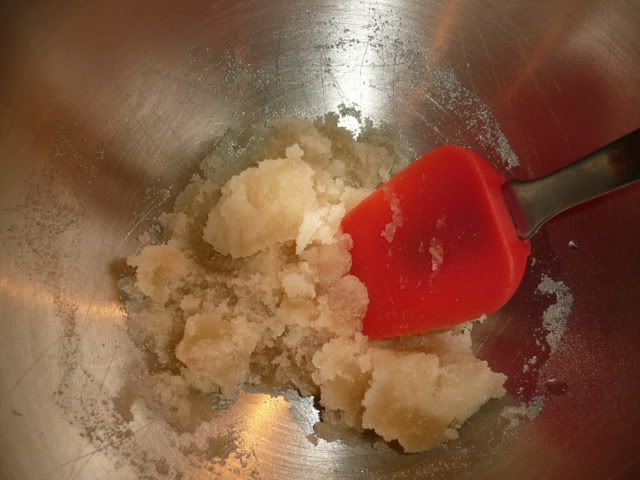
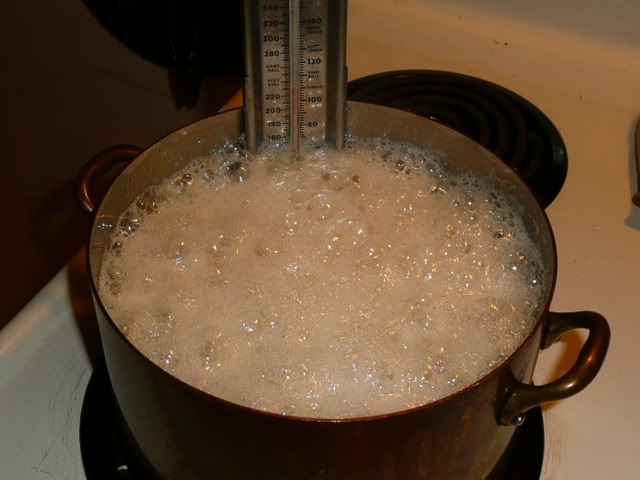
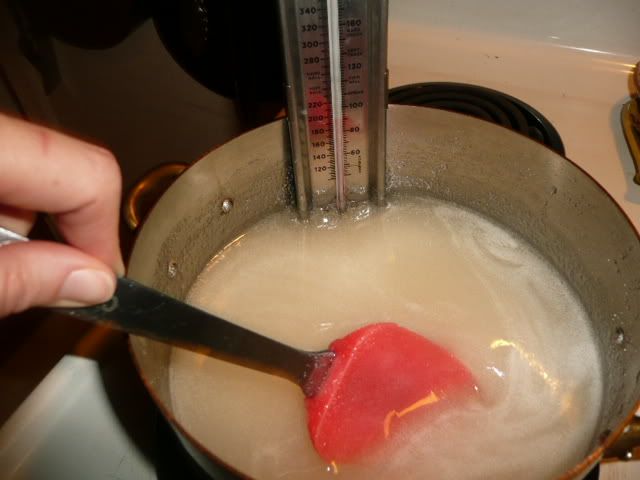
3. Heat the sugar, corn syrup, hot water, and salt in the sausepan over med-high heat, stirring until it comes to a boil.  Stop stirring, put in the candy thermometer, and heat to 240 degrees,
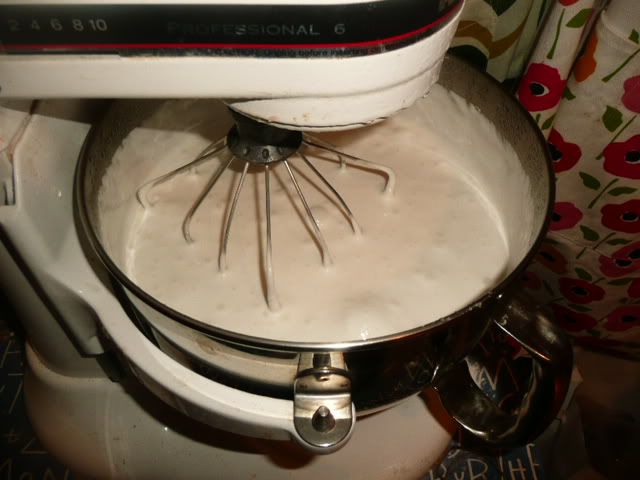
4, Pour mixture into the gelatin.  Using mixer, whip until mixture doubles in size.  It smells kind of wet-doggy at this phase.  Fold in vanilla extract when it's done.
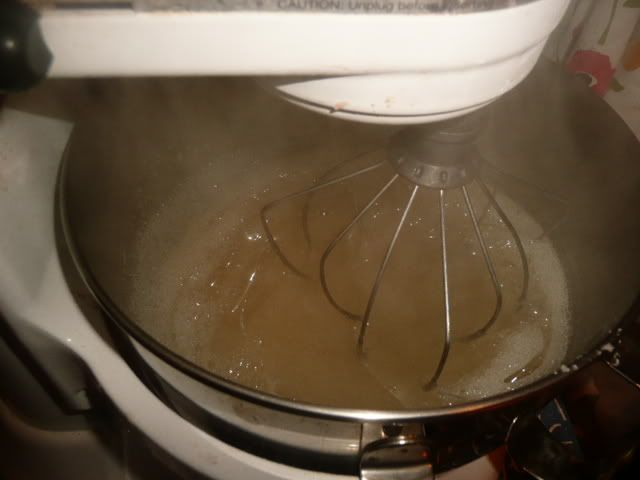
(Side note: I didn't like how my Kitchen Aid mixed this and will go back to a hand-mixer next time.)

5. Pour the mixture into the prepared pan.  Allow it to cool and set overnight, uncovered.
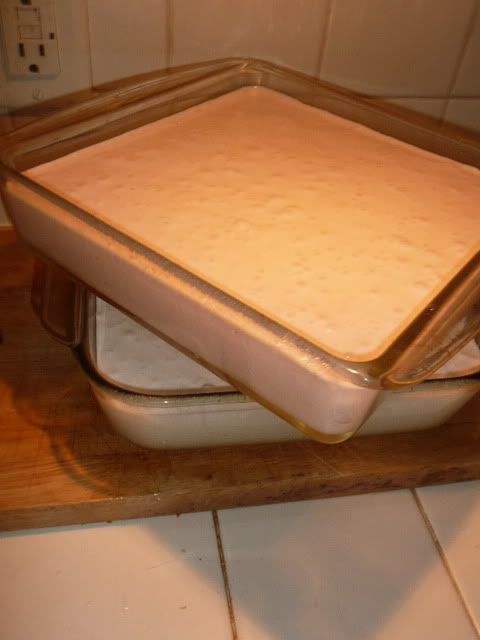
I made a double batch and did some pink peppermint marshmallows, too.  They turn plain old hot cocoa in holiday in a cup.

6. Powder the cutting board with confectioner's sugar and turn the marshmallow out onto the cutting board.  Using the pizza cutter, which you can coat in sugar as well, cut into squares and toss with powdered sugar.  store in air-tight container.

NOTE: Use a high quality vanilla because it's the only flavor these will have besides "sweet".  If you want to make peppermint marshmallows, which I love, use just 1 drop of the extract at the same time as the vanilla.  Believe me on this: any more than a drop of peppermint extract in these will have you running for the faucet.  I like to use red food coloring to make them pink so that I can tell them apart without opening the containers. 

If you cut with a round biscuit or cookie cutter, the marshmallows will turn out bell-shaped due to the way the  "dough" cuts.  It's a cool effect and is even prettier with chocolate drizzled over them.  I've also thought of rolling them in cocoa but never have.

I've found that these keep for quite a while, though they do get grainy eventually.  It doesn't bother me but some people might not like it.

Wednesday, October 6, 2010

Pumpkin bread

Much to my chagrin, fall seems to have arrived.  The signs are all in evidence: garden spiders are the size of marbles, 5 of our 9 hens are molting, my squash plants are succombing to dusty mildew, the heat is back on, and pumpkin-flavored things are back on the menu at Starbucks.

Since starting my new job, I've developed a terrible Starbucks habit.  I recently gave up caffeine in hopeful anticipation that hubbie and I can start a family in the very near future.  At about $4 for a double tall decaf non-fat no-whip mocha (what my boss calls a "Why Bother"), the habit has to stop.  This morning I bought some Via, which I'll make at my desk.  I'll put the $20 I'm saving each week into my meager savings account.

To be honest, I'm a good enough cook to make things that are way better - and way more varied - than Starbucks' pastry case could ever offer.  This morning I was admiring the pumpkin bread, all the while chastising myself because I knew this recipe is so good.

If you like Starbucks' pumpkin bread, you'll love this recipe.  I've been making it for years (sheesh, that makes me feel old to say things like that).  Normally I don't like the combination of cinnamon and chocolate but this is one very good exception.  As written below, it makes 3 loaves and uses a large can of pumpkin.  The original recipe makes 2 loaves.  The ingredients come together in just a few minutes and, with the exception of the pumpkin, are items found in most pantries.

Adapted ever-so-slightly from CookingLight.com

Chocolate Chip Pumpkin Bread
3 cups sugar
3 cups canned pumpkin (large can)
3/4 cup canola oil
2 6-ounce containers of plain or vanilla yogurt
3 large eggs
2 cups whole wheat flour
2 1/2 cups all-purpose flour
3 teaspoons ground cinnamon
2 teaspoons salt
2 teaspoons baking soda
1 1/2 cup semisweet chocolate chips
Optional: 1 cup nuts
Cooking spray

Preheat oven to 350°.

Combine first 5 ingredients in a very large bowl, stirring well with a whisk.  Combine flour, cinnamon, salt, and baking soda in a medium bowl, stirring well with a whisk. Add flour mixture to pumpkin mixture, stirring just until moist. Stir in chocolate chips and optional nuts.

Spoon batter into 3 (8 x 4-inch) loaf pans coated with cooking spray. Bake at 350° for 1 hour and 15 minutes or until a wooden pick inserted in the center comes out clean. Cool 10 minutes in pans on a wire rack, and remove from pans. Cool completely on wire rack.

Options:
  • Mini-loaf pans - fill 4 mini-loaf pans 1/2 full and bake for 45 minutes or until done
  • Muffins - bake for 25 minutes
  • Mini-muffins - bake for 15 minutes
  • Bundt or circular pan - bake for 1 hour 15 minutes

Friday, July 16, 2010

When it's too hot to cook

SmittenKitchen.com is one of my favorite food blogs.  Deb's recipes are fresh and vibrant.  Most of her stuff is desserts but she does branch out into the savories from time to time.

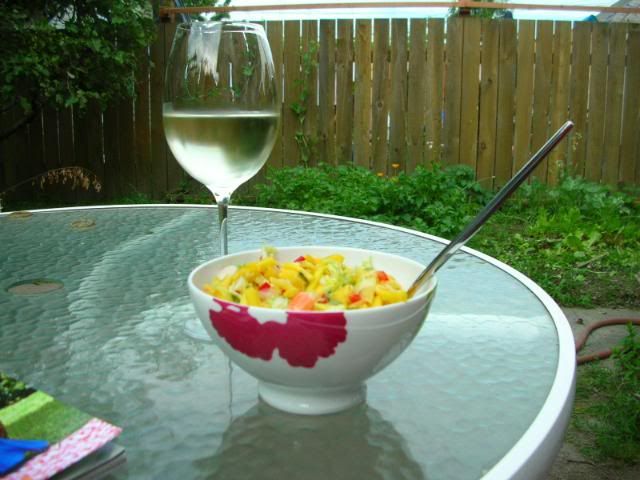
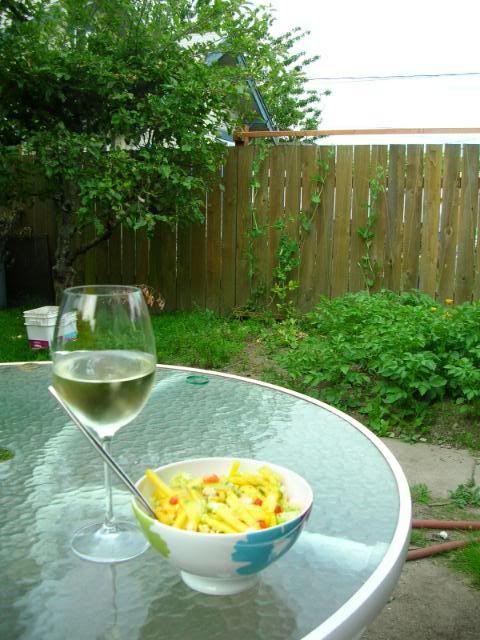
Last week she posted this recipe for mango slaw with cashews and mint.  Since it had been too darn hot to cook, and G-man was at a Mariners baseball game, I made it for myself.


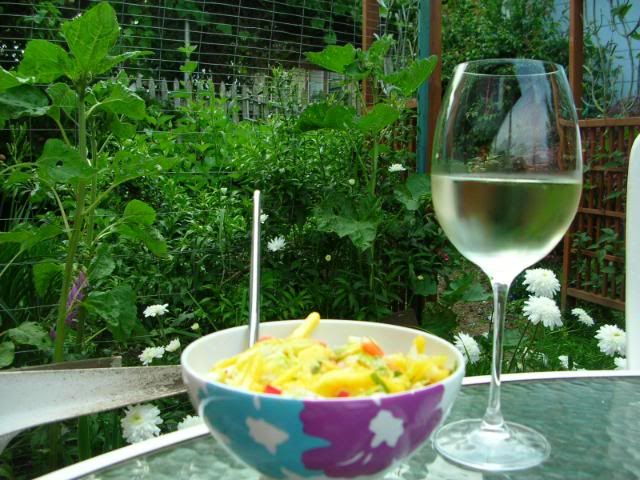
Regretably the main ingredients are not grown locally.  At all.  The only local things were the mint and onion, which came from my yard.  I added some frozen shrimp to make this a main dish, had it with some chilled wine, and voila: a no-cook summer dinner perfect for 90-degree weather.

My dining entertainment was provided by, well, nothing.  Here are my carrots and potatoes, neither of which is having a stellar season.  I suspect both will be cancelled for the 2011 season (i.e. we're going to seed 1/2 of this bed with grass and move the rest of the veggies into the front yard).

As for the recipe, it needed a little oomph.  I think it was missing fish sauce because it lacked that certain je ne sais quoi for which Thai cuisine shines.

Thursday, July 15, 2010

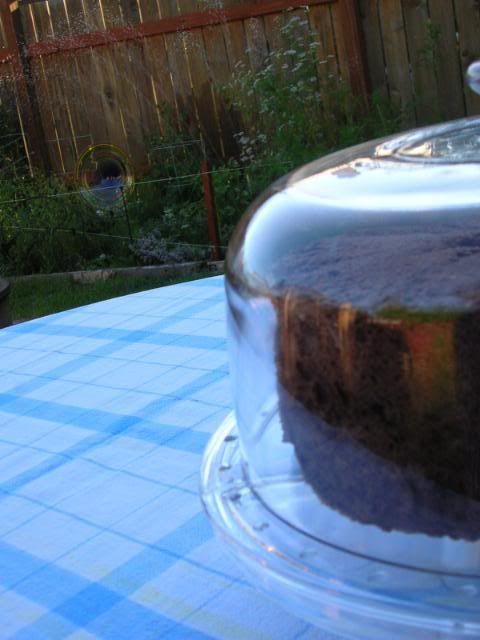
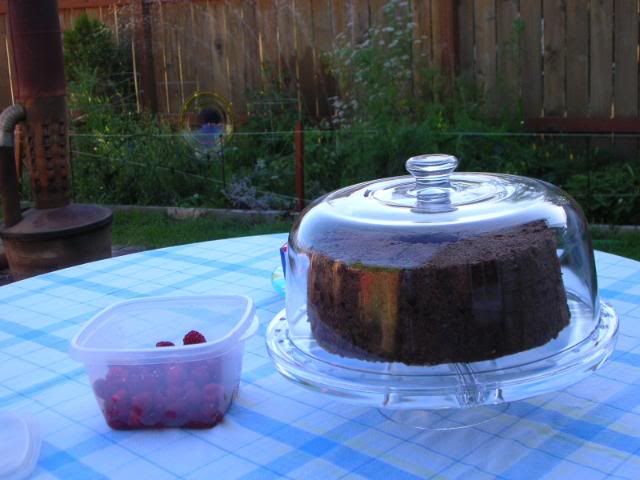
Chocolate Angel Food Cake

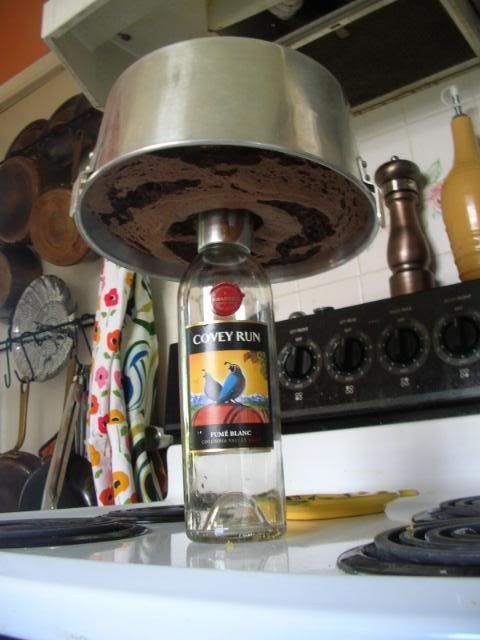
I don't really like wine.  Really.  I only choke it back for one reason: to have a place to cool angel food cake upsidedown.

I must go through 2-3 cooling bottles a week.  Ahhh... the sacrifices we food bloggers make.

Seriously.  I hate wine.

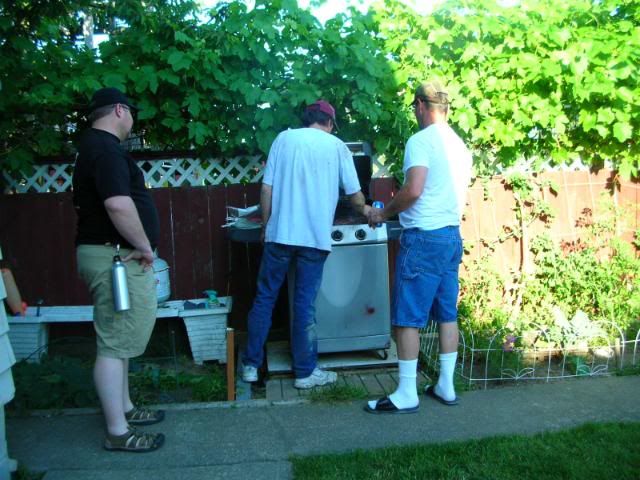
Our next-door neighbors invited us over for a BBQ last weekend.  The men kept themselves busy with the meat.

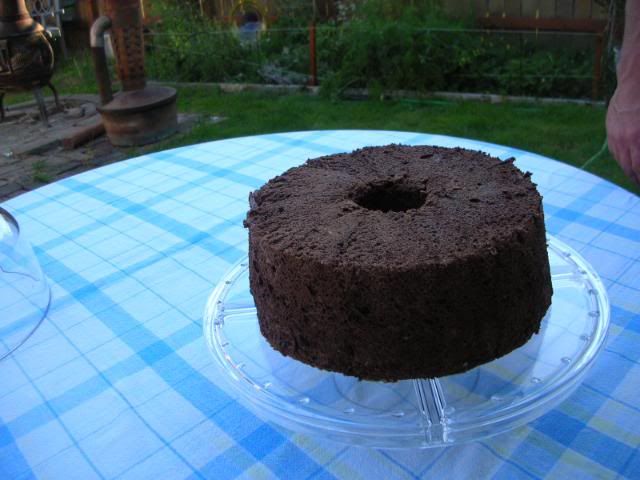
Even though we're not eating the girls' eggs right now, we still have a respectable inventory of them.  Since angel food cake uses about 12 egg whites and we also had a ton of local berries, I made this:


Buddy wanted some, too.

Chocolate Angel Food Cake recipe

Note: I made it without cake flour and it was fine.  I also forgot the cream of tartar.  I did like the use of almond extract, something I hadn't seen in an angel food cake before.

Wednesday, July 14, 2010

The mother lode

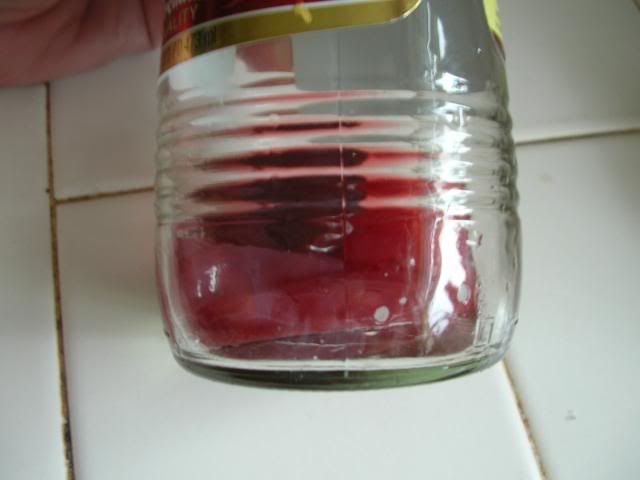
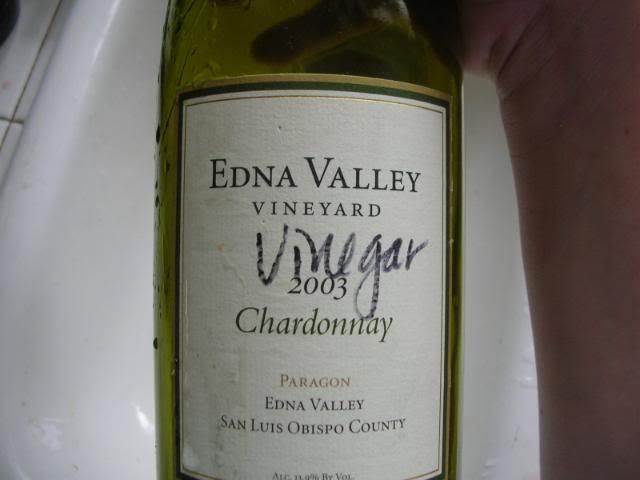
Some time back I went to my cupboard to pull out the red wine vinegar only to find this:

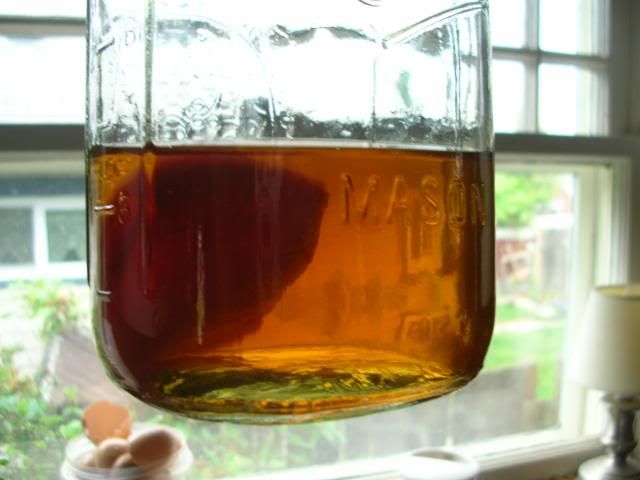
What?  You can't really tell what that is?  How about a closer look.

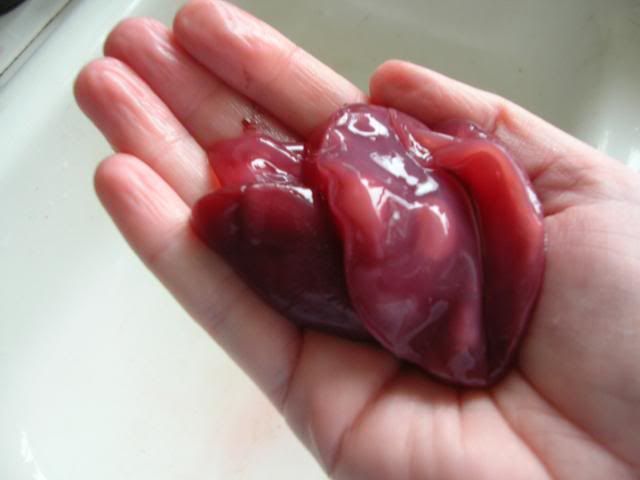
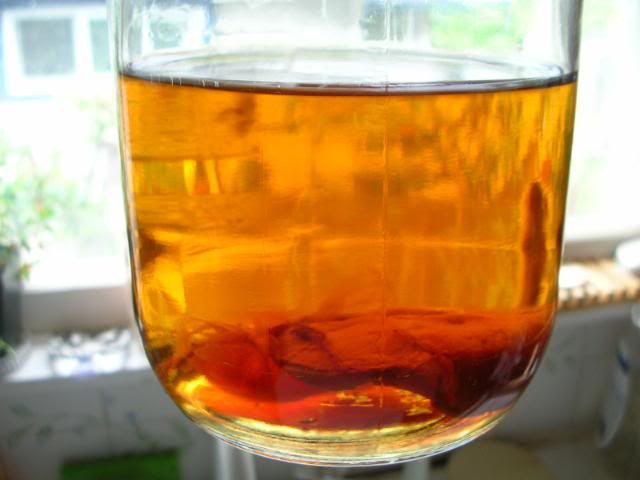
It looks like something from a horror film, doesn't it?  And that's just my prune-y fingertips!

Most people would be totally grossed out at this and curse the vinegar maker.  Not me.  I'm weird.  I got all excited: I think it's a vinegar mother!  A "mother" is the bacteria culture that's used to convert a fermented liquid into vinegar.

My old office had several bottles of wine that had been sitting around in a hot closet for too long to be any good.  I brought it home and scrawled "vinegar" on the label so I wouldn't drink it.  Thank God for that because about 2 months later I went scrounging for some wine and nearly opened this.  Believe me - it's NOT worthy.
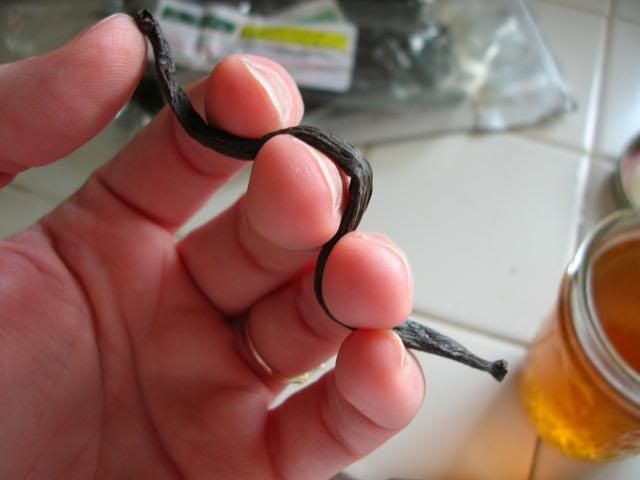
About a week ago I divided the wine between 2 jars, put a piece of the mother in each, and put them in my pantry.


A few days after I did this, the mother in one of the jars is floating.  I'm taking that as a good sign.

By the way, I found this website to be very useful as I was thinking about making my own vinegar.

Apparently it can take up to 6 months to turn white wine into vinegar.  I'll keep you posted.  In the meantime I'll have to prevent my hubbie from throwing away what looks like urine samples with some nasty goo in it. 
Ew.

Tuesday, July 13, 2010

Fruit fly trap

Fruit flies are an annoying fact of life unless you keep everything in the fridge.  And since tomatoes get disgusting in the fridge, it's highly possible that you are battling fruit flies right this very moment.
When I'm canning lots of fruits, fruit flies are an absolute menace because I generally don't keep the fruits in the fridge for the day or so it might take me to prepare to put everything up.
Here's how to make an easy, natural, non-toxic trap for fruit flies.  I got this "recipe" from a vendor at a farmers market a few years ago and have used it ever since.  During my canning periods I can catch upwards of 40-50 in a single night.  This is an incredibly effective method to catch and dispatch these flying pests.

You'll need:
  • small glass jar (8-12 ounces)
  • apple cider vinegar, red wine vinegar might also work
  • 2 drops of dish soap
  • tap water

Pour about 1/2 inch of vinegar into the jar.  Add a couple of drops of dish soap, then fill the jar to the top with tap water.  It doesn't matter if the water foams.  Place the jar next to your problem area.

Why does this work?  Fruit flies are attracted to the fermented scent of the vinegar (you won't notice it).  They land on the surface of the water to feed but because the surface tension has been reduced by the addition of the soap to the water, they sink like teensy pebbles.

In my experience the traps work indefinitely.  When they get unsightly due to their effectiveness, dump the liquid and start a new trap.

Problem solved.

Monday, July 12, 2010

Independence (from imported foods) Day

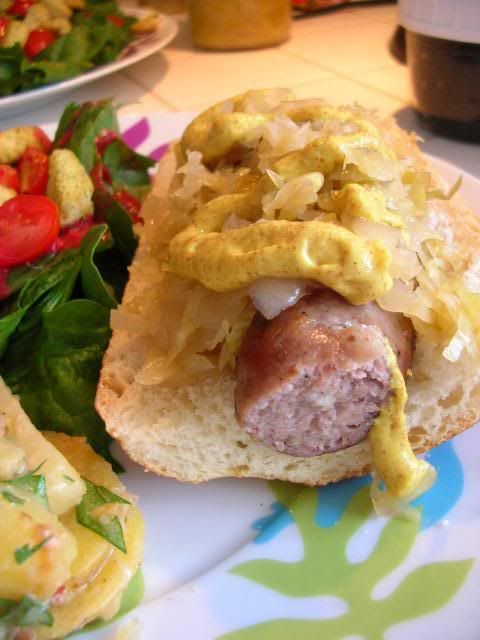
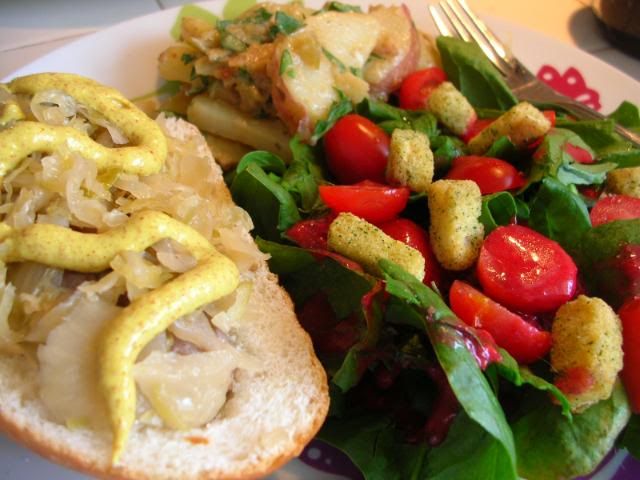
Time got away from me and I didn't get a chance last week to show you the yumminess that we enjoyed on the 4th of July!  It was, except for condiments and minor ingredients, an entirely grown-in-Washington meal.

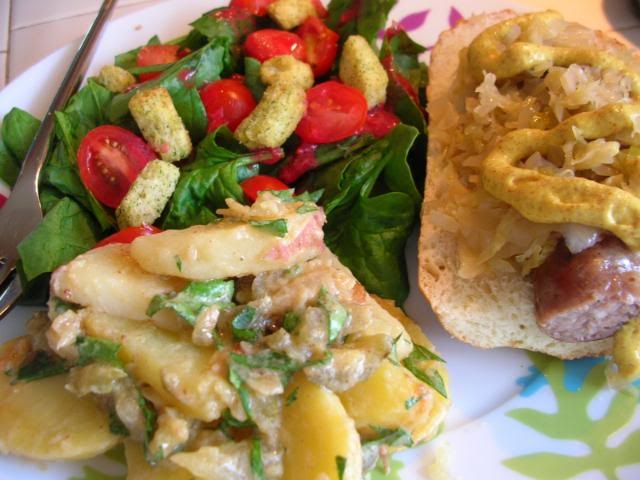
We had brats from Cheryl the Pig Lady. (note: I've since found a closer supplier of pork and befriended her.  I'll post a blog about her soon!)

The sauerkraut is from my garden last summer.  In fact, I had an accident with the food processor shredder blade while making this particular batch and suffered a very deep cut in my right thumb. It was pretty bad... and then it got worse with an infection.  Even now, a year later, I still don't have full feeling in the pad of my right thumb.  

Lesson: use both hands to remove the blade from the food processor.  Respect the sharpness.  I'll make more sauerkraut this fall when my cabbage is ready.  And I'll be super careful with that food processor.

Those are local grape tomatoes, and lettuce from our garden, topped with a homemade raspberry vinaigrette.  I made the raspberry vinegar last summer and the honey was, of course, local, too.

Look at this warm German potato salad!  The pickles were from my last jar of dill pickles that I made 2 years ago, the parsley was from my yard.  Does the mustard I used count as local if my friends who brought it from Germany last year bought it in Germany and presented it to us as a gift?

Yes, the irony of German food on the American Independence Day isn't lost on me. 

We also had local corn, a distinctly American feast.

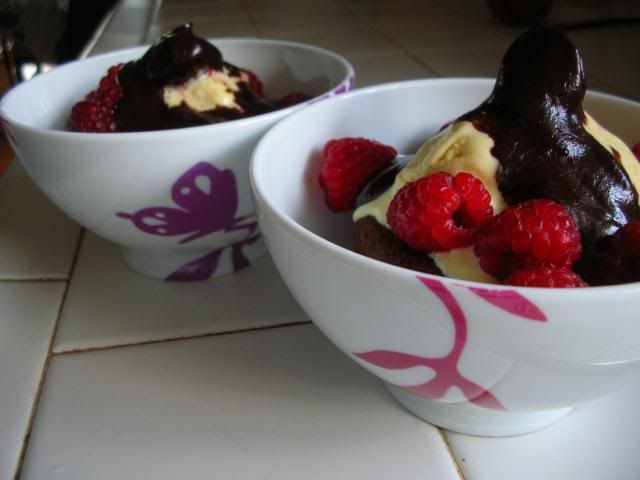
About 3 hours later we were ready for dessert, which was a royal treat.  I made my favorite lava cakes from TastyKitchen.com.  They're so bad but so good.

I topped the cakes with even more terrible things: a modified (read: "somewhat healthier") version of this vanilla ice cream and homemade hot fudge sauce.

Notice how yellow the ice cream is?  That's due to the deep orange color of our girls' egg yolks right now, caused by diets rich in bugs and greens.  G-man thought I'd made lemon ice cream!

Let's get back to the potato salad for a minute.  Last summer 2 friends visited from Munich and taught me how to make a true German potato salad.  They bickered back & forth in German like an old married couple as they made it, cracking us up.  If you don't like dill pickles, leave them out: this was a serious point of contention between the 2 Munichers, who couldn't agree whether pickles were authentic.

Warm German Potato Salad (recipe vaguely adapted from one found at allrecipes.com)

Ingredients
4-6 large-ish red and yellow potatoes (waxy type)
1/2 stick unsalted butter
1 small onion, diced
1/4 cup red wine vinegar
1 tablespoon honey
2 tablespoons spicey mustard
1/2 teaspoon salt
1/8 teaspoon ground black pepper
1 tablespoon chopped fresh parsley
1/2 medium-sized dill pickle, diced

Directions
1. Place the potatoes into a pot, and fill with enough water to cover. Bring to a boil, and cook for about 20-25 minutes, or until easily pierced with a fork. Drain, and set aside to cool. Once cooled, cut into thin slices and put into a large bowl.

2. Place the butter and onion in a large saucepan over medium-high heat. Cook until the onions and butter are brown.  Remove from the pan and set aside.

3. In a small bowl whisk the butter-onion mixture with vinegar, water, mustard, honey, salt and pepper.  Adjust ingredients to get the desired level of tangy sweetness, then pour over the potatoes.  Add pickles if desired, then top with parsley.  Serve warm.
 
Because of a lack of highly perishable ingredients this recipe will keep well for a BBQ.  It can be chilled then brought to room temp quickly in a microwave.  Leftovers are great if heated slightly.

Sunday, July 11, 2010

To hull with it

Summer just got here to the Pacific Northwest and it already feels like it's going by at breakneck speed.  Strawberry season officially ended yesterday.  We were at our fav farm stand and asked about berries: there was 1 final shipment expected any moment.  We paid for a flat of strawberries and promised to pick them up later in the day.

About 4 hours later we returned for our bounty.

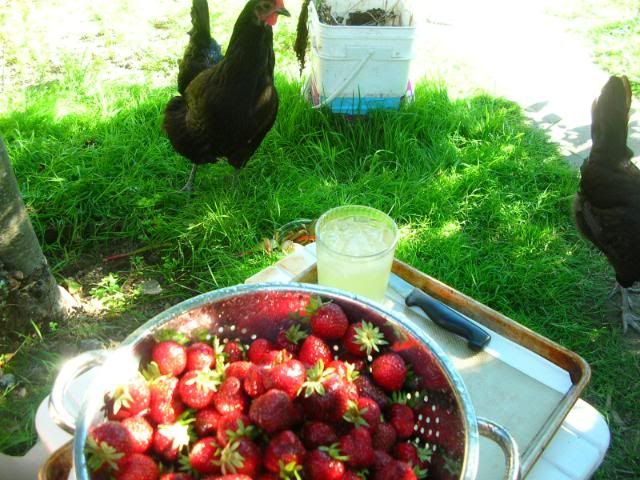
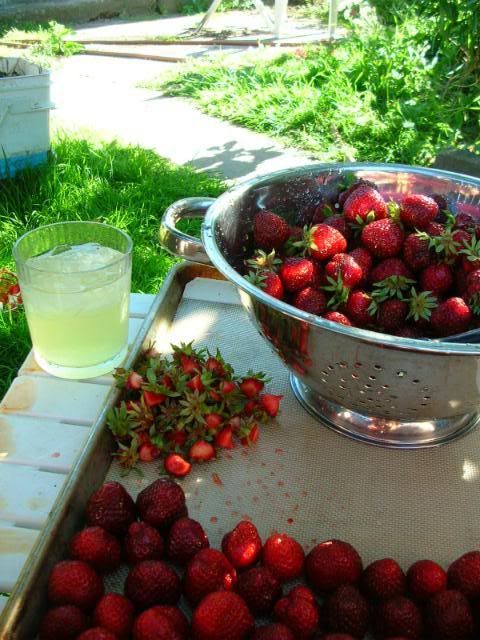
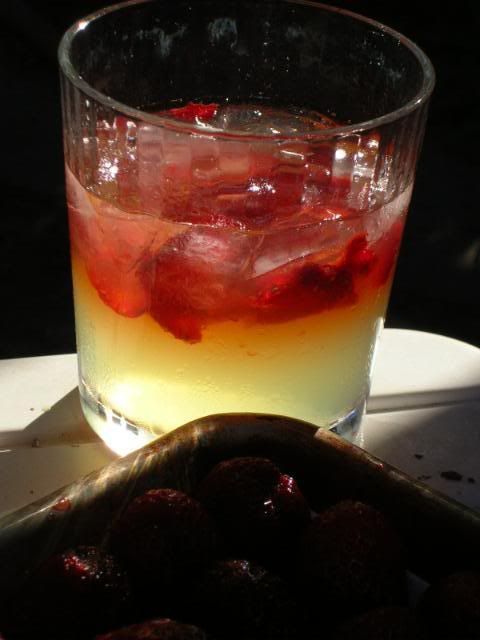
After washing half of the berries and making myself a margarita, I took them into the backyard to hull and prepare for freezing.  I was afraid the chickens would steal strawberries but they were too busy eating my cabbage in the veggie garden (grrr).

Sip.  Hull.  Sip.  Hull.

Hey.  How did that happen?

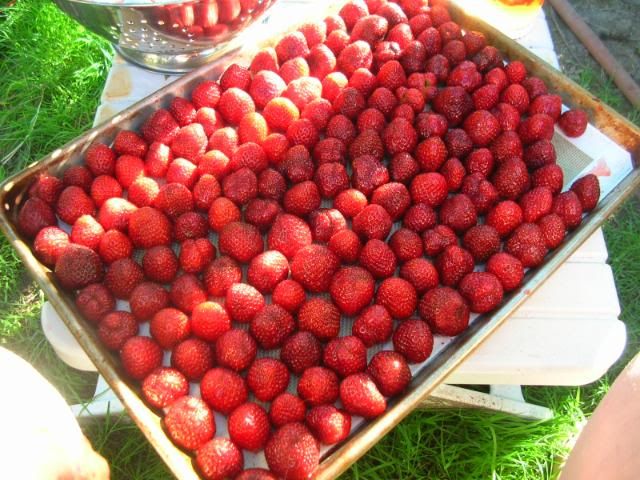
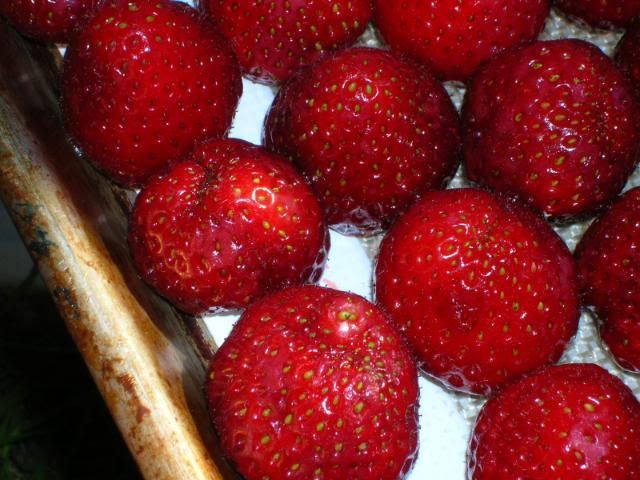
Half a flat of strawberries fills a half-sheet pan.  Notice that the pan is lined with a sil-pat.  Once frozen, the berries come right off of the pan and will go into baggies.

So.  Pretty.

Mira wants to know why I'm not paying attention to her.

We don't eat strawberries that aren't from Washington, hence the mad dash to preserve as many as we can while we can.  My mom thinks I'm crazy, especially come late winter when I'm complaining about the lack of fresh fruits and the temptation of the sweet-smelling imported strawberries from California.

I've got nearly 2 flats of strawberries in the freezer, plus almost as many raspberries.  Last year I went nuts making jams but there are so many jars left that I don't plan to make many more.  I'll do blackberry and peach jams, to be certain, but that'll be about it.  I really want to make more vanilla peach and a blackberry lime jam.

Most of my canning energy this year will go toward savory things like dill & sweet pickles, tomatoes, green beans, and ...?  I also plan to do some cobbler and pie fillings, which are awesome for quick desserts in the middle of winter.  G-man isn't keen on baked fruits, so whatever I make has to be in small quantities lest it become really expensive chicken food in January.

And, of course, I'll share all my how-to's with you.

Saturday, July 3, 2010

Venison enchiladas

Someone gave G-man some venison backstrap a while ago and it has languished in our freezer ever since.  To be honest, I was kind of afraid of it.  It even smelled different, almost like beef that was a day from going bad but wasn't.

Venison?  What the heck do you do with venison?  I'm a city girl: I grew up eating pork, beef, and chicken.   Turkey on Thanksgiving.  We didn't do game meats.  Heck, I don't know a single hunter to this day.  It wasn't until I lived in France when I had meats that most Americans would consider freaky or bizarre: pigeon, rabbit, goose, duck, ox tail, horse (in my defense this last one was in chorizo and I didn't know).

What if I screwed up the venison?  What if we didn't like it? (Ok, you know the answer to that one: chickens.)  What if I turned it into leather?  What if... what if... what if?!?

I did some research and finally settled on a recipe for these venison enchiladas from foodnetwork.com.
(their pic, not mine)

Except, as I started to make the recipe, I realized that it was w-a-y too fussy for a mid-week meal.

Here's my version, inspired by but having not much to do with the Foodnetwork recipe.

Ingredients for filling

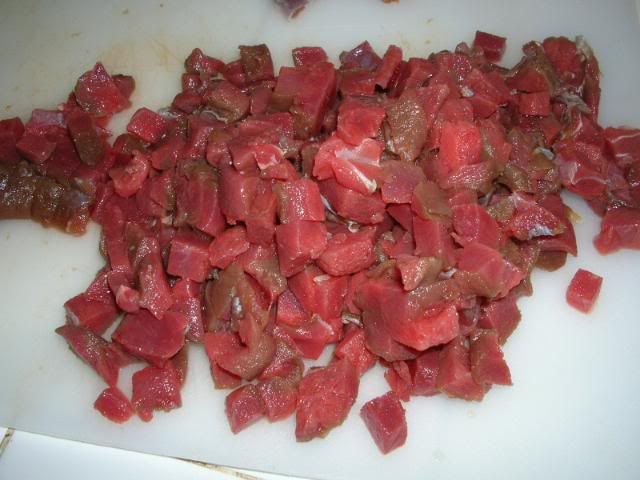
1 pound cubed venison back strap
1 medium onion, diced
About 4 cloves chopped garlic
Salt and pepper
.5 tsp cayenne
1 tsp cumin
1 bunch cilantro, leaves chopped
2 cups shredded pepper-jack cheese, 1/2 cup reserved for top
8 wheat tortillas

1. Brown meat in some oil.
2. Add onions and garlic, and saute until translucent.
3. Add salt/pepper through cilantro and mix well.
4. Remove from heat and stir in the cheese.
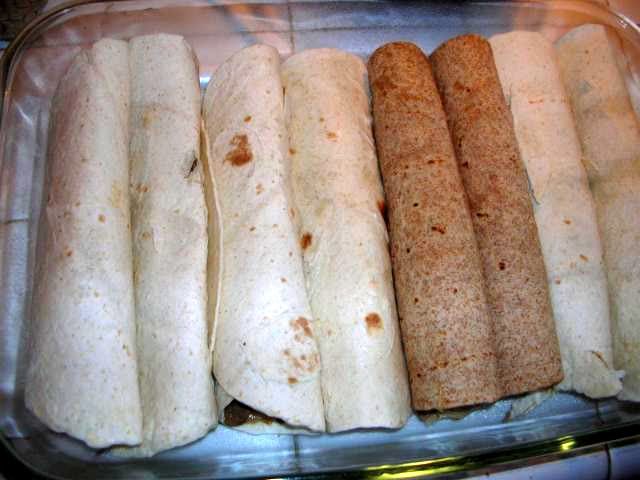
5. Spray a 9x13 pan and assemble enchiladas.
I used this meal as a chance to use up a variety of tortilla packages that were sitting around.

Ingredients for topping
This is the biggest area I departed from the foodnetwork version.  Flame-broiled peppers?  2 cups oil?  Screw that shiznit.  I scanned my pantry and came up with these ingredients:
1 pint homemade tomato sauce (OK to use a canned Mexican-style tomato sauce)
Cumin, cayenne pepper, salt and pepper to taste
4 tbsp Hershey's special dark cocoa

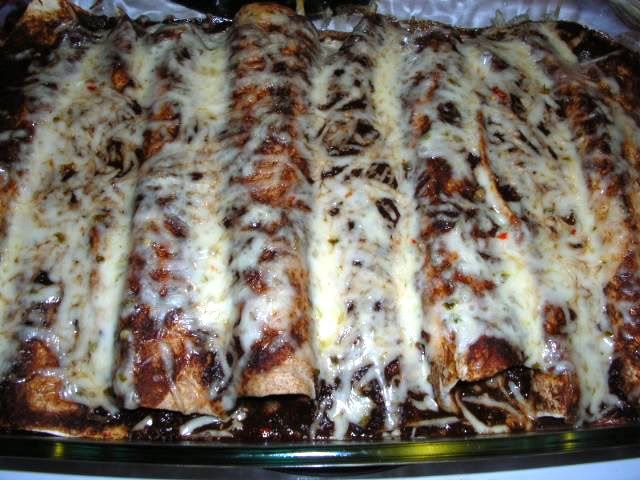
Mix together all ingredients, dump it on the enchiladas, top with cheese, and bake at 350 for 45 minutes.

Verdict?  Soooo good.  The cheese off-set the potential dryness of the meat, which was tender and flavorful.  The cocoa made the sauce reminiscent of a spicy mole.  I rarely make enchiladas because, well, they're kind of a pain in the butt.  These, however, couldn't have been easier.  If I make it again, I'd throw some spinach and shredded carrots into the filling to give the enchiladas some substance that didn't come exclusively from cheese and meat.  And I'd remember the cilantro.

I served these with a big green salad and we were both in hog.... erm, "deer"... heaven.

Now I'm left wondering how to get my hands on some venison again!

Friday, July 2, 2010

Crazed and infused, part II

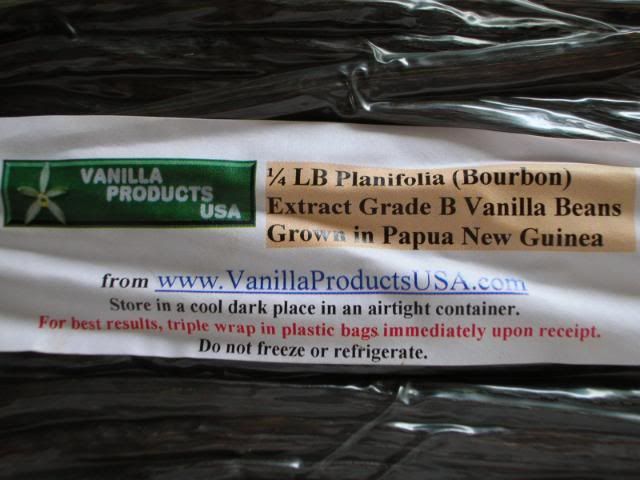
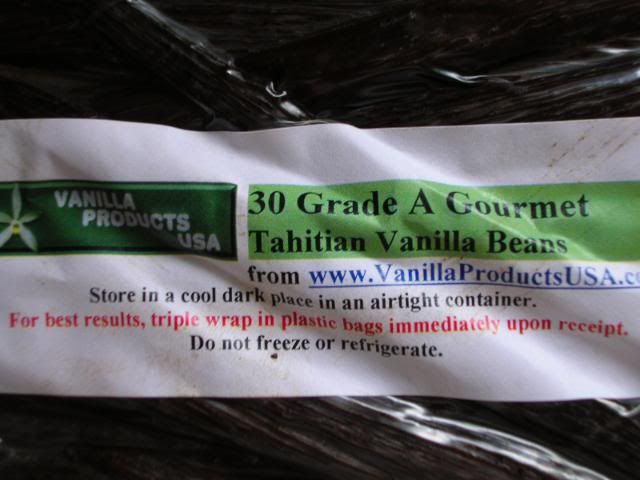
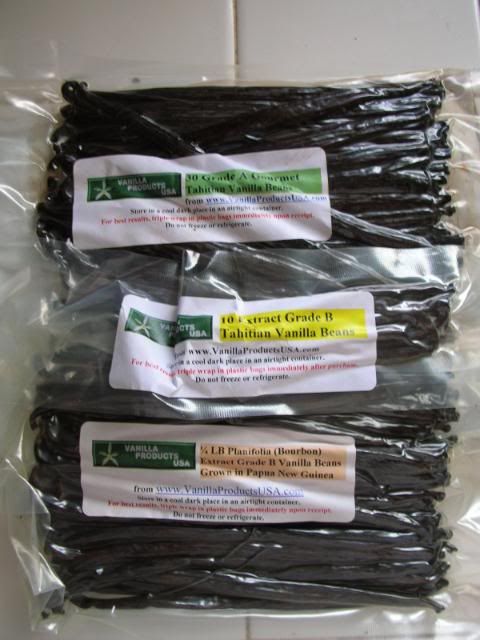
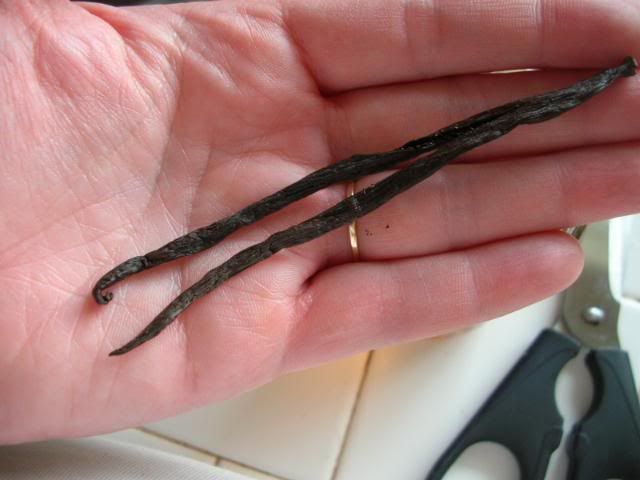
In my last post I mentioned that I'd bought some vanilla.  Small quantities, really.  All are about 6-7" long.

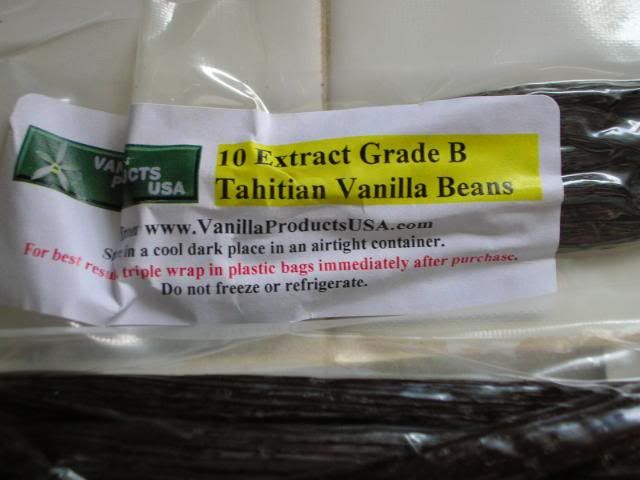
They came with these 10 little weenie beans (~3" long) as a bonus:

What possessed me to do this?  Honestly, I've been thinking about it for over a year.  And if something keeps my attention that long, I know I've got to do it.

I am really pleased with these beans.  They're fragrant and supple.  The packages are all vacuum-packed very well, too.

Some of these beans are destined for another infusion.  Vanilla extract, to be exact.

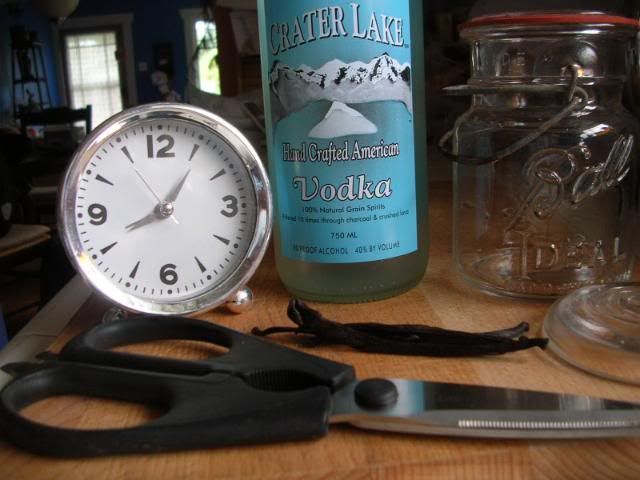
Here's what you need to make your own vanilla extract:

Vodka
Vanilla beans
Time

OK, ok.  You need a jar and scissors, too.

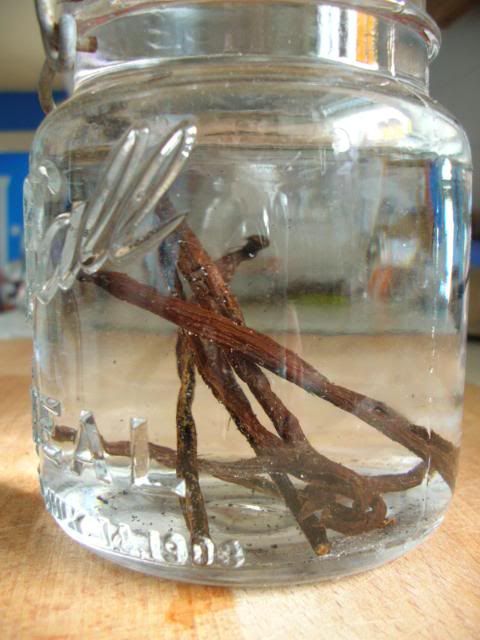
Cut the beans lengthwise.

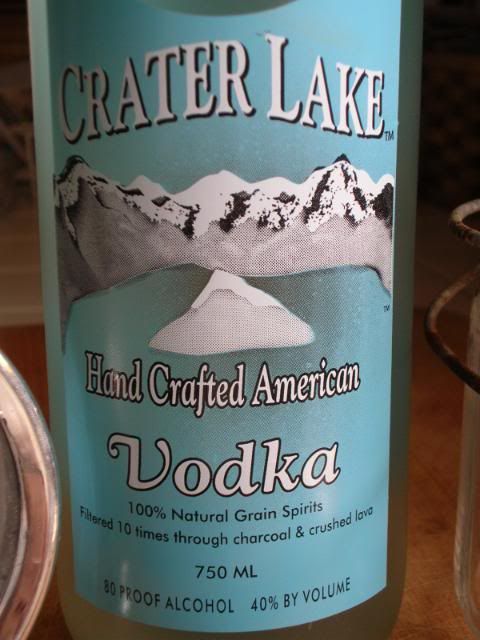
Put them into the jar and cover with vodka.  You can also make this with bourbon.  This vodka is about as local as it gets for us in WA, given that it was distilled in Bend, Oregon.

Ever been to Crater Lake?  My folks took us when my brother graduated from high school.  It was June and fuh-fuh-fuhreezing at the summit!  It it very beautiful, though, and well worth the trip.  I do have to say that the road to the summit is the longest straight road I've ever seen in my life.  We just don't have long straight roads in Washington.

Look, it's even hand-typoed by someone named "RA"!

I put the jar in my cupboard and shake it every day or so.  The vodka started to turn amber within a few hours and should be full-on vanilla extract in a few weeks.  I'll keep topping off the extract with fresh vodka as I use the extract.

Cost:
Vodka - $20
Vanilla - $2 (roughly)

Total amount made: about 16 ounces now, with nearly 10 ounces of vodka in reserve to top off the jar

A 4-ounce container of Trader Joe's vanilla extract costs $4.  I guess I could have bought cheaper vodka for this, and maybe I will next time.

Ironically I'm almost out of vanilla extract so the timing for this couldn't have been better.  Maybe I should break out one of the vanilla beans for cooking.  It's not like I don't have some to spare.  I have been dying to make either some vanilla scones or cherry-vanilla biscotti.  When peaches come into season in late summer I'll make vanilla-peach jam, my favorite!

UPDATE: since writing this post a few days ago I've been diligently shaking my vanilla whenever I think about it.  It's becoming a nice amber color and smells yummy.  Totally worth it.

Thursday, July 1, 2010

Crazed and infused

A few weeks ago I was at the farmers market and found something I'd never thought about before: rosemary honey.  It was so herb-y and yummy that I've been dreaming of it ever since.  It would be divine in a vinaigrette, or in tea, or... or...

OK, I need to expand my "cooking with honey" repetoire.

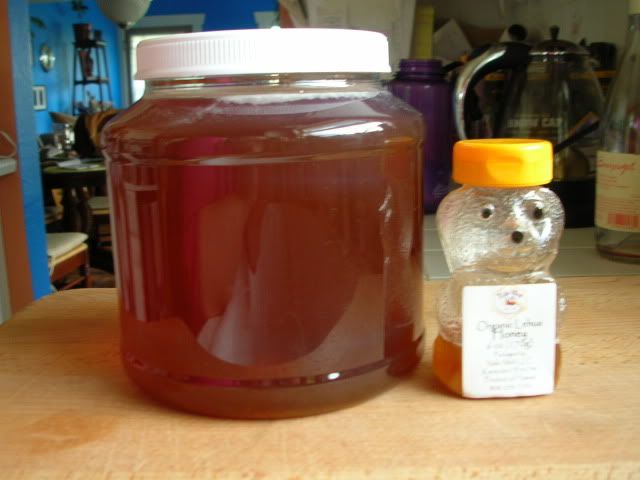
Anyway at $13 for a bottle, I decided to turn to google and see how hard it would be to make my own.  As you may remember, I have a little bit of honey.

Holy moly, it's easy.  As G-man would say, it's "stupid easy".

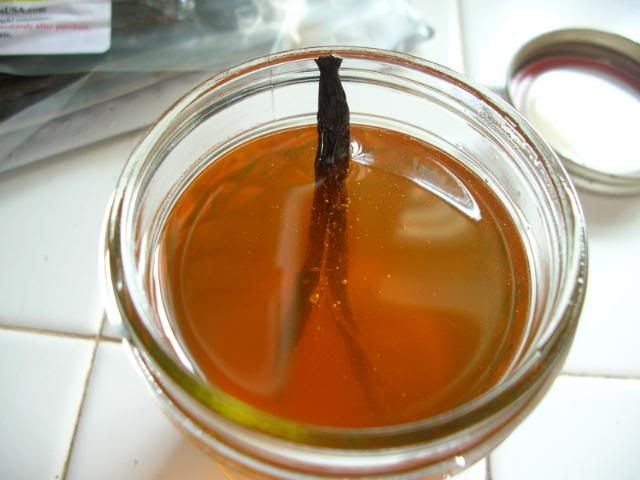
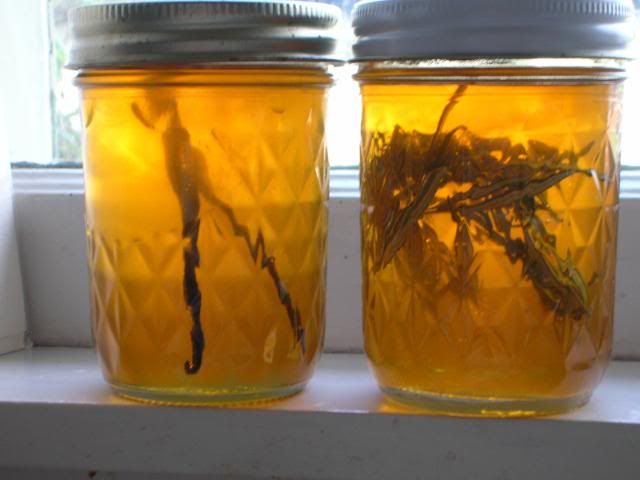
Here's what you do.  You put some honey in a jar and add your herb of choice.  Then you put it in a window sill where it can heat a little in the sunlight each day. 

I also made a vanilla honey.  The vanilla bean reminded me of a stick man in a hot tub.

Having half of a stick man bathing on my window sill seems kind of lewd.

Taste the honey in a couple of weeks to see if the flavor has developed enough.  I've had these honey pots on my window sill for about a week now and haven't tasted either.  I suspect that the flavors are still pretty mild so I'm going to leave them alone for a while longer.

A note of caution: do NOT turn the jar upside down to get better sunlight, no matter how tightly you think the lid is on.  Learn ye from my own dribbling, sticky stupidity.
By the way, I also bought some vanilla beans on ebay recently.  They cost about $17 shipped whereas 2 beans in a glass jar at my local grocery store will put you back $11.  You're looking at about 50 beans.

Note to self: beware obsessive-compulsive personality traits that clearly come from my father (if you knew him you'd know what I mean).

Oh, and expand vanilla recipe repetoire.